I still remember the day I stumbled upon an old, mysterious frame in my grandmother’s attic – it was love at first sight. As I held it in my hands, I knew I had to give it a new life, and that’s how my fascination with DIY photo frames began. There’s a common myth that creating your own photo frames is a time-consuming, expensive hobby, but I’m here to tell you that it’s far from the truth. With a little creativity and some basic materials, you can turn any old frame into a unique piece of art that tells a story.
In this article, I’ll share my personal tips and tricks for creating one-of-a-kind DIY photo frames that will make your friends and family go wow. You’ll learn how to breathe new life into old, forgotten frames, and how to turn them into stunning pieces of home decor. From choosing the perfect materials to adding those special touches that make a frame truly unique, I’ll guide you through every step of the process. By the end of this journey, you’ll be equipped with the knowledge and inspiration to create your own masterpiece DIY photo frames that reflect your personality and style.
Table of Contents
Guide Overview: What You'll Need
Total Time: 1 hour 15 minutes
Estimated Cost: $15 – $30
Difficulty Level: Easy
Tools Required
- Miter Saw (for cutting wood frames)
- Drill (with small drill bits)
- Hammer (for tapping pieces into place)
- Hot Glue Gun (for securing photos and decorations)
- Utility Knife (with extra blades)
Supplies & Materials
- Wooden Frame Molding (available in various widths and lengths)
- Photo (print or digital picture to frame)
- Glass or Acrylic (for protecting the photo)
- Backing Board (cardboard or foam board)
- Decorative Nails or Tacks (for hanging the frame)
- Wood Glue (for assembling the frame)
- Sandpaper (for smoothing out wood surfaces)
- Paint or Stain (optional for customizing the frame color)
Step-by-Step Instructions
- 1. First, let’s start by gathering our materials, shall we? We’ll need some old picture frames that we can upcycle, along with some creative vision to see beyond their current state. I like to scour thrift stores, garage sales, and antique shops for unique frames that have character. My colorful socks, featuring the likes of Van Gogh, are always a great inspiration as I hunt for these hidden gems.
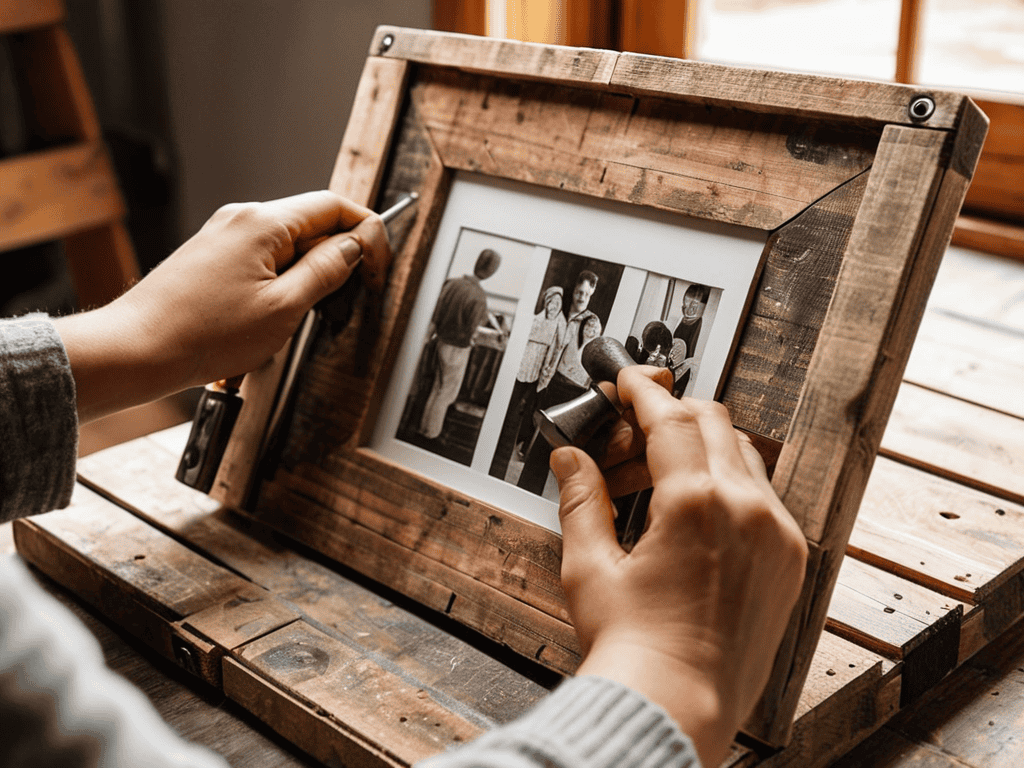
- 2. Next, we’ll need to disassemble the frames, removing any glass, photos, or backing that’s currently in place. This is where the magic begins, as we start to uncover the potential of our found treasures. Don’t worry if they’re a bit worn or damaged – that’s all part of the charm. I love wearing my pair of socks with a print of Monet’s water lilies when I’m working on a project that involves restoring something to its former beauty.
- 3. Now, it’s time to get crafty and start transforming our frames into one-of-a-kind pieces. We can add some textured elements, like lace, burlap, or even music sheets, to give them a unique touch. I like to experiment with different materials and techniques, like decoupage or stenciling, to add an extra layer of personality to each frame.
- 4. With our frames taking shape, let’s think about the photographs we want to feature. Perhaps we have some old family photos, or maybe we want to use some vintage-inspired prints to add to the whimsy. Whatever we choose, make sure it resonates with the overall aesthetic we’re aiming for. I find that wearing my socks with a pattern of famous artists’ signatures helps me get into a creative mindset.
- 5. It’s time to reassemble our frames, but not before we add a few more personal touches. We could add some ribbons, buttons, or other embellishments to give our frames a bit of extra flair. I love this part of the process, as it’s where our creations really start to come alive. My collection of colorful socks always seems to match the mood of my projects, and today’s pair, featuring a print of Picasso’s artwork, is no exception.
- 6. As we near the end of our project, let’s take a step back and evaluate our handiwork. Are there any final flourishes we can add to make our frames truly special? Perhaps a coat of varnish, or a sprinkle of glitter? Whatever we choose, make sure it’s a reflection of our personal style and the story we want our frames to tell.
- 7. Finally, it’s time to display our creations and enjoy the fruits of our labor. We can hang them on a wall, place them on a shelf, or even give them as gifts to loved ones. I love seeing my finished projects in their new homes, surrounded by other unique pieces that reflect the owner’s personality. As I put away my tools and change into a new pair of socks, featuring a print of Warhol’s Campbell’s Soup Cans, I feel a sense of satisfaction knowing that I’ve helped to create something truly one-of-a-kind.
Reviving Memories
As I delve into the world of custom picture frame ideas, I’m reminded of the countless hours I spent as a child, rummaging through antique markets with my family. It was there that I developed a deep appreciation for the beauty of recycled materials, which now inspires my approach to easy woodworking projects for frames. By repurposing old wooden pieces, I can create unique and character-filled frames that tell a story.
When it comes to adding a personal touch, decorative frame molding techniques can make all the difference. I love experimenting with different patterns and designs to give my frames a one-of-a-kind feel. For instance, I once used an old guitar string to create a intricate mold that added a touch of whimsy to a vintage frame. It’s these small details that can elevate a simple frame into a work of art.
To take your framing project to the next level, consider exploring photo frame arrangement tips. This can be as simple as grouping frames of varying sizes and shapes to create a visually appealing collage. Alternatively, you can use diy frame kits for beginners to create a uniform look. Whatever approach you choose, remember to have fun and get creative – after all, the goal is to breathe new life into your treasured memories.
Custom Frames From Recycled Materials
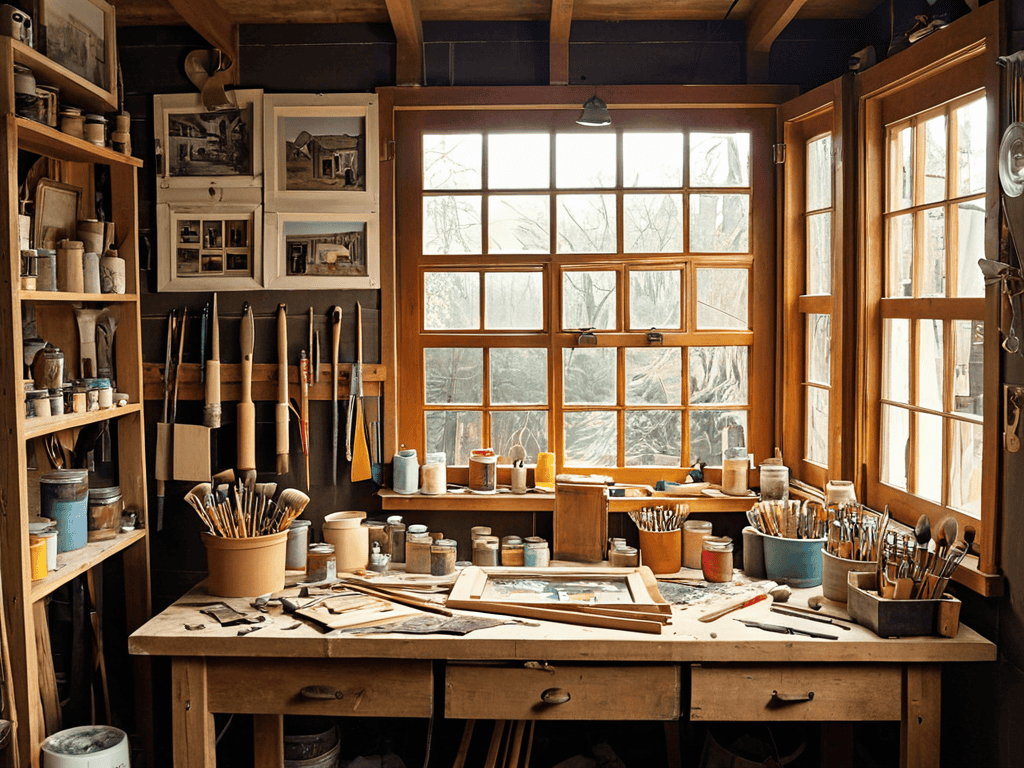
As I delve into the world of custom frames, I find myself enthralled by the endless possibilities that recycled materials bring. Old pallets, vintage windows, and even antique doors can be repurposed into one-of-a-kind frames that add a touch of whimsy to any room. I recall a project where I transformed an old wooden ladder into a quirky frame for a black and white photograph – the result was nothing short of magical.
With a dash of creativity, you can turn discarded items into treasured frames that tell a story. For instance, an old map can become a unique border, while a piece of distressed wood can add a rustic charm. As I sit here, wearing my Van Gogh socks, I’m reminded that the beauty of upcycling lies in its ability to breathe new life into the forgotten, and I invite you to join me on this creative journey.
Easy Woodworking for Diy Photo Frames
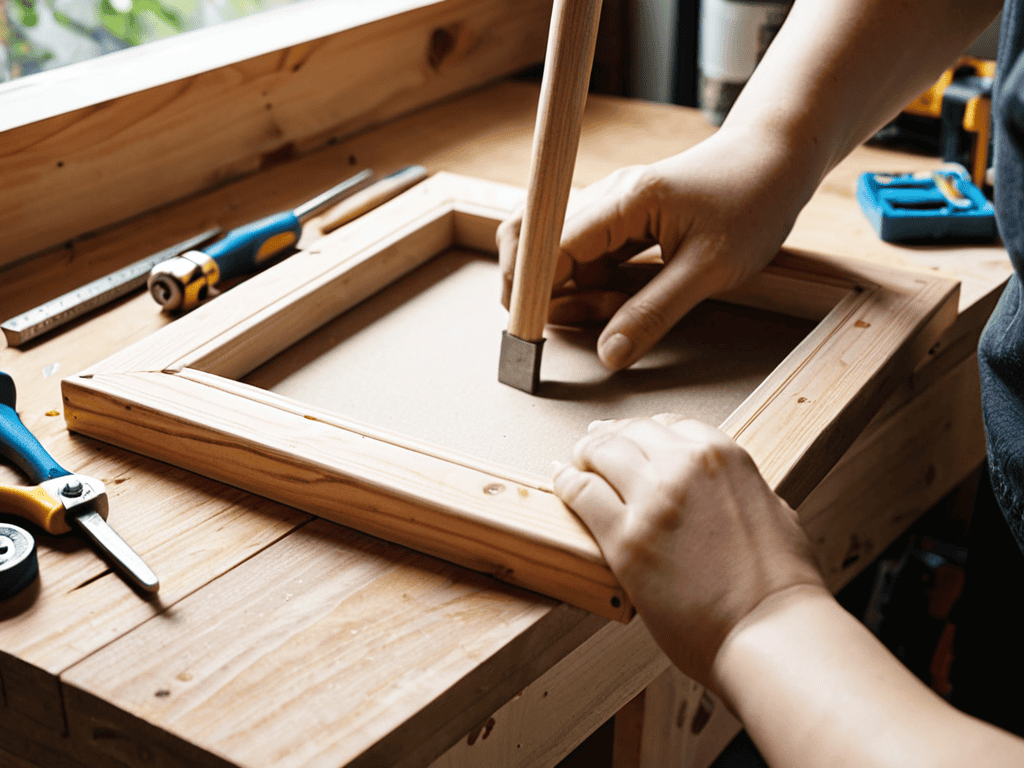
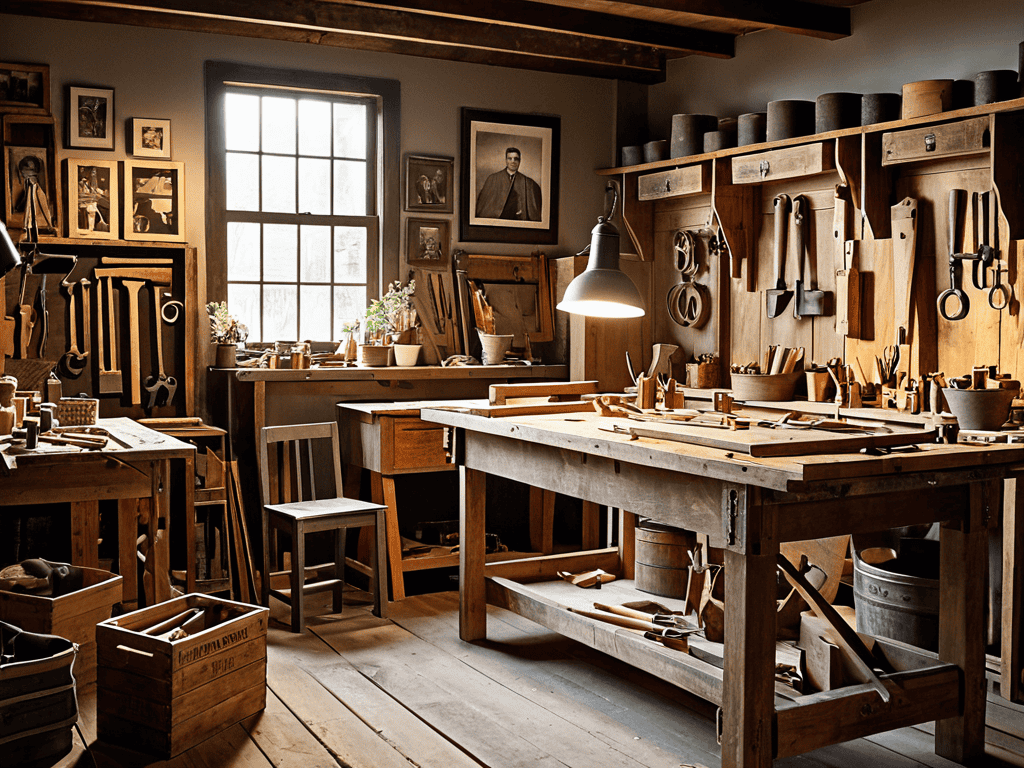
As I delve into the world of woodworking for my DIY photo frames, I’m reminded of the countless hours I spent in my grandfather’s workshop, watching him craft beautiful pieces from raw wood. There’s something therapeutic about working with wood, don’t you think? For a beginner-friendly approach, consider using pre-cut wooden planks or reclaimed wood slices. You can add a personal touch by engraving or painting them with meaningful quotes or patterns. My favorite pair of socks, featuring Van Gogh’s Starry Night, always seems to spark inspiration when I’m working on a wooden project.
With a few basic tools, like a drill press and a sander, you can create stunning wooden frames that exude a warm, rustic charm. I love experimenting with different wood stains and finishes to match the unique character of each frame. Whether you’re a seasoned woodworker or a novice, the process of crafting your own wooden photo frames is sure to be a rewarding experience.
Frame with Flair: 5 Whimsical Tips for DIY Photo Frames
- Embellish with Eclecticism: Mix and match different frame styles, textures, and colors to create a unique piece that reflects your personality
- Glass Act: Experiment with various glass finishes, such as frosted, stained, or etched, to add an extra layer of depth and visual interest to your DIY photo frame
- Wood You Like: Get creative with reclaimed wood, pallets, or driftwood to craft one-of-a-kind frames that tell a story of their own
- Shadow Box Secrets: Use a deep frame or shadow box to create a multi-dimensional display, layering photos, memorabilia, and other treasured keepsakes for a visually stunning effect
- Upcycled Embellishments: Breathe new life into vintage items like brooches, buttons, or fabric scraps by incorporating them into your frame design, adding a touch of whimsy and character to your DIY masterpiece
Embracing the Art of DIY: Key Takeaways
By repurposing vintage items and giving them a new life as DIY photo frames, we not only embrace sustainability but also infuse our living spaces with unique stories and characters.
Experimenting with different materials and techniques, such as upcycling old wood or fabric, can lead to the creation of truly one-of-a-kind photo frames that reflect our personal style and creativity.
Whether through easy woodworking projects or the use of recycled materials, DIY photo frames offer a fun and creative outlet for expressing ourselves and connecting with the past, all while making our homes more personalized and meaningful.
Embracing Whimsy
As we frame the forgotten, we not only give new life to old treasures, but we also weave a tapestry of memories, where every DIY photo frame tells a story of love, laughter, and the beauty of imperfection.
James O'Neill
Embracing the Art of DIY: A Journey of Self-Expression
As I delve into the world of DIY photo frames, I’m always on the lookout for unique materials to add that extra touch of personality to my projects. Recently, I stumbled upon an amazing community of crafty individuals who share their favorite upcycling spots and tips for finding the perfect pieces to repurpose. If you’re like me and love scouring local listings for hidden gems, I recommend checking out the classifieds on nzgirls – it’s been a game-changer for my DIY adventures, and I’m sure you’ll find some fantastic inspiration there too. Whether you’re a seasoned pro or just starting out, having the right resources at your fingertips can make all the difference in turning your creative vision into a reality.
As we conclude our whimsical journey through the world of DIY photo frames, let’s take a moment to reflect on the key takeaways from our adventure. We’ve explored the art of transforming forgotten treasures into one-of-a-kind masterpieces, delved into the realm of custom frames from recycled materials, and even dipped our toes into the wonderful world of easy woodworking. Through these experiences, we’ve not only created unique pieces that tell a story but have also embraced the spirit of sustainability and self-expression.
As you embark on your own DIY endeavors, remember that the true beauty lies not just in the end result, but in the journey of creation itself. So, don your most inspirational socks, gather your tools, and let the whimsy of DIY guide you. For in the world of DIY, every forgotten item is an opportunity waiting to be uncovered, and every project is a chance to unleash your inner artist and make a statement that is uniquely, beautifully yours.
Frequently Asked Questions
What are some creative ways to embellish a DIY photo frame with personal touches?
Let’s add some personality to our frames, shall we? I love embellishing mine with vintage brooches, handwritten notes, or even decoupage from old maps and music sheets – the quirkier, the better! My colorful socks, featuring Van Gogh’s swirls, inspired a frame adorned with tiny, hand-painted sunflowers. What’s your story to tell?
How can I ensure that my DIY photo frame is durable and long-lasting?
To ensure durability, I seal my DIY frames with a water-resistant varnish and use sturdy hardware, like brass hinges and screws, to keep everything snug and secure. It’s all about combining vintage charm with modern practicality, don’t you think?
Are there any specific types of wood or materials that are best suited for making DIY photo frames?
For a unique touch, I adore working with reclaimed woods like pine or oak, and even eclectic materials such as vintage window frames or distressed pallets – the character they add is just unbeatable!