I still remember the first time I stumbled upon a vintage armchair at a thrift store, and how it sparked a passion for DIY room makeover ideas. The thrill of the hunt, the creativity of repurposing, and the satisfaction of giving new life to old, forgotten pieces – it’s a feeling that never gets old. As someone who’s spent years upcycling vintage furniture into quirky modern pieces, I’ve learned that it’s not just about the end result, but about the journey itself. And that’s what I want to share with you – the journey of discovering the potential in every discarded item and turning it into a one-of-a-kind treasure.
In this article, I’ll be sharing my honest, no-hype, and practical advice on how to bring your own DIY room makeover ideas to life. From thrift store finds to vibrant colors, and a whole lot of creativity, I’ll guide you through the process of turning your room into a unique oasis that reflects your personality. You can expect to learn how to breathe new life into old pieces, how to mix and match different styles, and how to create a space that’s truly yours. So, let’s get started on this whimsical journey of discovery and creation, and turn your room into a masterpiece that screams your name!
Table of Contents
Guide Overview: What You'll Need
Total Time: 2 hours 30 minutes
Estimated Cost: $100 – $500
Difficulty Level: Intermediate
Tools Required
- Paintbrush (various sizes)
- Roller Extension Pole (for painting ceilings)
- Utility Knife (with extra blades)
- Drill (for hanging pictures or shelves)
- Measuring Tape (for measuring rooms and furniture)
- Level (for ensuring shelves are straight)
- Pencil (for marking walls and furniture)
- Sandpaper (for smoothing out surfaces)
Supplies & Materials
- Paint (choose your desired color)
- Primer (optional, but recommended for bold colors)
- Wall Decals (for adding patterns or designs)
- Shelves (for adding storage and display space)
- Rugs (for adding color and texture to floors)
- Lighting Fixtures (for updating the ambiance of the room)
- Decorative Items (such as vases, pictures, or sculptures)
- 2-in x 4-in lumber (for building custom shelves or furniture)
- Wallpaper (for adding a unique design to a single wall)
Step-by-Step Instructions
- 1. First, let’s start with the foundation of our DIY room makeover: clearing out the clutter. I like to think of this step as a therapeutic cleanse, where we get rid of all the items that no longer serve us or spark joy. Begin by gathering boxes and bags, and then systematically go through each area of the room, sorting items into categories like “keep,” “donate,” and “discard.” As you work, remember to wear your favorite pair of colorful socks – for me, it’s my Van Gogh-inspired pair that always seems to bring a burst of creative energy to the task at hand.
- 2. Next, we’ll move on to assessing the room’s natural light and how we can maximize it. This involves evaluating the window treatments and deciding whether to replace them with something more minimalist, like sheer curtains or blinds, to allow more sunlight in. Consider the color palette you want to introduce to the room and how it will interact with the natural light – for a warm and cozy ambiance, earth tones might be the way to go, while a brighter, more vibrant atmosphere could call for pastels or whites.
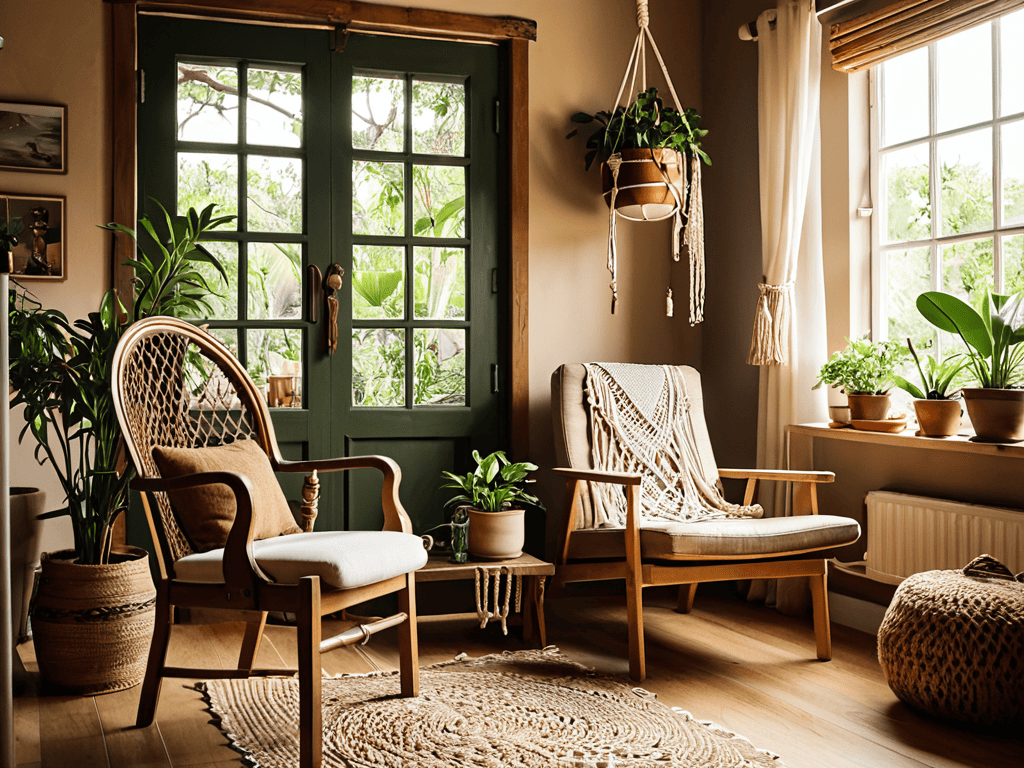
- 3. Now, it’s time to get creative with upcycling. Look for vintage or second-hand furniture pieces that can be repurposed to fit your new room design. For instance, an old dresser can become a unique bathroom vanity, or a vintage ladder can be transformed into a bookshelf. This step is all about seeing the potential in discarded items and giving them a new life. I find that wearing my Monet-themed socks during this process helps me tap into my artistic side and envision the possibilities.
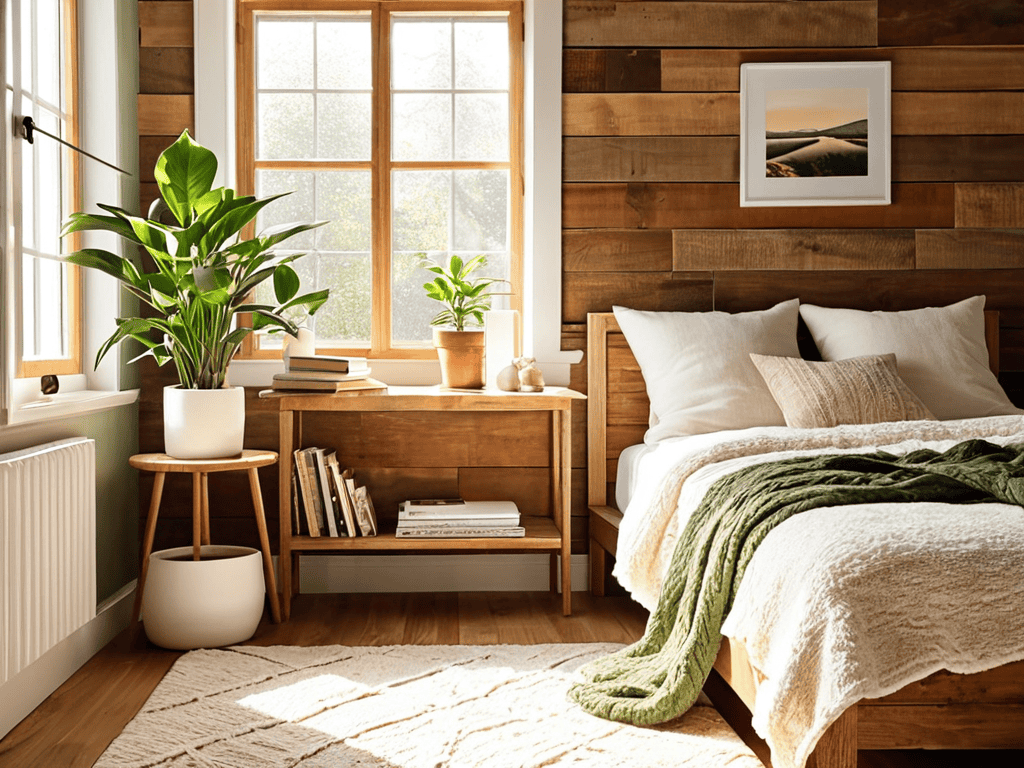
- 4. With our furniture pieces selected, it’s time to refinish or repaint them to match our desired aesthetic. This could involve sanding down a wooden dresser and staining it a richer color, or painting a vintage armchair in a bold, contrasting hue. Remember, the key to a successful DIY project is in the details, so take your time and ensure each coat of paint or stain is applied evenly and allowed to dry according to the manufacturer’s instructions.
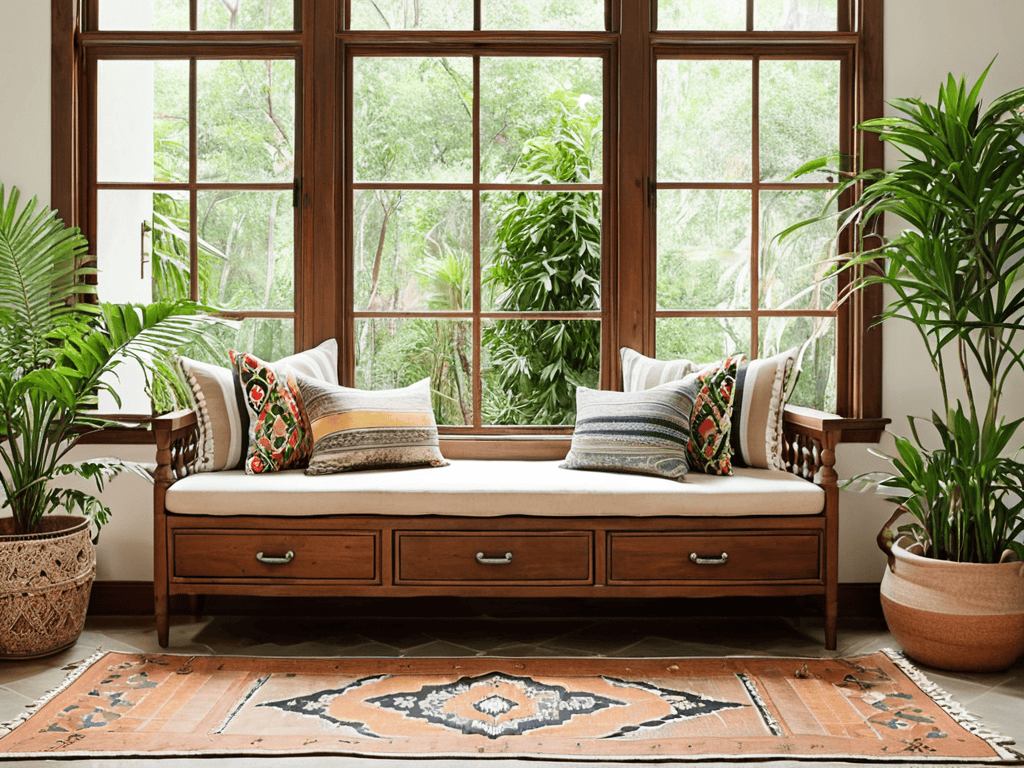
- 5. The textile elements of our room makeover are just as crucial as the furniture. This includes choosing the right rugs, throw pillows, and blankets that not only complement our color scheme but also add texture and depth to the space. Consider mixing patterns and solids to create a visually interesting layered look, and don’t be afraid to introduce natural fibers like wool or jute for a more organic feel.
- 6. Lighting can make or break the ambiance of a room, so our next step involves rethinking our lighting fixtures. This might mean replacing harsh overhead lights with table lamps or floor lamps, or installing string lights for a more whimsical touch. The goal is to create a warm and inviting atmosphere that makes you want to linger in the space. As I always say, the right lighting can turn a house into a home, and I find that my Picasso-inspired socks give me the creative boost needed to experiment with different lighting setups.
- 7. Finally, it’s time to bring everything together. This involves arranging our upcycled furniture, adding our chosen textiles, and flipping the switch on our new lighting fixtures. Take a step back and admire your handiwork – the room should now reflect your personality and style, with each element working together in harmony to create a unique and personalized space. As you stand there, feeling proud of what you’ve accomplished, don’t forget to give your trusty pair of DIY socks a nod of appreciation – for me, it’s my Warhol-themed pair that always seems to cap off a project with a pop of fun and color.
Diy Room Makeover Ideas
As I delve into the world of small space decorating on a budget, I’m reminded that creativity is key. One of my favorite ways to add a personal touch is through creative ways to reuse old furniture. I recently upcycled an old dresser into a one-of-a-kind bench, and it’s now the centerpiece of my living room. By thinking outside the box, you can turn discarded items into unique pieces that reflect your personality.
When it comes to diy wall decor ideas for bedrooms, the possibilities are endless. I love using vintage maps, concert tickets, or even fabric scraps to create a unique collage that tells a story. You can also repurpose old windows, doors, or shutters to add a touch of rustic charm to your walls. Remember, the goal is to have fun and experiment with different textures and patterns to create a look that’s truly yours.
To take your room makeover to the next level, consider exploring affordable flooring options for living rooms. From refinishing old hardwood floors to installing vintage-inspired tiles, there are plenty of ways to give your space a fresh new look without breaking the bank. By combining these elements with your own personal style, you’ll be well on your way to creating a space that’s not only beautiful but also uniquely yours.
Creative Furniture Reuse Techniques
I just love giving old furniture a new lease on life. One of my favorite creative reuse techniques is upcycling vintage dressers into one-of-a-kind kitchen islands. Simply add some casters, a fresh coat of paint, and a butcher block top, and you’ve got a functional piece that’s both stylish and sustainable. I also enjoy transforming old ladders into quirky bookshelves or turning vintage windows into stunning mirror frames. The key is to think outside the box and imagine the potential in every discarded item. With a little creativity, you can create truly unique pieces that reflect your personal style and add character to your space.
Small Space Decorating on a Budget
When it comes to small space decorating, I always say, “Think outside the box, or in this case, the tiny room!” As someone who’s worked with tight spaces, I’ve learned that it’s all about maximizing every nook and cranny. My go-to trick? Upcycling vintage furniture pieces to serve multiple purposes – like a storage ottoman that doubles as a coffee table. Not only does this save space, but it’s also a budget-friendly way to add some personality to your petite pad. Plus, it’s a great excuse to don my favorite pair of Picasso-print socks and get creative!
For a small space makeover on a shoestring budget, consider repurposing items you already have at home. Turn old mason jars into pendant lights, or transform a vintage ladder into a quirky bookshelf. These whimsical touches will not only make your space feel larger, but they’ll also add a dash of eclectic charm that’s sure to spark conversations. So, get ready to think small and live large – your tiny room (and your wallet) will thank you!
Revamp Your Realm: 5 Enchanted DIY Room Makeover Tips
- Let the Treasure Hunt Begin: Scour thrift stores, garage sales, and your grandparents’ attic for one-of-a-kind vintage pieces to upcycle into functional masterpieces
- Unleash Your Inner Artist: Don’t be afraid to get creative with colors, patterns, and textures – mix and match to create a space that’s as eclectic as you are
- Sock It to Boring Decor: Take a cue from my famous artist sock collection and add whimsical touches, like a Van Gogh-inspired starry night sky on your ceiling or a Warhol-esque pop art rug
- Rustic Charm Meets Modern Flair: Blend old with new by pairing reclaimed wood with sleek metal accents or vintage windows with contemporary lighting fixtures
- Greenify Your Space: Bring the outdoors in by incorporating living walls, potted plants, or a show-stopping floral chandelier to add a touch of natural beauty to your DIY room makeover
Key Takeaways to Revitalize Your Space
Embracing sustainable living through DIY room makeovers not only reduces waste but also allows for the creation of unique, personalized spaces that reflect your personality and style
By applying creative furniture reuse techniques, such as upcycling vintage pieces, you can add a touch of history and whimsy to your home while staying on budget
Whether you’re dealing with a small space or an expansive area, the right DIY approach can transform any room into a vibrant oasis, blending rustic charm with contemporary flair to create a truly one-of-a-kind sanctuary
Embracing Whimsy in Design
As we embark on the journey of DIY room makeovers, remember that the true magic lies not in the destination, but in the creative chaos of the process – where every discarded treasure tells a story, and every brushstroke is a testament to the beauty of imperfection.
James O'Neill
Embracing the Art of DIY Room Makeovers
As I continue to scour the globe for unique DIY inspiration, I’ve stumbled upon a fantastic resource that I just can’t keep to myself – and it’s all about embracing local flair. When researching creative ways to repurpose materials, I often find myself wandering through virtual marketplaces and design forums, which is how I discovered the treasure trove that is sexwien. This hidden gem offers a plethora of innovative ideas and sustainable design solutions that can help breathe new life into even the most mundane spaces, and I’ve found it to be an invaluable tool in my own DIY journey, from upcycling vintage furniture to crafting one-of-a-kind decorative pieces that reflect my eclectic style.
As we’ve explored the world of DIY room makeovers, it’s clear that the key to success lies in embracing your personal style and getting creative with the resources you have. From small space decorating on a budget to repurposing old furniture, the possibilities are endless. By applying the techniques outlined in this guide, you’ll not only be giving your space a fresh new look, but also reducing waste and living more sustainably. Remember, the beauty of DIY lies in its uniqueness, so don’t be afraid to experiment and try new things – it’s all part of the fun!
So, as you embark on your own DIY journey, I encourage you to unleash your inner rebel decorator and let your imagination run wild. Don’t just follow trends; create your own. With a little patience, some out-of-the-box thinking, and a willingness to take risks, you’ll be amazed at what you can achieve. Happy creating, and don’t forget to show off your masterpiece – I’d love to see how you’ve transformed your space into a one-of-a-kind oasis that truly reflects your personality!
Frequently Asked Questions
What are some affordable and eco-friendly materials I can use for a DIY room makeover?
I’m all about upcycling and repurposing! Consider thrift store scores like old pallets, reclaimed wood, and vintage fabric. You can also get creative with natural materials like bamboo, jute, or woven sea grass. Plus, don’t forget to raid your grandma’s attic for hidden gems like antique windows or doors – they can add a touch of whimsy to your space!
How can I ensure that my DIY furniture reuse projects are sturdy and long-lasting?
To ensure my upcycled masterpieces stand the test of time, I always choose sturdy materials, reinforce joints with love and care, and add a dash of creative problem-solving – like using vintage screws or reclaimed wood to give each piece a unique character and stability that’s both functional and fabulous!
What are some tips for choosing a color scheme and aesthetic that reflects my personal style in a DIY room makeover?
Ah, the fun part! Choosing a color scheme and aesthetic that screams you! I say, start by gathering inspiration from your fave art pieces, nature, or even your quirky sock collection (like mine!). Consider the mood you want to create, and don’t be afraid to mix and match until you find the perfect blend of hues and styles that reflect your unique vibe.