I still remember the first time I tried Making Sourdough Starter – I was intimidated by all the recipes and tutorials that made it seem like a complicated, mystical process. But as I delved deeper, I discovered that the truth is actually quite simple: with just a little patience and the right guidance, anyone can create their own sourdough starter. The myth that it’s only for experienced bakers or that it requires some sort of special talent is just that – a myth. In reality, Making Sourdough Starter is an adventure that awaits anyone willing to get their hands a bit flour-covered and embrace the journey.
As we embark on this flour-filled adventure together, I promise to share with you the honest, no-hype advice and practical tips that I’ve gathered from my own experiences. You’ll learn how to mix, wait, and nurture your starter to life, and how to troubleshoot common issues that might arise along the way. My goal is to empower you with the confidence and curiosity to not only successfully complete the Making Sourdough Starter process but to also enjoy the rewarding journey of creating something truly unique and delicious.
Table of Contents
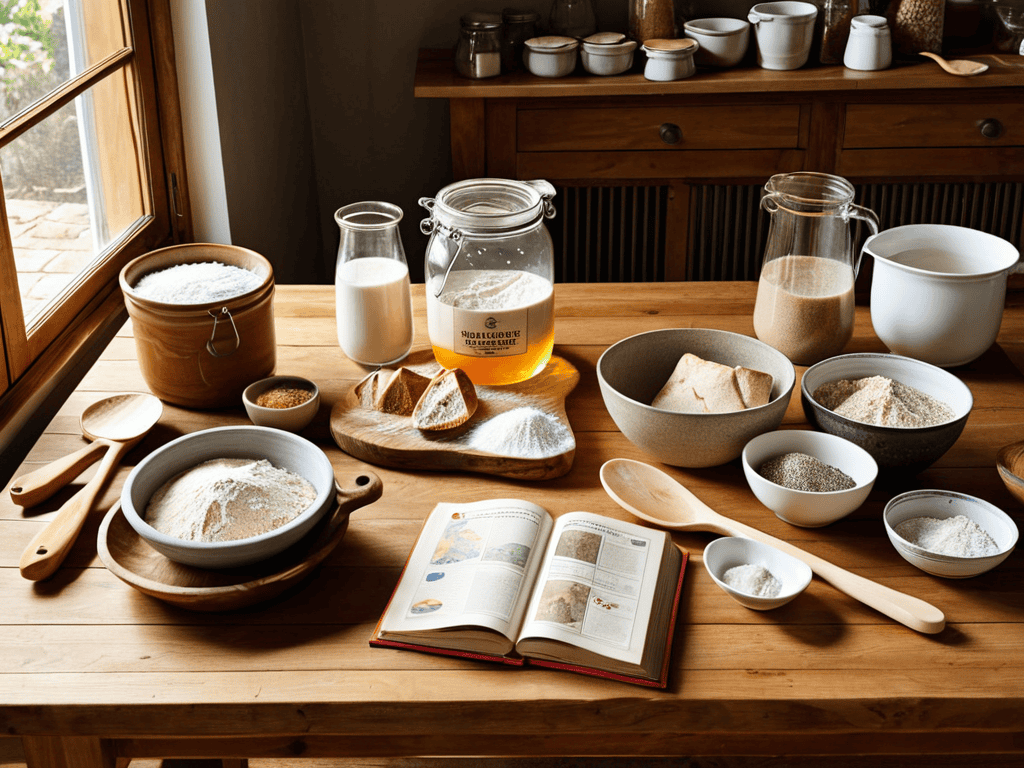
Guide Overview: What You'll Need
Total Time: 7 days
Estimated Cost: $5 – $10
Difficulty Level: Intermediate
Tools Required
- Glass or Ceramic Container (with wide mouth)
- Wooden Spoon (for mixing)
- Cheesecloth or Clean Cotton Cloth (for covering the container)
- Rubber Band (for securing the cloth)
Supplies & Materials
- 1 cup of Warm Water (around 90 degrees to 100 degrees Fahrenheit)
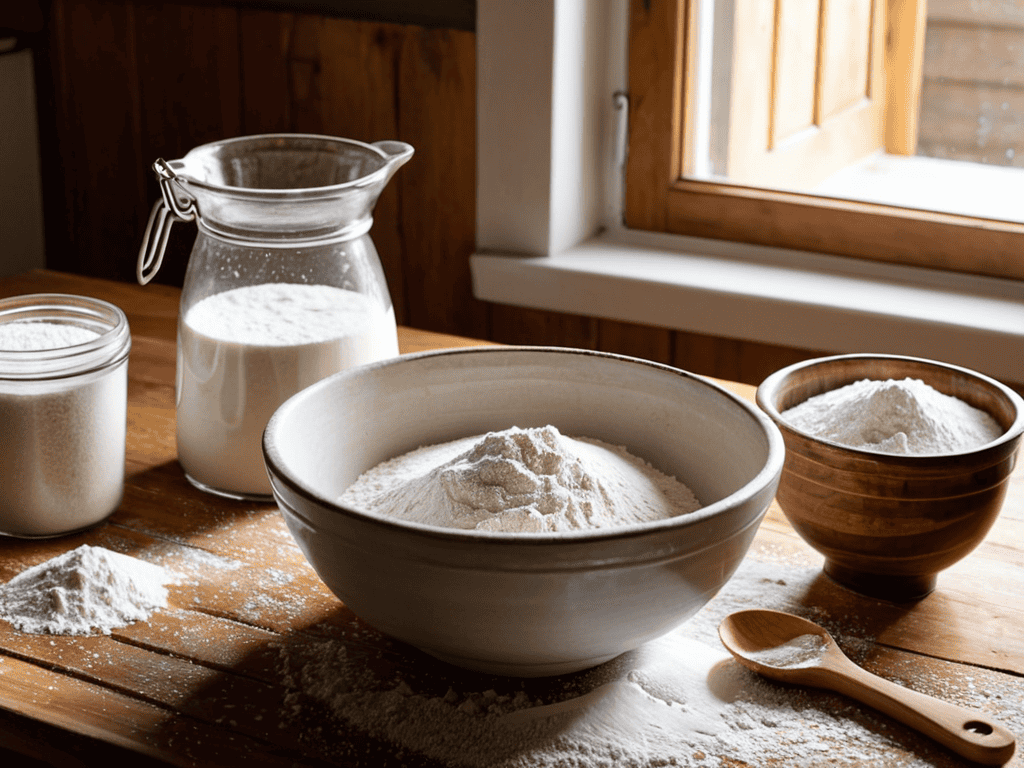
- 1 cup of Flour (preferably unbleached and all-purpose)
Step-by-Step Instructions
- 1. First, let’s start by creating the perfect environment for our sourdough starter to thrive. Find a warm, draft-free spot in your kitchen, ideally between 75°F to 80°F (24°C to 27°C), where your starter can sit undisturbed for the next few days. I like to think of this spot as a nurturing nest for my starter, where it can begin its journey.
- 2. Next, we need to mix the magic ingredients. In a clean glass or ceramic container, combine 1/2 cup of warm water (around 90°F or 32°C) with 1/2 cup of flour. I prefer to use a wooden spoon for this process, as it feels more organic and connected to the natural world. Mix the flour and water until they form a smooth, thick batter, and make sure to scrape down the sides of the container to incorporate all the ingredients.
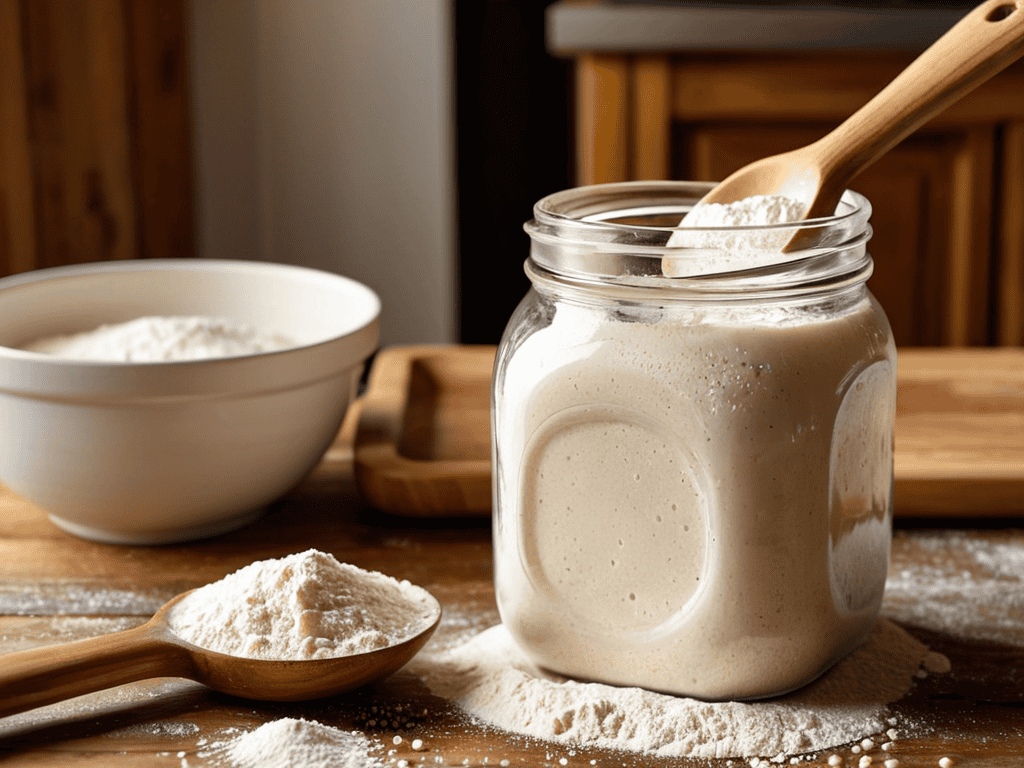
- 3. Now, it’s time to let the wild yeast awaken. Cover the container with a cloth or plastic wrap and let it sit in the warm spot you’ve chosen. Over the next 24 to 48 hours, the mixture will start to bubble and emit a sour smell, which is a sign that the wild yeast and bacteria are starting to colonize the starter. I find this process fascinating, as it’s a reminder of the incredible microbial world that surrounds us.
- 4. After 24 hours, it’s time to feed the starter. Discard half of the starter and add another 1/2 cup of flour and 1/2 cup of water. Mix well and cover the container again. This process of discarding and feeding is called “refreshing” the starter, and it’s essential for creating a healthy, thriving ecosystem. I like to think of this step as nourishing a relationship, where we’re providing the starter with the sustenance it needs to grow and flourish.
- 5. Repeat the process of refreshing the starter every 24 hours for the next 5 to 7 days. This will help the starter to become more active, bubbly, and robust. As you feed and care for your starter, you’ll start to notice its unique personality and characteristics, which will ultimately influence the flavor and texture of your bread. I find this process meditative, as it requires patience, attention, and a willingness to let things unfold.
- 6. As your starter becomes more active, you’ll notice it doubling in size after each feeding. This is a sign that it’s healthy and ready to use in bread recipes. To test its readiness, you can perform a “float test” by gently placing a small amount of starter in a cup of water. If it floats, it’s ready to go! I love this moment, as it’s a celebration of life and growth, where we get to witness the tangible results of our care and nurturing.
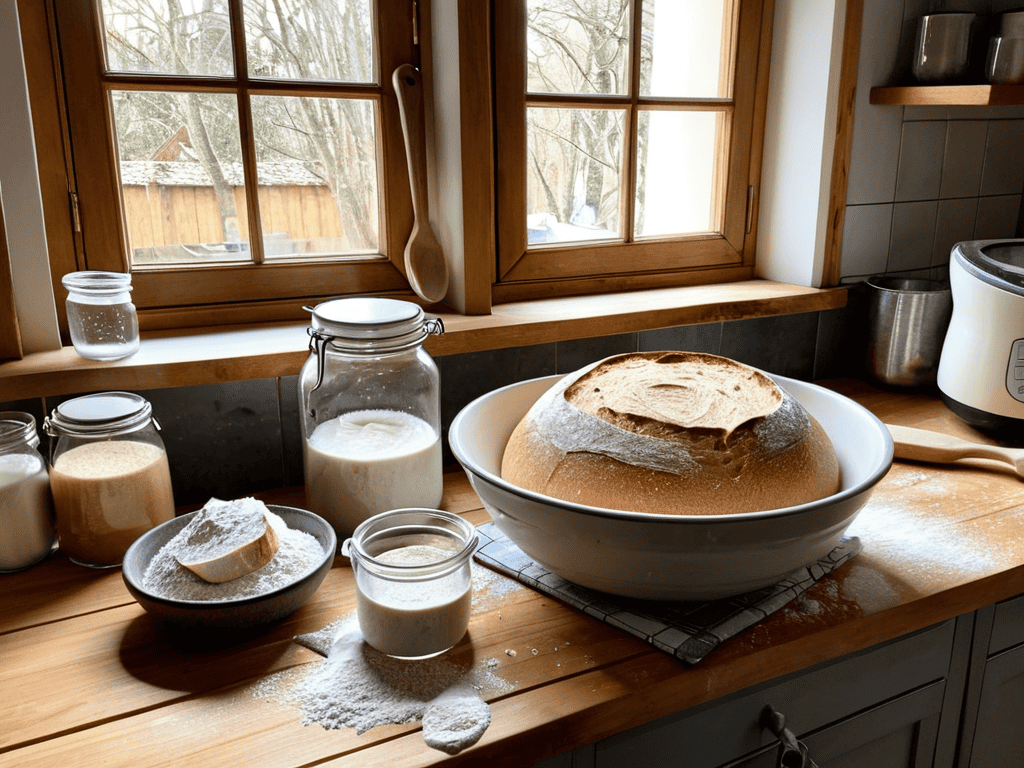
- 7. Finally, it’s time to store and maintain your sourdough starter. Once it’s active and healthy, you can store it in the refrigerator to slow down its activity. Feed it once a week to keep it alive, and make sure to bring it to room temperature before using it in recipes. I like to think of this step as preserving a treasure, where we’re safeguarding a precious resource that will continue to provide us with delicious bread and a deeper connection to the natural world.
Making Sourdough Starter
As I sit here, surrounded by my origami maps and uniquely shaped rocks, I’m reminded of the importance of creating a sourdough starter from scratch. It’s a process that requires patience, dedication, and a willingness to learn from your mistakes. I like to think of it as navigating uncharted territory – you never know what hidden coves or winding paths you might discover. When it comes to maintaining the health of your sourdough starter, it’s essential to establish a regular sourdough starter feeding schedule. This will help keep your starter active, bubbly, and ready for baking.
One of the most common challenges people face when working with sourdough is troubleshooting sourdough starter issues. Don’t worry, it’s all part of the journey! With a little practice and perseverance, you’ll be well on your way to creating delicious, crusty bread. I’ve found that converting recipe to sourdough can be a fun and creative process, allowing you to experiment with new flavors and ingredients. It’s a bit like adding a new landmark to one of my origami maps – it adds depth and character to the overall journey.
As you continue on your sourdough journey, you’ll want to consider sourdough starter storage methods to keep your starter happy and healthy. This might involve storing it in the fridge or freezer, or even sharing some with friends and family. Whatever method you choose, remember to always handle your starter with care, and don’t be afraid to seek guidance when you need it. With time and practice, you’ll become a skilled navigator of the sourdough world, and your bread will be all the better for it.
Creating From Scratch With Confidence
As you continue on your journey to mastering the art of sourdough starter creation, I want to encourage you to stay curious and keep exploring – after all, practicing patience and persistence are key to unlocking the full potential of your homemade starter. If you’re looking for a community that shares your passion for baking and experimenting with new recipes, I’ve found a wonderful online forum where you can connect with like-minded individuals and get inspired by their stories and creations – be sure to check out seniorenseks chatten for some fascinating conversations and valuable insights that might just help you discover your next favorite recipe or technique.
Creating from scratch can be intimidating, but I truly believe it’s where the magic happens. As I always say, “The journey is the reward,” and making a sourdough starter is no exception. It’s a process that requires patience, trust, and a willingness to get a little messy. I like to think of it as unfolding an origami map – you start with a simple foundation, and then, with each gentle fold, a beautiful landscape emerges. Similarly, as you mix and nurture your starter, you’ll begin to see the ingredients transform into something truly remarkable.
As you embark on this flour-filled adventure, remember that it’s okay to make mistakes – they’re just landmarks of inspiration, guiding you towards a more delicious and rewarding outcome. So, take a deep breath, get your hands dirty, and trust that the process will unfold as it should. With time and practice, you’ll be crafting sourdough starters like a pro, and the sense of accomplishment will be incredibly empowering.
Maintaining Health Through Feeding Schedules
To keep your sourdough starter thriving, establishing a regular feeding schedule is key. I like to think of it as nurturing a tiny, flour-loving friend – it needs attention and care to stay happy and healthy. Typically, you’ll want to feed your starter once a week, using a mix of flour and water to keep it active and bubbly. As I travel and collect my uniquely shaped rocks, I’m reminded that even small, consistent actions can lead to remarkable growth and transformation.
By committing to a feeding schedule, you’ll not only maintain your starter’s health but also develop a deeper connection with the natural rhythms of fermentation. It’s a meditative process, really – one that encourages patience, observation, and a willingness to adapt to the ever-changing needs of your starter. As you tend to your sourdough, remember that it’s a reflection of your own journey, with its ups and downs, twists and turns.
Nurturing Your Sourdough: 5 Essential Tips for a Thriving Starter
- Start with a clean slate: Ensure all your equipment is sanitized to prevent any unwanted bacteria from interfering with your sourdough’s development
- Find your perfect blend: Experiment with different types of flour to discover the unique flavor profile that suits your taste preferences
- Patience is a virtue: Allow your sourdough the time it needs to ferment and develop its characteristic tang, resisting the temptation to rush the process
- Feed it with love: Establish a regular feeding schedule to maintain your sourdough’s health and happiness, and don’t be afraid to get creative with ingredients
- Observe and adapt: Pay attention to your sourdough’s behavior and adjust your care routine accordingly, learning to recognize signs of stress or neglect and making adjustments to keep your starter thriving
Nurturing Your Sourdough: 3 Essential Takeaways
Embracing the journey of creating a sourdough starter from scratch allows you to develop a deeper connection with the natural process of fermentation, much like how I find inspiration in the organic shapes of the rocks I collect during my travels
By committing to a regular feeding schedule, you not only ensure the health and vitality of your sourdough starter but also cultivate a sense of responsibility and nurturing, similar to how I carefully maintain my origami maps to reflect the ever-changing landscapes of my adventures
Through the simple yet profound act of making and maintaining a sourdough starter, you’ll discover that the patience, observation, and dedication required are powerful metaphors for navigating life’s own twists and turns, and can become landmarks of inspiration in your personal journey, just as my rocks and origami maps are for me
Embracing the Art of Sourdough
Just as a sourdough starter requires patience, nurturing, and a willingness to evolve, so too does our own personal growth – it’s in embracing the unpredictable, messy beauty of the process that we discover our true potential.
Kathy Edwards
Conclusion
As we conclude our journey to making sourdough starter, let’s recap the essential steps: creating your starter from scratch, maintaining its health through regular feeding schedules, and being patient with the process. It’s crucial to remember that trial and error are part of the learning curve, and every setback is an opportunity to learn and improve. By following these guidelines and staying committed, you’ll be well on your way to baking delicious sourdough bread that’s truly your own.
Now that you’ve embarked on this flour-filled adventure, remember that the true magic lies not just in the end result, but in the process of creation itself. As you nurture your sourdough starter, you’re not just baking bread – you’re cultivating a sense of community and connection with those who share your passion for artisanal baking. So, go ahead, share your loaves, and let the joy of sourdough baking inspire others to join you on this wonderful journey.
Frequently Asked Questions
What happens if I forget to feed my sourdough starter and it's been a few days?
Don’t worry, it’s an easy mistake! If you’ve forgotten to feed your sourdough starter for a few days, it might look a bit sluggish. Just give it a fresh feed, and with a little patience, it should bounce back. I like to think of it as giving my starter a little ‘rock’ of encouragement – a reminder that even in neglect, there’s always a chance to restart and thrive.
Can I use any type of flour to create a sourdough starter, or are there specific types that work best?
While you can experiment with various flours, I recommend starting with a high-protein, unbleached, and unbromated flour, like bread flour or all-purpose flour with a high protein content, to give your sourdough starter the best chance to thrive.
How do I know if my sourdough starter is healthy and ready to use in baking?
To check if your sourdough starter is healthy and ready, look for a few key signs: it should be bubbly, have a slightly sour smell, and nearly double in size after feeding. If you see these signs, congratulations – your starter is thriving and ready to help you bake some amazing treats!