I still remember the day I decided to take the plunge and start painting tile floors in my old apartment. It was a game-changer. For years, I had been told that painting tile floors was a _bad idea_, that it wouldn’t last, and that it would be a huge mistake. But I was desperate for a change, and the idea of ripping out the old tiles was just too overwhelming. So, I did my research, gathered my courage, and got to work. The result was nothing short of amazing – my drab, outdated floors were transformed into a beautiful, vibrant space that felt like new.
In this article, I’ll share my honest, no-nonsense advice on how to achieve the same stunning results with painting tile floors. You’ll learn how to prepare your tiles for painting, choose the right materials, and avoid common mistakes that can leave your floors looking dull and lackluster. I’ll cut through the hype and give you the _practical tips_ you need to succeed, whether you’re a seasoned DIY enthusiast or a complete beginner. By the end of this guide, you’ll be equipped with the knowledge and confidence to give your tile floors a fresh new look that will leave you feeling proud and excited to show off your handiwork.
Table of Contents
Project Overview
Total Time: 4 hours 30 minutes
Estimated Cost: $50 – $100
Difficulty Level: Intermediate
Tools Required
- Paintbrushes (various sizes)
- Roller Extension Pole (for large areas)
- Paint Tray (with grid)
- Drop Cloths (for protecting surrounding floors)
- Sandpaper (for light scraping and smoothing)
- Cleaning Solution (for preparing tile surface)
- Rags (for cleaning spills)
Supplies & Materials
- Epoxy-Based Tile Paint (choose your desired color)
- Primer (specifically designed for tile)
- Sealer (clear, water-based)
- Masking Tape (for creating sharp edges and lines)
- Paintable Caulk (for filling gaps and cracks)
Step-by-Step Instructions
- 1. First, prepare your space by clearing the room of any furniture, curtains, or rugs that could get in the way or be damaged by paint splatters. If you can’t remove everything, use drop cloths or plastic sheets to cover them up. This will make the painting process much easier and less stressful.
- 2. Next, thoroughly clean the tile floors to remove any dirt, grime, or wax that might be on the surface. This is a crucial step because any imperfections or substances left on the tiles can affect how well the paint adheres. Use a mixture of soap and warm water, and scrub the tiles with a brush or scrubber.
- 3. After cleaning, fix any cracks or damaged areas on the tiles or the grout. Use a patching compound to fill in the cracks, and let it dry completely according to the manufacturer’s instructions. This step is essential to ensure a smooth, even finish.
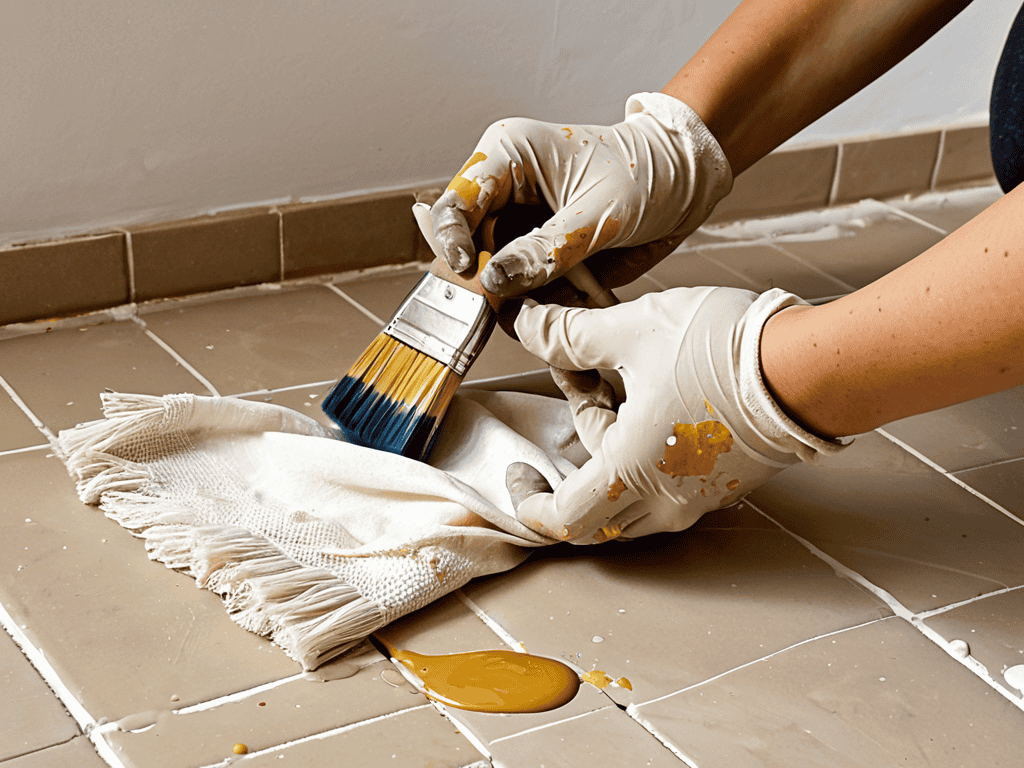
- 4. Now, it’s time to prime the tiles. Not all tile paints require a primer, but it’s often recommended to ensure better adhesion and coverage. Apply the primer according to the instructions on the label, making sure to cover the entire surface evenly. Let it dry completely before moving on to the next step.
- 5. With the primer dry, you can start applying the paint. Use a high-quality paintbrush or roller to apply the first coat, working in small sections to maintain even coverage. Make sure to follow the manufacturer’s instructions for application and drying times. It’s also a good idea to test the paint on a small, inconspicuous area first to ensure the color and finish are what you expected.
- 6. Depending on the color and finish you’re aiming for, you might need to apply additional coats of paint. Make sure each coat is completely dry before applying the next one. It’s better to apply multiple thin coats than to rush the process with thick coats that might not dry properly.
- 7. Once the final coat of paint is dry, seal the deal with a clear coat of sealant if recommended by the paint manufacturer. This will help protect the paint and make cleaning easier. Apply the sealant according to the instructions and let it dry completely before putting back any furniture or rugs.
- 8. Finally, inspect your work and touch up any areas that might need it. Make sure the paint is evenly applied and there are no spots or streaks. If necessary, apply additional coats or touch-ups according to the manufacturer’s instructions.
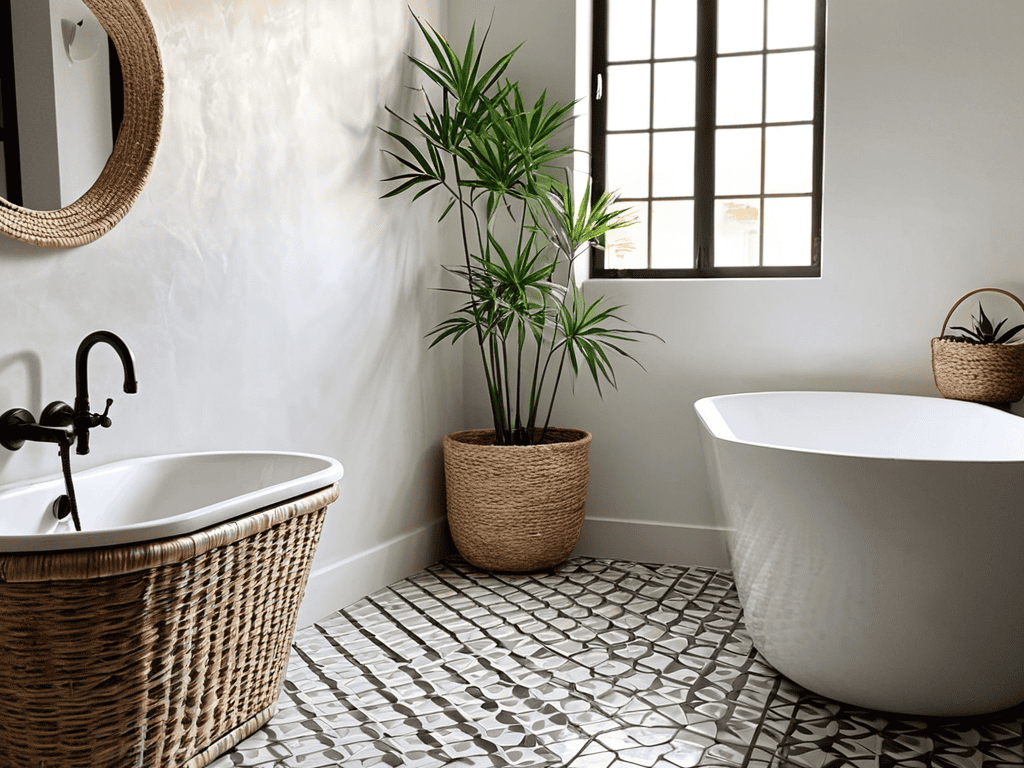
Painting Tile Floors
When it comes to giving your tile floors a fresh new look, consider the overall aesthetic you want to achieve. Think about the color scheme, the style, and the mood you want to create in the room. For instance, if you’re looking for a more modern and sleek appearance, you might opt for a bold, bright color. On the other hand, if you’re going for a more traditional or rustic feel, earth tones might be the way to go.
In addition to the visual aspect, it’s also important to think about the practicality of the paint you choose. If you’re painting a high-traffic area, such as a kitchen or bathroom, you’ll want to make sure the paint is durable and can withstand the wear and tear. Ceramic tile paint options are a great choice for these areas, as they are often more resistant to scratches and fading.
To ensure a smooth and even finish, proper preparation is key. This includes cleaning the tile thoroughly, fixing any cracks or chips, and applying a primer if necessary. By taking the time to prepare your tile floors properly, you can achieve a professional-looking finish that will last for years to come. Whether you’re looking to refresh your kitchen, bathroom, or garage floor, epoxy paint for garage floors can be a great option, offering a durable and long-lasting finish.
Ceramic Tile Paint Options Explained
When it comes to painting ceramic tile floors, you’ve got a few options to consider. Epoxy-based paints are a popular choice, offering a durable and long-lasting finish. Latex-based paints are another option, known for their ease of use and quick drying time. Additionally, there are specialized ceramic tile paints that are specifically designed to adhere well to tile surfaces, providing a strong and chip-resistant finish.
As you’re working on painting your tile floors, it’s essential to have a solid support system in place, whether that’s a friend to lend a helping hand or a community to share your progress with. If you’re looking for a space to connect with others who are also tackling home renovation projects, I’ve found that online forums can be a great resource – you can often find people who are working on similar projects and can offer valuable advice or just a listening ear. For instance, you might stumble upon a helpful community through a simple online search, and some platforms even offer features like a kostenloser Chat to help you get in touch with others who share your interests. By building a network of like-minded individuals, you can make the process of painting your tile floors much less daunting and even enjoyable.
These paints come in a variety of colors and finishes, allowing you to customize the look of your tile floors to suit your style. Whether you’re looking for a bold, bright color or a more subtle, neutral tone, there’s a paint option out there to match your vision.
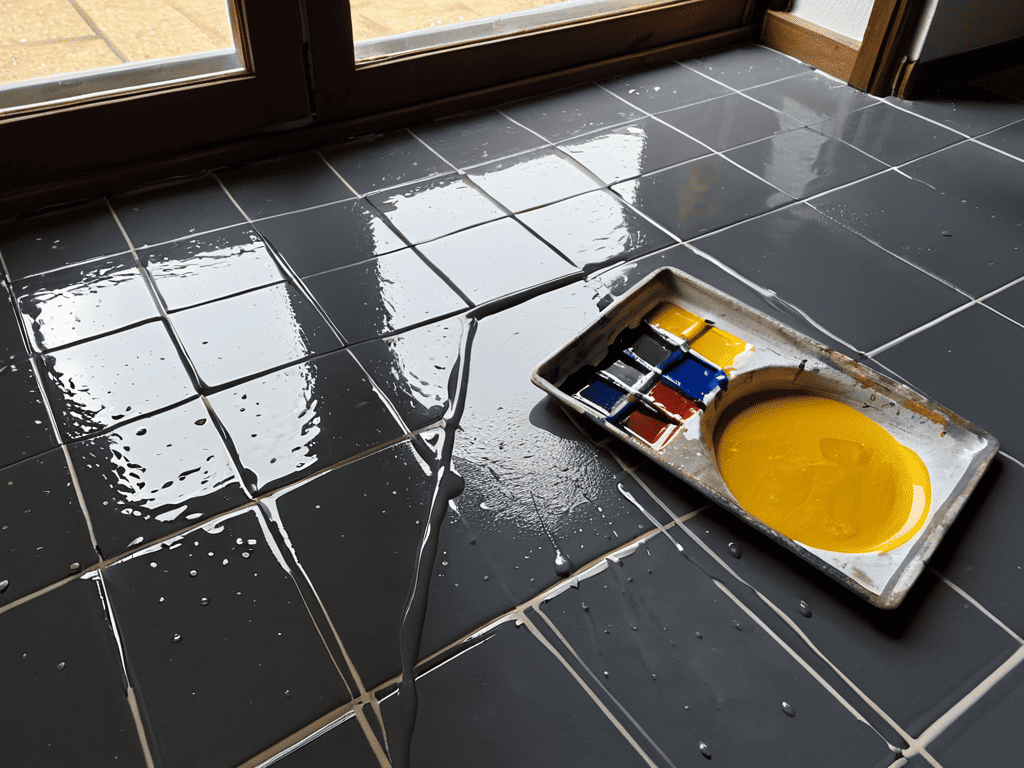
Epoxy Paint for Garage Floors Inspiration
For a more industrial look, epoxy paint is a great option, especially for garage floors. It’s incredibly durable and resistant to stains and scratches, making it perfect for high-traffic areas. With a wide range of colors to choose from, you can create a unique and personalized space that reflects your style. Plus, epoxy paint is easy to clean and maintain, making it a practical choice for busy homeowners.
You can use epoxy paint to create a sleek, high-gloss finish or a more subtle, matte look. It’s also a great way to add some visual interest to your garage floor, with options for decorative flakes or chips that can add a pop of color and texture. Whether you’re looking to create a functional workspace or a stylish storage area, epoxy paint is a great way to give your garage floor a fresh new look.
Top 5 Tips to Achieve a Flawless Finish
- Prepare Your Surface: Before you start painting, make sure your tile floors are clean, dry, and free of any dirt, grime, or wax
- Choose the Right Paint: Select a paint specifically designed for tile floors, and consider the color, finish, and durability you need
- Apply a Primer (If Necessary): If your tiles have a glossy finish or are made of a material that’s prone to staining, apply a primer to ensure better paint adhesion
- Work in Thin Coats: Apply multiple thin coats of paint, allowing each coat to dry completely before adding the next, to prevent drips and unevenness
- Seal Your Work: Once the paint is fully dry, apply a clear sealant to protect the finish and make cleaning easier
Key Takeaways for a Successful Tile Floor Painting Project
Picking the right paint is crucial: whether you’re dealing with ceramic tiles or looking to give your garage floor a makeover with epoxy paint, the type of paint you choose can make or break the project
Preparation is key: before you start painting, ensure your tile floors are clean, dry, and free of any old adhesives or coatings to guarantee a smooth and long-lasting finish
Consider your lifestyle and the foot traffic in the area when deciding on the paint and finish: different paints offer different levels of durability and maintenance requirements, so choose one that fits your needs
A Fresh Perspective
Painting your tile floors is not just a renovation, it’s a rebirth – a chance to breathe new life into a space that was once dull and outdated, and turn it into a vibrant reflection of your personality.
Emily Wilson
Conclusion
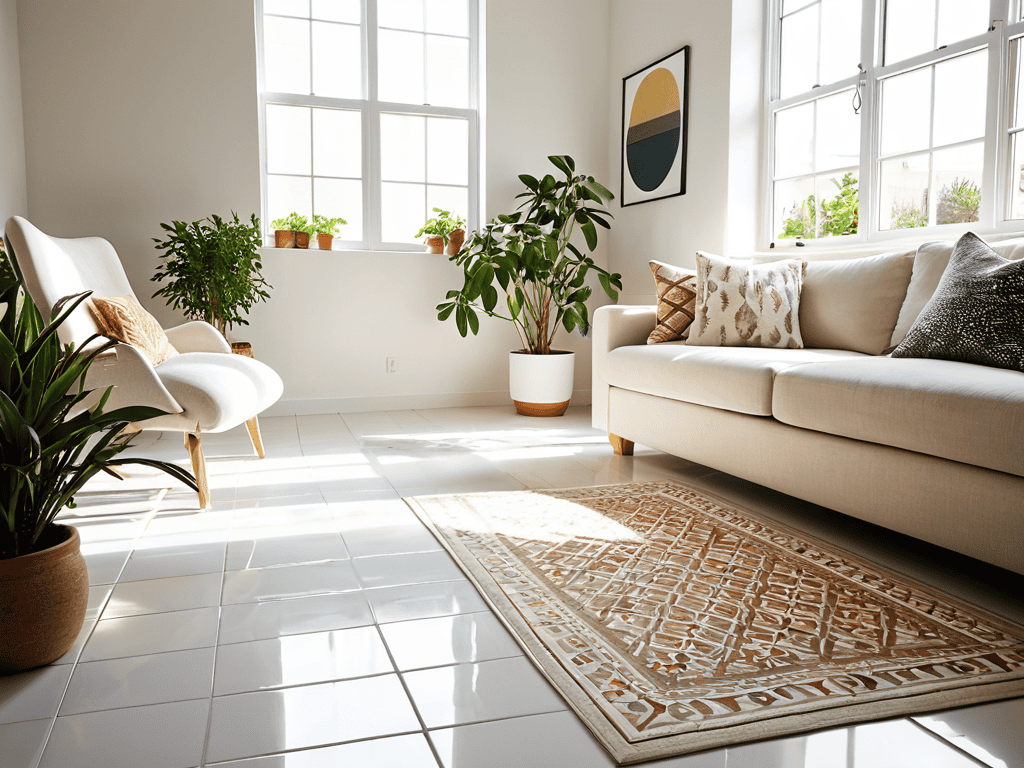
As we’ve explored the world of painting tile floors, it’s clear that with the right tools and a bit of creativity, you can transform any room. From choosing the perfect ceramic tile paint options to getting inspiration from epoxy paint for garage floors, the process can be both fun and rewarding. Remember, the key to a successful paint job is in the preparation, so don’t skip those crucial steps. With patience and dedication, you’ll be amazed at how a fresh coat of paint can turn your drab tile floors into a fabulous new space.
So, as you embark on your tile floor painting journey, keep in mind that it’s not just about the end result – it’s about the process itself. The act of creating something new and beautiful can be incredibly fulfilling. Don’t be afraid to experiment, try new things, and make mistakes – they’re all part of the journey. And when you finally stand back to admire your handiwork, you’ll feel an overwhelming sense of pride and accomplishment, knowing that you’ve turned your ordinary tile floors into something truly extraordinary.
Frequently Asked Questions
What are the most durable paint options for high-traffic tile floors?
For high-traffic tile floors, I swear by epoxy-based paints or two-part polyurethane coatings – they’re total rockstars when it comes to withstanding heavy foot traffic and spills. These options are super durable and resistant to scratches and fading, making them perfect for busy areas like entryways or hallways.
Can I paint over existing tile floor grout, or do I need to regrout first?
Honestly, it’s best to regrout first for a seamless look. Painting over old grout can lead to an uneven finish, and the paint might not adhere well. Regrout, let it dry, and then you’re good to paint – it’s a bit more work, but trust me, it’s worth it for a professional-looking result.
How long does it typically take for painted tile floors to fully cure and be ready for normal use?
Generally, painted tile floors take around 24 to 48 hours to fully cure, but it’s best to wait 3 to 5 days before resuming normal use to ensure the paint is completely hardened and ready for foot traffic.