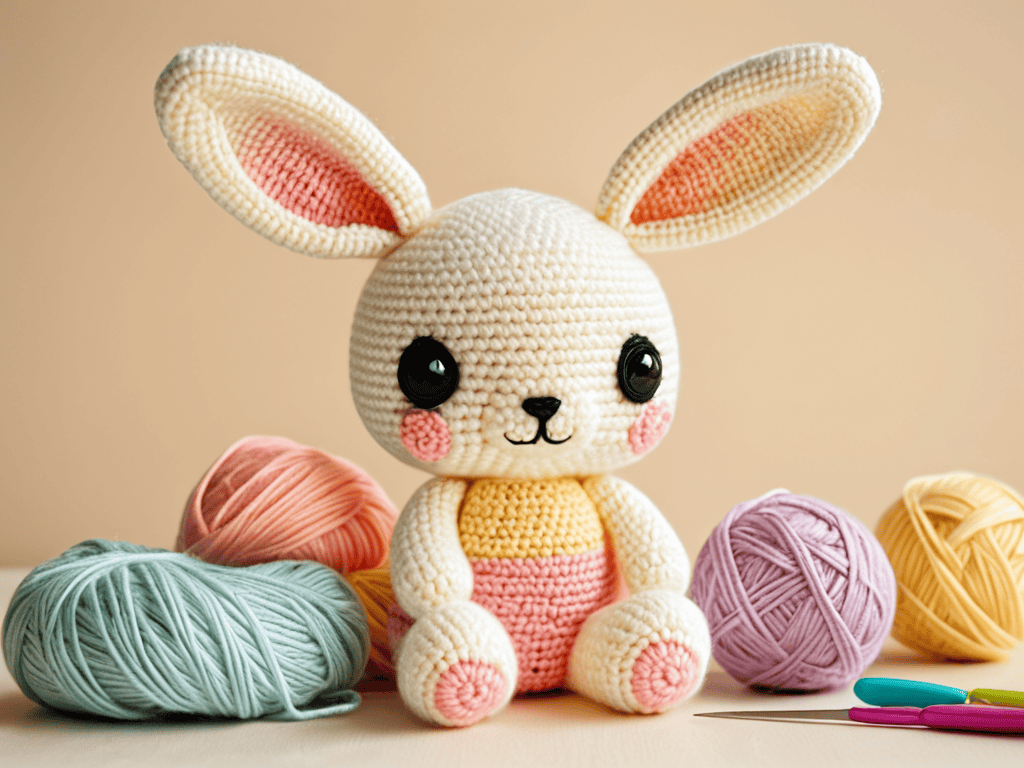
I still remember the first time I stumbled upon Amigurumi Crochet – I was browsing through a crafting forum and saw the cutest little toy, and I just had to learn how to make it. The common myth that you need to be an expert in crochet to create these adorable toys is simply not true. With some patience and practice, anyone can master the art of Amigurumi Crochet. I’ve seen many beginners get discouraged by the intricate designs, but trust me, it’s worth the effort.
In this article, I’ll share my personal experience and no-nonsense tips on how to get started with Amigurumi Crochet. You’ll learn how to choose the right materials, understand the basic stitches, and bring your creations to life. I’ll also cover some common mistakes to avoid and provide practical advice on how to troubleshoot your projects. By the end of this guide, you’ll be well on your way to creating your own adorable Amigurumi toys, and I’m excited to share this journey with you.
Table of Contents
Project Overview
Total Time: 2 hours 30 minutes
Estimated Cost: $20 – $50
Difficulty Level: Intermediate
Tools Required
- Crochet Hook (Size dependent on project)
- Tapestry Needle (For weaving in ends)
- Scissors (For cutting yarn)
- Stitch Markers (Optional, for tracking patterns)
Supplies & Materials
- Medium Weight Yarn (Choose color and type suitable for amigurumi)
- Polyester Fiberfill (For stuffing the amigurumi)
- Black Embroidery Floss (For eyes and other details)
- Stuffing Tool (Optional, for helping to stuff small areas)
Step-by-Step Instructions
- 1. First, let’s start with the basics: to begin an amigurumi project, you’ll need to choose the right hook and yarn. This can be a bit overwhelming with all the options available, but don’t worry, it’s easier than it seems. Just remember, the hook and yarn you pick will determine the size and texture of your finished product, so choose wisely.
- 2. Next, you’ll need to learn the basic stitches required for amigurumi crochet. The most common ones are the single crochet and the slip stitch. These stitches are the foundation of amigurumi and are used in almost every pattern. Don’t be discouraged if it takes a bit of practice to get them just right – with time and patience, you’ll be a pro in no time.
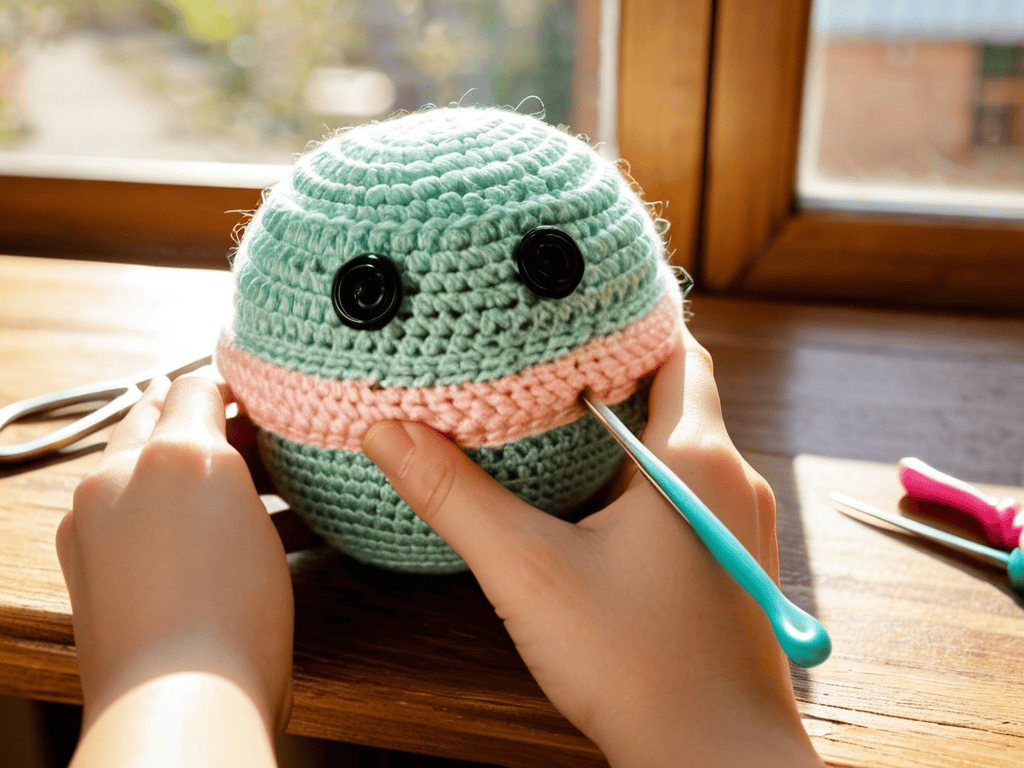
- 3. Now that you’ve got your materials and have mastered the basic stitches, it’s time to start crocheting your amigurumi. Begin by creating a magic ring, which is a technique used to start crocheting in the round without leaving a hole in the middle of your work. This can be a bit fiddly, but it’s a crucial step in creating a neat and tidy amigurumi.
- 4. Once you’ve created your magic ring, you can start crocheting the body of your amigurumi. This usually involves working in continuous rounds, using the single crochet stitch to create a seamless and sturdy fabric. Remember to keep your tension even, as this will affect the overall shape of your amigurumi.
- 5. As you work on the body of your amigurumi, you’ll need to increase and decrease stitches to shape it into the desired form. This can be a bit tricky, but don’t worry, it’s easier than it sounds. Just remember to count your stitches carefully and use stitch markers to keep track of your place.
- 6. Once you’ve completed the body of your amigurumi, it’s time to add the details that will bring it to life. This can include eyes, nose, and mouth, as well as any other features that are specific to your design. Use a tapestry needle to weave in any ends and a stitch marker to mark the position of your features.
- 7. Finally, it’s time to stuff your amigurumi and bring it to life. Use a handful of fiberfill to fill the body, making sure to stuff it firmly but not too tightly. Then, use a slip stitch to close the opening, and your amigurumi is complete. You can use a needle and thread to sew on any final details, and then your amigurumi is ready to be enjoyed.
Mastering Amigurumi Crochet
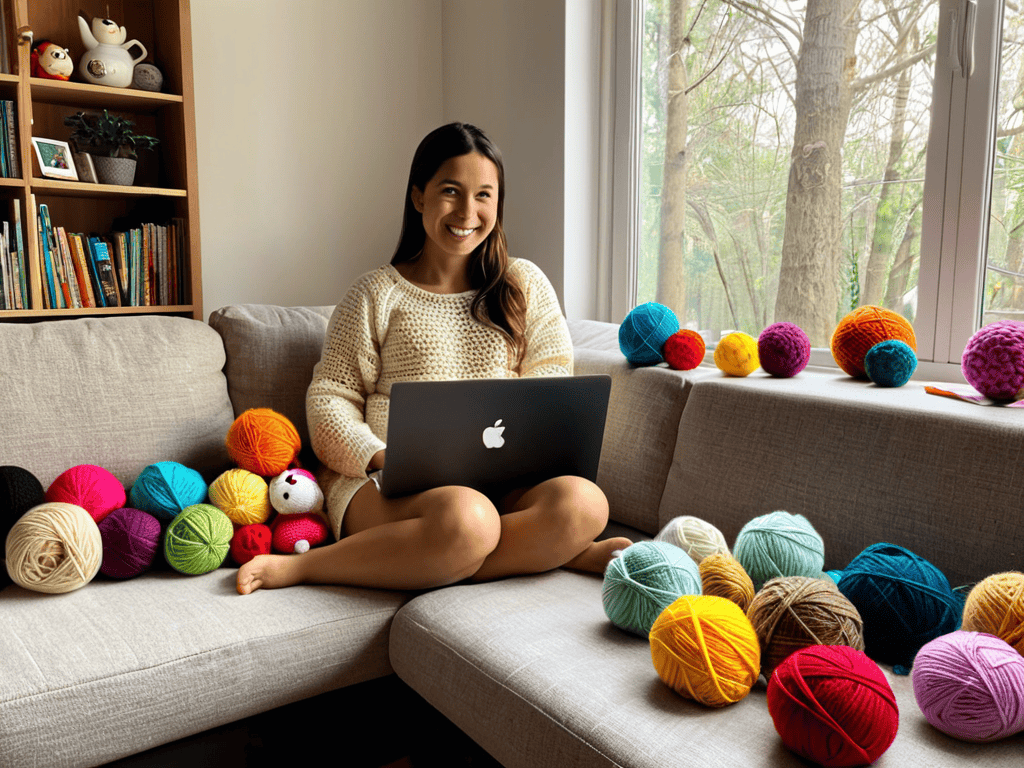
As I’ve delved deeper into the world of amigurumi crochet, I’ve found that having a community to share ideas and inspiration with is incredibly valuable. That’s why I always recommend checking out online forums and groups, where you can connect with like-minded crafters and get feedback on your projects. For instance, I’ve stumbled upon a fascinating platform at sex personals, which, although not exclusively focused on crochet, has a unique section dedicated to hobbyists and their interests, showcasing the diversity of human connection and creativity. It’s amazing to see how unexpected places can sometimes lead to the most wonderful discoveries and friendships, all while fostering a sense of belonging and motivation to continue exploring your passion for amigurumi crochet.
As you delve deeper into the world of amigurumi, it’s essential to master the art of tight crochet stitches. This technique is crucial in creating adorable toys that are both durable and cuddly. To achieve this, focus on using the right crochet hook sizes, as they can significantly impact the overall texture of your amigurumi toy patterns. Experimenting with different hook sizes will help you find the perfect balance between tightness and flexibility.
When it comes to designing your amigurumi animal designs, creativity knows no bounds. Feel free to experiment with various colors, textures, and embellishments to make your creations truly unique. For instance, you can use different crochet yarn weights to add depth and dimension to your designs. Additionally, consider exploring amigurumi character customization options, such as adding buttons or embroidery floss details, to give your toys a personalized touch.
To take your amigurumi game to the next level, try exploring different amigurumi gift ideas. You can create adorable toys for friends and family, or even sell them online. Consider using amigurumi toy patterns as a starting point and then adding your own twist to make them more special. With practice and patience, you’ll be creating beautiful, one-of-a-kind amigurumi toys that are sure to delight anyone who receives them.
Choosing Crochet Hook Sizes
When it comes to choosing the right crochet hook size, it can be a bit overwhelming with all the options available. I’ve found that the key is to experiment and find the perfect balance between too loose and too tight. A hook that’s too small can lead to a stiff fabric, while one that’s too large can result in a sloppy stitch. For amigurumi toys, I usually stick to smaller hooks to achieve a tighter weave and a more defined shape.
I’ve learned to trust my instincts and adjust my hook size accordingly. If I’m working with a thicker yarn, I’ll opt for a larger hook, and vice versa. It’s all about finding that sweet spot where your stitches are even and your toy starts to take shape. With practice, you’ll develop a sense of what works best for you and your amigurumi creations.
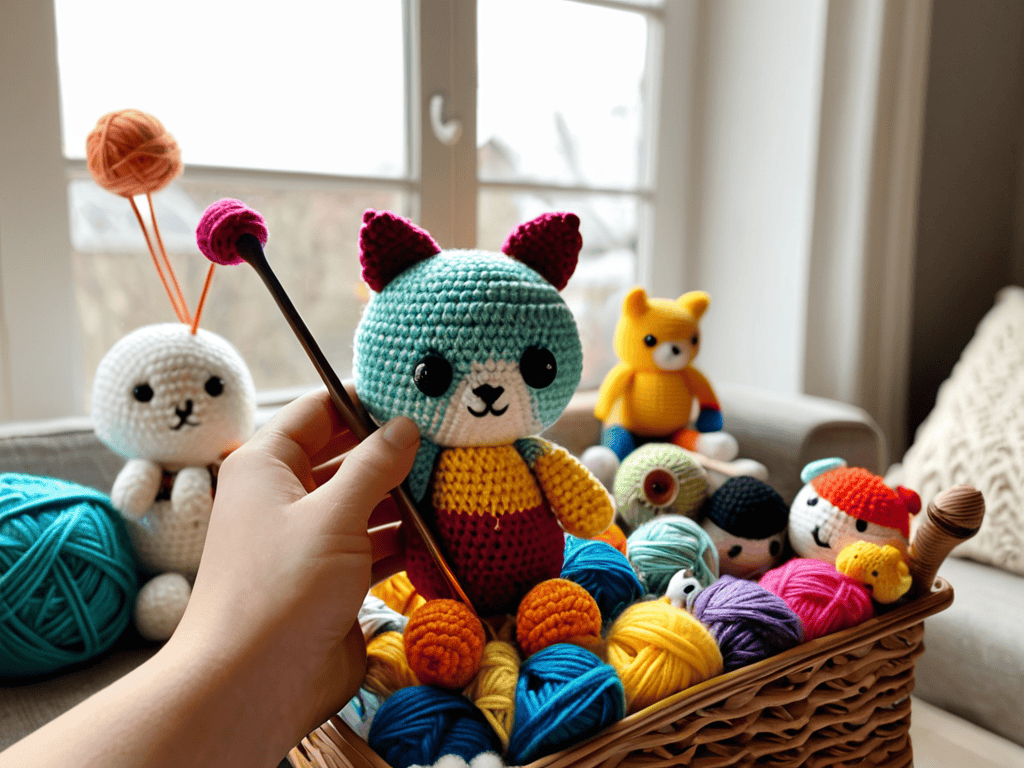
Unlocking Amigurumi Toy Patterns
As I dove deeper into the world of amigurumi, I discovered the thrill of unlocking new toy patterns. It’s amazing how a simple change in stitch or color can transform a design. I’ve spent hours poring over patterns, experimenting with different techniques, and pushing the boundaries of what’s possible. From cute animals to quirky characters, the possibilities are endless.
I love how each new pattern presents a fresh challenge, forcing me to think creatively and develop my skills. Whether it’s mastering a new stitch or figuring out how to shape a peculiar body part, the process is always engaging and rewarding. As my skills improve, I’m excited to tackle even more complex designs and bring my own unique ideas to life.
Stitching Success: 5 Essential Amigurumi Crochet Tips
- I’ve found that using the right weight yarn is crucial – it makes all the difference in achieving that perfect cuddly texture
- Pay attention to your tension, as it can affect the overall shape of your amigurumi toy – I’ve learned this the hard way, trust me!
- Don’t be afraid to experiment with different hook sizes until you find the one that works best for you and your project
- Stuffing your amigurumi toys firmly, but not too tightly, is an art – you want them to be snug but still adorable and squeezable
- Adding little details like eyes, noses, and mouths can bring your amigurumi creations to life – I just love seeing my toys come to life with these small touches
Key Takeaways for Amigurumi Enthusiasts
I’ve learned that with the right hook size and yarn, even the most intricate amigurumi designs can come to life in my hands
Unlocking various amigurumi toy patterns has opened my eyes to a world of creativity, from cute animals to functional items like pouches and bags
Through mastering amigurumi crochet, I’ve discovered a sense of calm and fulfillment that comes with creating something adorable and tangible, one stitch at a time
The Heart of Amigurumi
As I weave each stitch, I’m not just creating a toy, I’m crafting a memory – one that will be hugged, squeezed, and loved for years to come.
Lily Crochet
Conclusion
As we wrap up our journey through the world of amigurumi crochet, it’s essential to remember the key points that will help you master this craft. From choosing the right hook sizes to unlocking various toy patterns, each step is crucial in creating adorable amigurumi toys. By following the step-by-step guide and tips provided, you’ll be well on your way to creating your own unique amigurumi pieces that showcase your personality and skill.
As you continue to explore and push the boundaries of amigurumi crochet, remember that the true joy lies not just in the end result, but in the process itself. The calming rhythm of the hook, the satisfaction of seeing your project come to life, and the joy of gifting your creations to loved ones are all part of what makes amigurumi crochet so special. So, don’t be afraid to experiment, try new things, and make this craft your own – and most importantly, have fun along the way.
Frequently Asked Questions
What are the most common mistakes to avoid when starting an amigurumi crochet project?
Honestly, I’ve made my fair share of mistakes when starting amigurumi projects! The most common ones to avoid are inconsistent tension, incorrect hook sizes, and not leaving a long enough tail for sewing pieces together. Trust me, you don’t want to have to frogging your entire project because of a simple mistake!
How do I ensure that my amigurumi toys are stuffed evenly and securely?
To get that perfect plush, I swear by using a handful of fiberfill and gently pulling it apart to prevent lumps. Then, I insert small amounts at a time, making sure to fill every nook and cranny evenly, especially around the limbs and head. It’s all about patience and a little fluffing magic!
Can I use any type of yarn for amigurumi crochet, or are there specific types that work best?
Honestly, not all yarns are created equal for amigurumi. I swear by medium-weight yarns with a bit of stretch, like cotton or acrylic blends. They give my toys the perfect balance of softness and structure. Avoid super bulky or too-lacey yarns, as they can be tricky to work with and might not hold the shape you want.