I still remember the first time I attempted to replace a toilet flapper in my vintage home – it was a chaotic mess, with water splashing everywhere and a toilet that refused to stop running. But, as I delved deeper into the world of DIY home repairs, I discovered that this task wasn’t as daunting as it seemed. In fact, learning how to replace a toilet flapper became a pivotal moment in my journey as a DIY enthusiast, teaching me that even the most mundane tasks can hold a sense of excitement and fulfillment. My colorful socks, featuring the vibrant designs of famous artists like Van Gogh, seemed to match the whimsy of my DIY adventures, and I found myself eager to share this knowledge with others.
As you embark on this journey to replace a toilet flapper, I promise to guide you through the process with honest, no-nype advice, stripping away the complexity and focusing on the practical, step-by-step instructions that will have you fixing your toilet in no time. You’ll learn how to navigate the often-confusing world of toilet parts, avoid common pitfalls, and even add a touch of personality to your bathroom with some creative tweaks. By the end of this article, you’ll be equipped with the confidence and skills to tackle not just this task, but a wide range of DIY projects, all while embracing the joy of sustainable living and the satisfaction of creating something with your own hands.
Table of Contents
Guide Overview: What You'll Need
Total Time: 30 minutes to 1 hour
Estimated Cost: $5 – $20
Difficulty Level: Easy
Tools Required
- Adjustable wrench for turning nuts and bolts
- Channel-type pliers for gripping and twisting
- Needle-nose pliers for reaching small spaces
Supplies & Materials
- Toilet flapper replacement
- Chain and hook assembly if the old one is damaged
- Silicone-based lubricant for lubricating moving parts
Step-by-Step Instructions
- 1. First, let’s get started by turning off the water supply to the toilet, because the last thing we want is a flood on our hands. Locate the shut-off valve behind the toilet and give it a few turns to stop the water flow. Now, flush the toilet to drain the tank, and you’re ready to dive in.
- 2. Next, we need to disconnect the chain that links the flapper to the flush handle. This is usually a simple matter of unhooking the chain from the handle or sliding it off a small clip. Don’t worry if it seems a bit fiddly; it’s easier than trying to upcycle a vintage chair without the right tools.
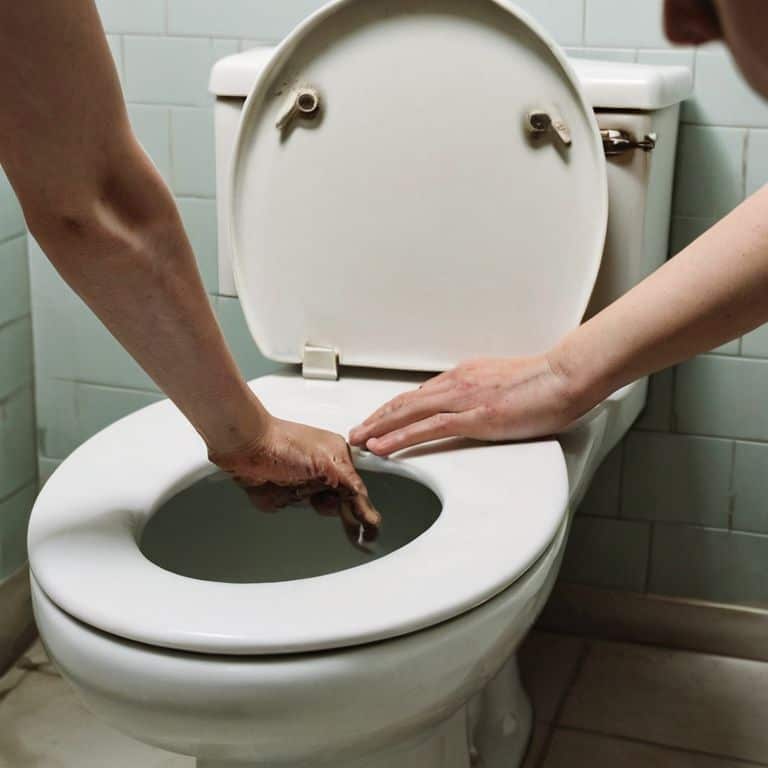
- 3. Now, it’s time to remove the old flapper. This typically involves sliding it off the hinge pins or clips that hold it in place over the flush valve. Be prepared for it to be a bit stubborn, but a gentle wiggle should set it free. As you pull it out, take a moment to appreciate the simple yet effective design of this little piece of rubber.
- 4. With the old flapper out, inspect and clean the area around the flush valve. Any mineral buildup or debris can affect the performance of your new flapper, so take a minute to wipe it down. A soft brush or cloth should do the trick, making sure the surface is smooth and clean for the new part.
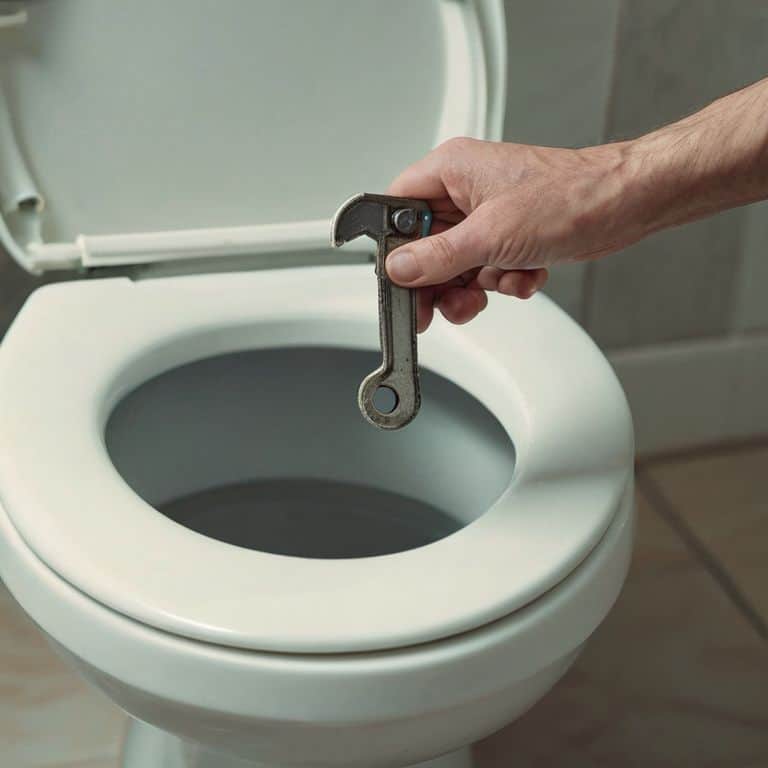
- 5. The moment of truth: installing the new flapper. Take your replacement part and slide it over the hinge pins or clips, making sure it’s securely in place. Don’t overtighten anything; you want it to move freely. If your new flapper comes with any adjustments for the chain, now’s the time to fiddle with those settings.
- 6. Reconnect the chain to the flush handle, making sure it’s not too tight or too loose. You’re aiming for a smooth, effortless flush, so adjust accordingly. Remember, it’s all about balance, much like finding the perfect blend of rustic and modern in your DIY decor projects.
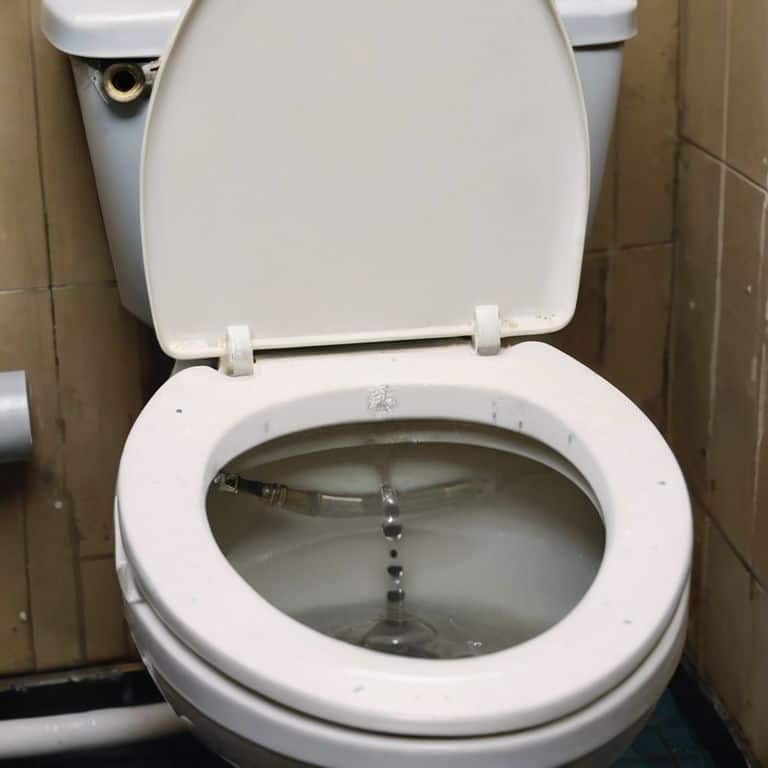
- 7. Finally, turn the water supply back on and give the toilet a few test flushes to ensure everything is working as it should. Check for any leaks around the flapper and make any necessary adjustments to the chain or flapper itself. If all seems well, congratulations! You’ve not only fixed your toilet but also saved a bit of money and possibly even learned a new skill to add to your DIY toolkit.
Flush With Flair Replacing Flappers
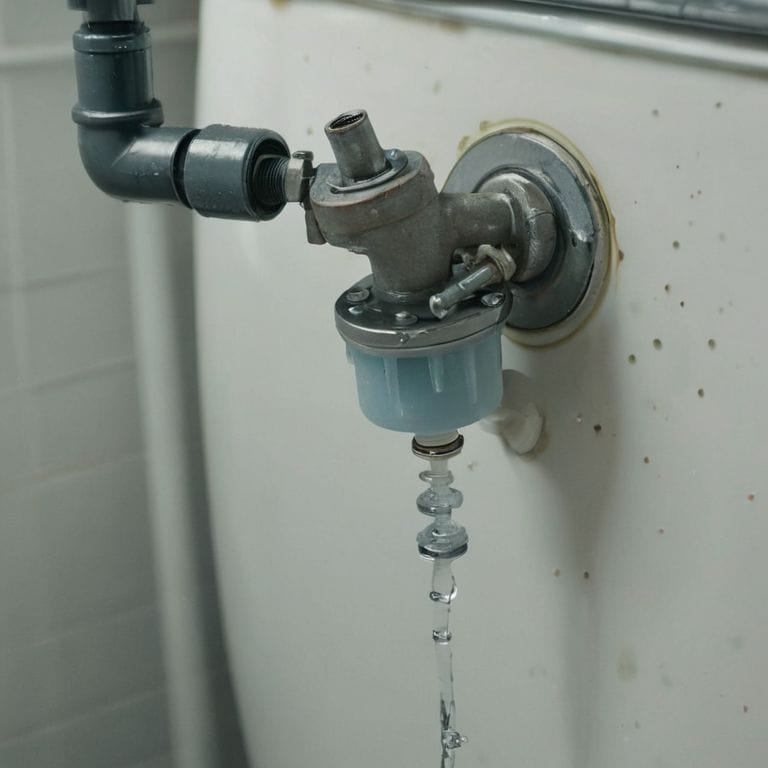
As I always say, the devil is in the details, and when it comes to troubleshooting a leaking toilet, it’s essential to consider the entire system, not just the flapper. One common mistake beginners make in diy toilet repair is neglecting to inspect the fill valve, which can also be a culprit behind those pesky leaks.
When deciding on a toilet flapper replacement, it’s crucial to weigh the toilet flapper replacement cost against the benefits of water-saving upgrades. In many cases, opting for a more efficient flapper can lead to significant reductions in water consumption, making it a worthwhile investment for those looking to make their home more eco-friendly.
In the context of common toilet problems and solutions, understanding the difference between a toilet flapper vs fill valve is key to effective DIY repairs. By grasping these fundamentals, you’ll be better equipped to tackle a variety of issues, from leaks to flushing problems, and even explore opportunities for water saving toilet upgrades that can make a real difference in your daily life.
Diy Toilet Repair for Beginners
As a beginner, diving into DIY toilet repair can seem daunting, but trust me, it’s a flush above the rest when it comes to empowering experiences. I recall my first project, upcycling a vintage dresser into a quirky bathroom storage unit – it was a game-changer. Now, I’m sporting my Picasso socks, ready to tackle that toilet flapper with flair. The key is to start small, like replacing a flapper, and gradually work your way up to more complex projects. Not only will you save money, but you’ll also gain a sense of pride and accomplishment.
Remember, DIY toilet repair is all about experimentation and creativity. Don’t be afraid to get a little messy and try new things. With each successful project, you’ll become more confident in your abilities, and before you know it, you’ll be tackling even the most daunting tasks with ease. So, go ahead, roll up your sleeves, and get ready to unleash your inner DIY rockstar – your toilet (and the environment) will thank you.
Toilet Flapper vs Fill Valve Secrets
Now that we’ve dived into the whimsical world of toilet flapper replacement, let’s uncover the secrets that lie between the flapper and its trusty sidekick, the fill valve. I like to think of them as the dynamic duo of the porcelain throne, working in harmony to ensure a leak-free and efficient flushing experience. As I sit here, wearing my favorite Van Gogh socks, I’m reminded that even the most mundane parts can hold a certain artistic charm.
The key to a successful partnership between the flapper and fill valve lies in their synchronization. When the flapper closes, the fill valve should kick in, refilling the tank with just the right amount of water. It’s a delicate dance, really, and one that requires a bit of finesse to get just right. By understanding and adjusting this relationship, you’ll be well on your way to creating a toilet that’s not only functional but also a testament to your DIY prowess.
Flapper Frenzy: 5 Tips to Tinker Like a Pro
- Turn off the water supply before you start, trust me, you don’t want a flooded battlefield in your bathroom!
- Choose the right flapper size, it’s like finding the perfect vintage fit – you want it to match your toilet’s unique style
- Don’t overtighten, my friend, you’re not trying to win a wrestling match, just a snug fit will do
- Inspect the fill valve and flapper chain, these are the secret agents that keep your toilet running smoothly, give them some love
- Test your handiwork with a few flushes, it’s like unveiling a new art piece – you want to make sure it’s a masterpiece, not a mess
Key Takeaways for a Flush with Flair
Always switch off the water supply before starting any toilet repair to avoid unexpected water eruptions and make the process safer and less messy
Choosing the right replacement parts, such as a toilet flapper or fill valve, can significantly impact the efficiency and longevity of your toilet’s performance, so select them wisely based on your toilet model and needs
Embracing DIY toilet repairs like replacing a flapper can not only save you money but also give you a sense of accomplishment and the opportunity to add a personal touch to your bathroom, making it a unique reflection of your style and flair
The Flapper Philosophy
Replacing a toilet flapper isn’t just about fixing a leak, it’s about uncovering the hidden harmony between function and flair, where the mundane becomes a masterpiece of modern convenience, one quirky twist at a time.
James O'Neill
Wrapping Up with a Flush of Pride
As we conclude this journey of replacing a toilet flapper, let’s briefly recap the key points to keep in mind: switching off the water supply, understanding the difference between the flapper and fill valve, and embracing the satisfaction of a job well done. It’s all about empowering yourself with the right knowledge and a dash of creativity to tackle even the most mundane tasks with flair. Remember, every small DIY victory counts, and it’s the culmination of these tiny triumphs that leads to a more significant impact on our pursuit of sustainable living.
So, the next time you hear the sound of a toilet running incessantly, don’t just see a problem – see an opportunity to create. An opportunity to not only fix something with your own hands but to also contribute, in your own small way, to a larger movement of reducing waste and conserving resources. As I always say, it’s the quirky, imperfectly perfect solutions that often lead to the most beautiful stories, and who knows, your toilet flapper replacement story might just be the beginning of a wonderfully weird and fantastic DIY adventure.
Frequently Asked Questions
What are the most common signs that my toilet flapper needs to be replaced?
Ah, my friend, if you notice your toilet constantly running, water pooling around the base, or the flapper not sealing properly, it’s time for a swap! These are the telltale signs that your trusty flapper has seen better days and needs a stylish replacement, pronto!
Can I use a universal toilet flapper replacement or does it need to be specific to my toilet model?
Ah, great question, friend! While universal flappers exist, I always recommend checking your toilet’s specs to ensure a perfect fit. Some models, especially vintage ones, might require a custom or OEM replacement for optimal performance. Trust me, it’s worth the extra research to avoid any, ahem, ‘crappy’ surprises down the line!
How often should I inspect and potentially replace my toilet flapper to maintain optimal toilet performance?
Ah, great question, friend! I’d recommend checking your toilet flapper every 6-12 months, or if you notice any wonky flushing action. Think of it like tuning a vintage bike – regular tweaks keep it running smoothly. Replace it if you spot signs of wear, like mineral buildup or a wonky seal, to keep your porcelain throne performing like a charm!