I still remember the first time I tried to use a power drill – I was a total newbie, and let me tell you, it was a disaster. I was attempting to how to use a power drill for beginners without any proper guidance, and I ended up stripping the screws and making a mess of the entire project. But that’s exactly why I’m excited to share my journey with you, and help you avoid the same mistakes I made. With the right techniques and a bit of practice, you’ll be drilling like a pro in no time.
In this article, I’ll be sharing my honest and practical advice on how to get started with power drilling, even if you’ve never held a drill before. I’ll walk you through the basics of choosing the right drill, understanding the different types of drill bits, and most importantly, staying safe while you work. By the end of this guide, you’ll have the confidence to tackle any DIY project that comes your way, and you’ll be well on your way to becoming a power drilling pro. So, let’s get started and unleash your inner maker with a dash of whimsy and a whole lot of power!
Table of Contents
Guide Overview: What You'll Need
Total Time: 1 hour 30 minutes
Estimated Cost: $20 – $50
Difficulty Level: Easy
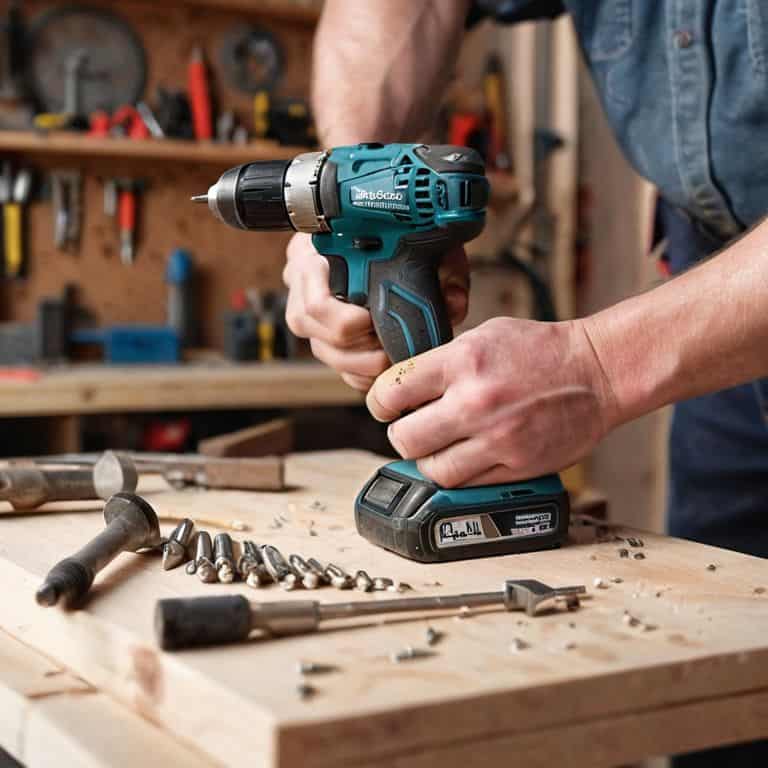
Tools Required
- Power Drill (with adjustable speed setting)
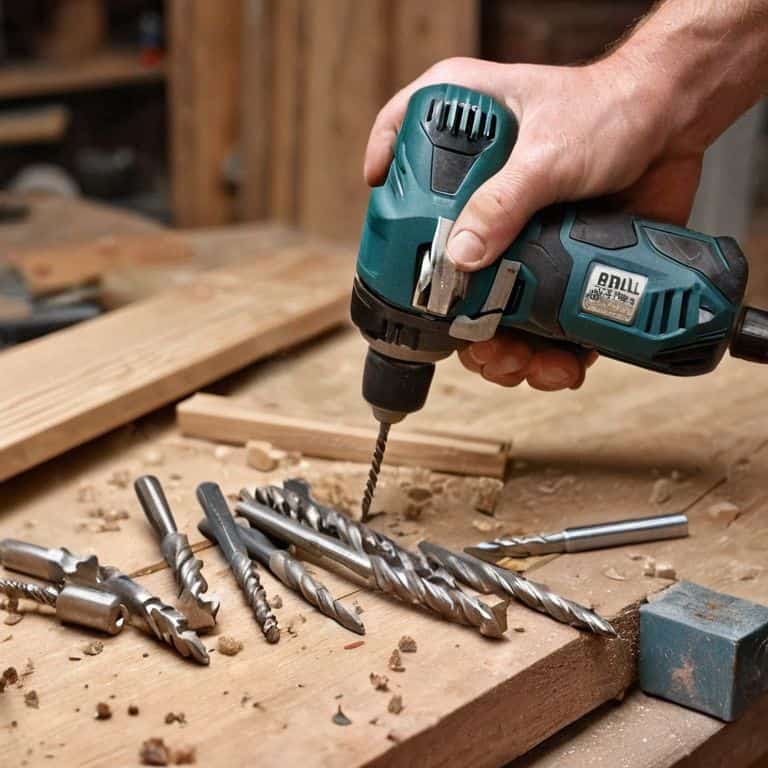
- Drill Bits (various sizes)
- Screwdriver Bits (for driving screws)
- Level (for ensuring straight drilling)
- Work Light (for illuminating the work area)
- Clamp (for holding material in place)
- Safety Goggles (for protecting your eyes)
Supplies & Materials
- Wood or Plastic Material (for practice drilling)
- Screws (for practice driving)
- Drill Bit Sharpener (optional)
- Power Drill Battery (if your drill is cordless)
Step-by-Step Instructions
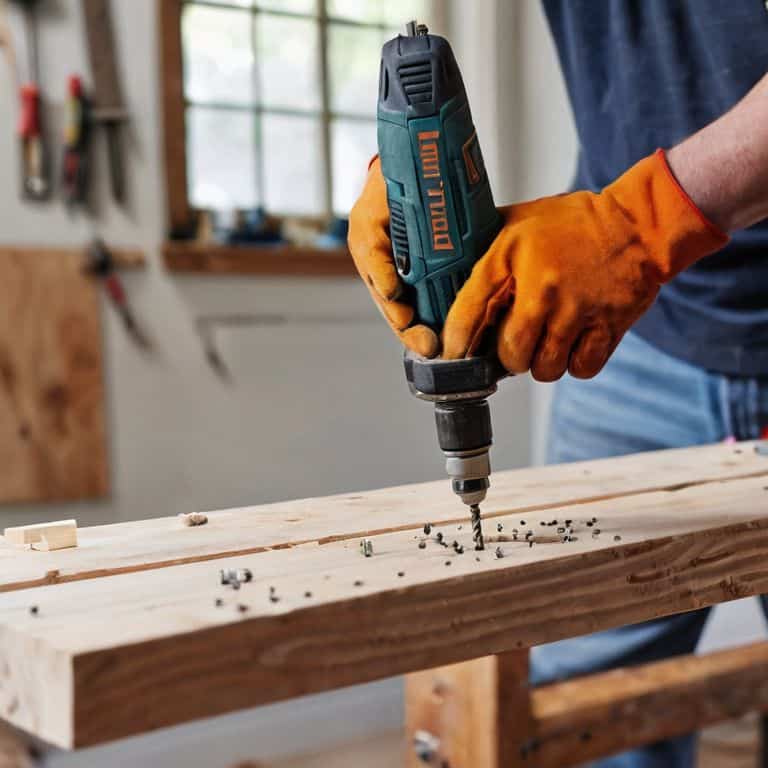
- 1. First, let’s get started with the basics – safety first is my motto when it comes to power tools. Make sure you’re wearing protective gear like safety glasses and a dust mask, and keep loose clothing or long hair tied back to avoid any accidents. I like to think of it as dressing for the occasion, and my favorite vintage-inspired safety glasses always add a bit of flair to my DIY adventures.
- 2. Next, familiarize yourself with your power drill’s components – it’s like getting to know a new friend. Understand what each part does, from the variable speed trigger to the chuck that holds your drill bits in place. Don’t worry if it seems overwhelming at first; I was once a newbie too, and now I’m hooked on the thrill of discovering new possibilities with my trusty drill by my side.
- 3. Now, let’s talk about choosing the right drill bit for your project. This is where the magic happens, and your creation starts to take shape. From wood to metal, each material requires a specific type of bit, so make sure you’ve got the right one for the job. I’ve got a whole collection of bits, each one carefully selected for its unique characteristics, and I love matching them with my artist-themed socks for an extra dose of inspiration.
- 4. With your drill and bit ready, it’s time to set your speed. Different materials require different speeds, so don’t be afraid to experiment and find what works best for you. I like to think of it as finding the perfect rhythm for your project – it’s all about feeling the vibe and letting your creativity flow. Remember, practice makes perfect, so don’t be discouraged if it takes a few tries to get it just right.
- 5. Okay, friend, let’s get drilling – it’s time to put your newfound knowledge into action. Hold your drill firmly, apply gentle to moderate pressure, and let the drill do the work. Don’t push too hard, as this can damage your material or the drill itself. I always say that drilling is like dancing – it’s all about the smooth moves and finding your own unique style.
- 6. As you work on your project, maintaining your drill is key to ensuring it keeps running smoothly. Regularly clean your drill and bits, and make sure to store them properly when not in use. I like to think of maintenance as a way to show love and respect for my tools – it’s all about building a lasting relationship with your drill and creating something truly special together.
- 7. Finally, don’t be afraid to experiment and try new things – that’s where the real magic happens, and you start to develop your own unique style. Whether it’s drilling at an angle or using different materials, the world of DIY is all about exploring new possibilities and pushing the boundaries of what’s possible. So go ahead, get creative, and remember – the most important thing is to have fun and enjoy the journey.
Drilling Into Fun
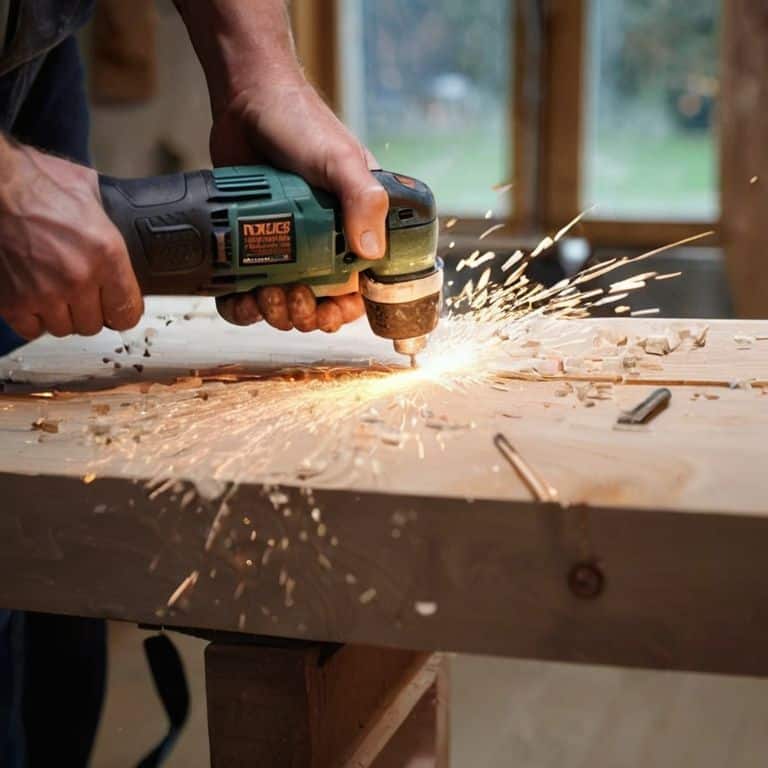
As I always say, the real fun begins when you start experimenting with different materials and techniques. Drilling into various types of wood, for instance, requires a bit of finesse and the right drill bit selection. You see, choosing the right drill bit can make all the difference between a smooth, effortless drill and a frustrating, splintered mess. I like to think of it as pairing the perfect sock with my outfit – it’s all about harmony and balance.
Now, when it comes to understanding drill torque settings, it’s essential to grasp the concept of not applying too much pressure, which can lead to stripped screws or damaged material. I’ve learned this the hard way, but it’s a lesson that has stuck with me. By being mindful of the torque settings, you can avoid common drilling mistakes and ensure a safe, enjoyable drilling experience. It’s all about finding that sweet spot where your drill and material become one, like a perfectly upcycled piece of furniture.
As you continue to hone your drilling skills, remember to prioritize drill safety precautions and basic drilling techniques. This will not only protect you from potential hazards but also help you develop a consistent, high-quality finish. With practice and patience, you’ll be well on your way to becoming a drilling master, capable of tackling even the most intricate projects with confidence and flair.
Choosing Bits With Flair and Function
Now that we’ve got the safety vibes going, let’s dive into the fascinating world of drill bits! I mean, who knew something so small could add such a big splash of personality to our projects? For my upcycling adventures, I swear by a trusty set of vintage-inspired bits that add a touch of nostalgia to every creation. From elegant brass to vibrant, rainbow-hued titanium, the right bit can elevate your DIY game and make the experience a whole lot more enjoyable. My current fave? A beautifully crafted, one-of-a-kind bit featuring a miniature replica of Van Gogh’s “Starry Night” – it’s the perfect match for my “Vincent’s Vibrant Vintage” socks!
Whimsy Meets Drill Safety Precautions
As I always say, safety first, but with a dash of whimsy, of course! When it comes to drill safety precautions, I like to think of them as the secret ingredients in my favorite recipe for a fun and successful DIY project. You see, wearing the right gear, like my trusty safety goggles and a pair of gloves, is not just about protecting myself, but also about getting into the right mindset for creativity. Plus, it’s the perfect excuse to add some colorful flair to my outfit – just like my beloved artist socks!
Now, I know what you’re thinking: safety precautions can be a bit of a buzzkill. But trust me, friend, they’re essential to unleashing your inner maker. By being mindful of potential hazards and taking necessary precautions, you’ll be free to focus on the fun part – bringing your unique vision to life. So, go ahead, don your favorite pair of quirky socks, and let’s get drilling with confidence and style!
Drill Like a Rockstar: 5 Tips to Get You Started
- Always wear safety goggles and keep loose hair tied back, because we want that beautiful face of yours to stay beautiful, and those lovely locks to stay intact
- Choose the right drill bit for the job – don’t be afraid to get a little fancy with your bit collection, just like I do with my sock collection
- Keep your work surface clear of clutter, unless you’re going for a ‘creative chaos’ vibe, in which case, go wild, my friend
- Start with low speed and gradually increase as needed – it’s like dancing, you’ve got to feel the rhythm of that drill
- Practice, practice, practice – the more you drill, the more you’ll develop your own unique style, just like a painter with a brush, or a musician with an instrument
Drilling Down to the Essentials
Always remember to match your drill bits with the task at hand, and don’t be afraid to get creative with the materials you’re working with – after all, upcycling is all about breathing new life into old treasures!
Whimsy and safety go hand-in-hand, so make sure to wear your favorite quirky socks – like my beloved Van Gogh pair – to bring a smile to your face while you’re hard at work, and never skip those essential safety goggles
Practice makes perfect, so don’t be discouraged if your first few drilling attempts don’t turn out exactly as planned – with time and patience, you’ll be crafting one-of-a-kind masterpieces like a pro, and having a blast while doing it!
Drilling Down to the Heart of the Matter
The power drill is not just a tool, it’s a key to unlocking the hidden potential in every forgotten piece, and with a dash of whimsy, even the most novice of hands can create something truly extraordinary.
James O'Neill
Drilling into Success
As we wrap up this beginner’s guide to using a power drill, remember that the key to mastering this tool lies in practicing safety precautions and having the right bits for the job. We’ve covered the essential steps, from choosing the right drill to drilling with confidence. Don’t forget to have fun along the way – after all, it’s all about embracing your inner maker and uncovering the hidden potential in every project. Whether you’re upcycling vintage furniture or creating something entirely new, the sense of accomplishment you’ll feel is unparalleled.
So, as you embark on your drilling journey, remember that it’s not just about the tool itself, but about the creative possibilities it unlocks. Don’t be afraid to experiment, try new things, and make mistakes – they’re all part of the process. With every project, you’ll become more comfortable, more confident, and more inspired to push the boundaries of what’s possible. Keep on drilling, and most importantly, keep on creating – your next masterpiece is just a drill bit away!
Frequently Asked Questions
What are some common mistakes to avoid when using a power drill for the first time?
Hey, newbie driller! When using a power drill for the first time, watch out for slipping and stripping screws, applying too much pressure, and not keeping your work surface clear. Also, avoid over-tightening – it’s a rookie move that can damage your project. Trust me, I’ve been there, and I’m rocking my Van Gogh socks to remind me to stay chill and drill with ease!
How do I know which drill bit to use for a specific project or material?
Ah, my friend, choosing the right drill bit is like picking the perfect paint color – it’s all about matching the material and project vibe! For wood, I love using a trusty twist bit, while metal calls for a rugged titanium nitride bit. And for glass or tile, a diamond-coated bit is my go-to. Let’s get bit-by-bit, shall we?
What safety precautions should I take when drilling into different types of surfaces or materials?
Hey, safety first, my friend! When drilling into different surfaces, always don a pair of goggles and keep loose clothing tied back. For wood, use a sharp bit and steady pace. On metal, opt for a slower speed and lubricant. And for glass or tile, choose a diamond-coated bit and apply gentle, consistent pressure – trust me, it’s worth the extra care!