I still remember the first time I tried to how to build a workbench – it was a disaster. I had envisioned a sturdy, rustic piece that would be the centerpiece of my workshop, but what I ended up with was a wobbly, makeshift contraption that looked like it belonged in a junkyard. The problem was, I had fallen victim to the common myth that building a workbench requires a plethora of expensive tools and a degree in carpentry. But the truth is, with a little creativity and some reclaimed wood, you can create a one-of-a-kind workbench that’s both functional and visually stunning.
As I delved deeper into the world of DIY workbenches, I realized that the key to success lies in keeping things simple and fun. In this article, I’ll share my honest, no-hype advice on how to build a workbench that reflects your unique style and meets your specific needs. From choosing the perfect materials to adding those quirky details that make a piece truly special, I’ll guide you through the process with ease. So, if you’re ready to unleash your inner craftsman and create a workbench that’s as unique as you are, then let’s get started on this exciting journey together – and, of course, I’ll be wearing my favorite pair of bright blue socks to inspire us along the way!
Table of Contents
- Guide Overview: What You'll Need
- Step-by-Step Instructions
- Crafting Your Dream Workbench
- Hammering Out the Essentials: 5 Tips to Build Your Dream Workbench
- Timeless Treasures: 3 Key Takeaways for Your Dream Workbench
- A Workbench Born from Passion
- Embracing the Joy of Creation: A Workbench to Call Your Own
- Frequently Asked Questions
Guide Overview: What You'll Need
Total Time: 4 hours 30 minutes
Estimated Cost: $100 – $200
Difficulty Level: Intermediate
Tools Required
- Circular Saw (for cutting lumber)
- Drill Press (for precise drilling)
- Hand Saw (or a jigsaw for curved cuts)
- Sander (for smoothing out wood surfaces)
- Tape Measure (for accurate measurements)
- Square (for ensuring square corners)
- Clamps (for holding pieces together during assembly)
- Socket Wrench (for tightening bolts)
Supplies & Materials
- 2-in x 4-in lumber (for the frame)
- 3/4-in plywood (for the top surface)
- 2-in x 6-in lumber (for the shelves)
- Wood Screws (for assembling the frame)
- Wood Glue (for bonding wood pieces)
- Sandpaper (for smoothing out surfaces)
- Paint or Stain (for finishing the workbench)
- Polyurethane (for protecting the finish)
Step-by-Step Instructions
- 1. First, let’s start by gathering our materials, which will include reclaimed wood for the workbench top and legs, some quirky hardware to add a touch of personality, and my trusty pair of bright blue socks featuring Vincent van Gogh to inspire our creativity. We’ll also need a few basic tools like a drill, saw, and sandpaper to bring our vision to life.
- 2. Next, we’ll begin by preparing the reclaimed wood for our workbench top. This involves carefully cleaning the wood to remove any dirt or debris, and then sanding it down to smooth out any rough edges or surfaces. As we work, I like to imagine the stories this wood could tell, and the new chapter we’re about to write in its history.
- 3. Now it’s time to assemble the workbench frame, using the reclaimed wood for the legs and any additional support structures. We’ll use our drill and saw to cut and attach the pieces, making sure everything is sturdy and level. Don’t worry if it gets a little messy – that’s all part of the charm, and we can always add some decorative touches later to cover up any imperfections.
- 4. With the frame in place, we can start attaching the workbench top, making sure it’s securely fastened with screws or nails. This is where our quirky hardware comes in – maybe some vintage door handles or antique hinges to add a bit of whimsy to our design. As we work, I like to think about all the creative projects we’ll be undertaking on this very workbench in the future.
- 5. Once the top is attached, we can start adding some functional details, like a vice or a storage compartment. This is where we can really let our imagination run wild, thinking about all the ways we can customize our workbench to suit our needs. Maybe we’ll add a built-in tool rack or a small shelf for supplies – the possibilities are endless, and it’s up to us to get creative.
- 6. As we near the end of our project, it’s time to add some finishing touches, like a coat of paint or stain to protect the wood and give our workbench a bit of color. We can also add some decorative trim or molding to give it a more polished look. And of course, no workbench would be complete without a few personal flourishes – maybe a funny slogan or a motivational quote to keep us inspired as we work.
- 7. Finally, we can stand back and admire our handiwork, feeling proud of the unique and functional workbench we’ve created from scratch. As I look at my finished project, I’m reminded of the importance of sustainability and the joy of giving new life to old materials. And with my bright blue socks still firmly in place, I know I’m ready to take on whatever creative adventures come next.
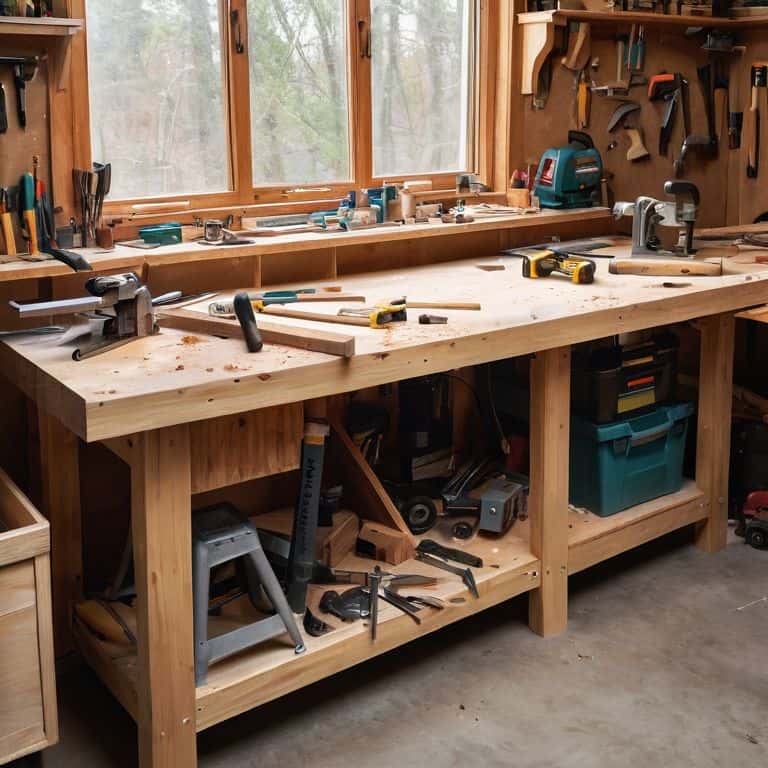
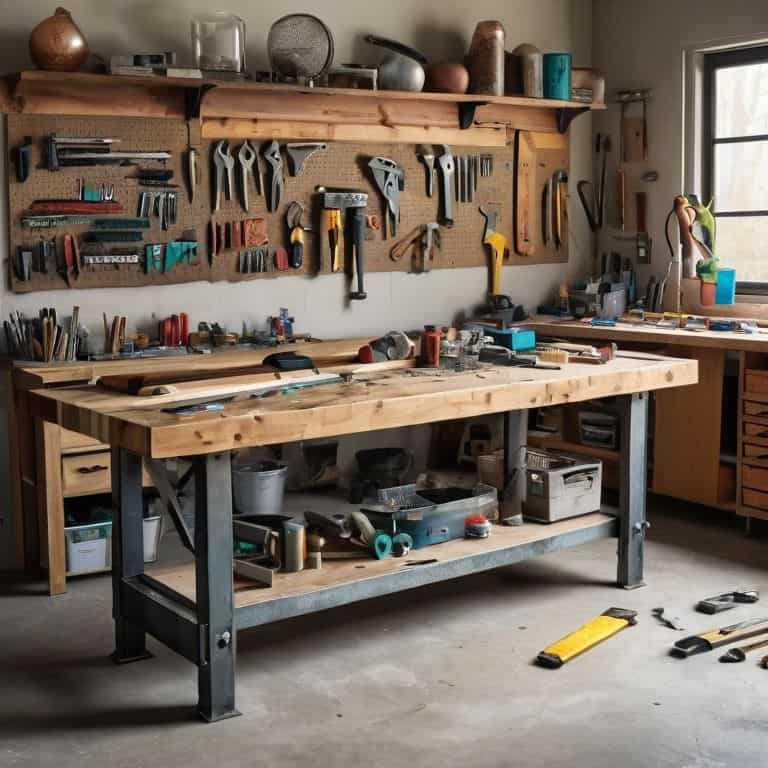
Crafting Your Dream Workbench
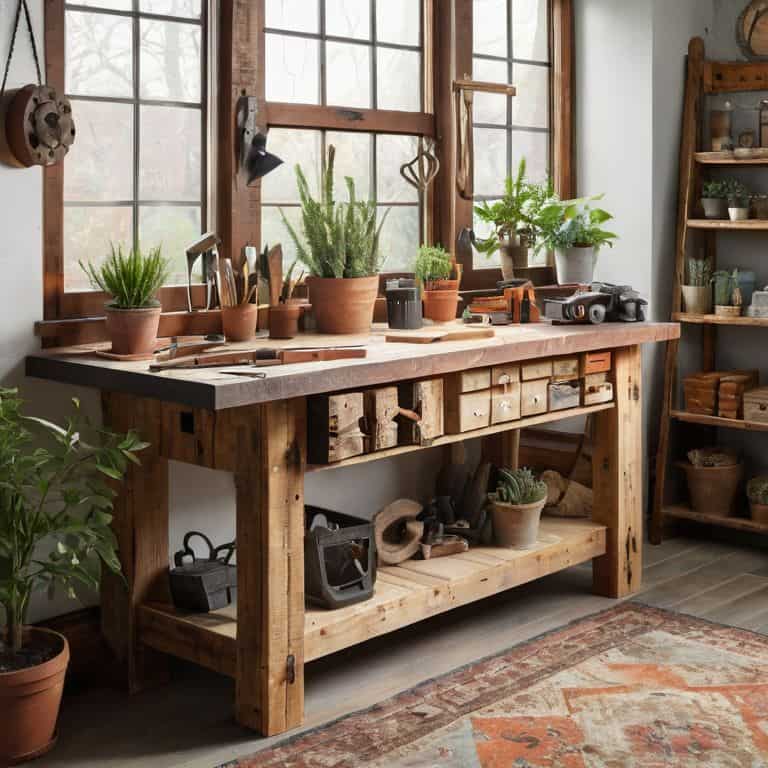
As I sit here, surrounded by my collection of colorful socks featuring famous artists, I’m reminded that building a workbench for beginners is all about embracing creativity and experimentation. When it comes to workbench design ideas, the possibilities are endless, and I love seeing how different materials and styles can come together to create something truly unique. For my own workbench, I opted for a rustic wooden top paired with sleek, modern legs – a combination that not only adds a touch of whimsy to my workshop but also provides a sturdy foundation for all my DIY adventures.
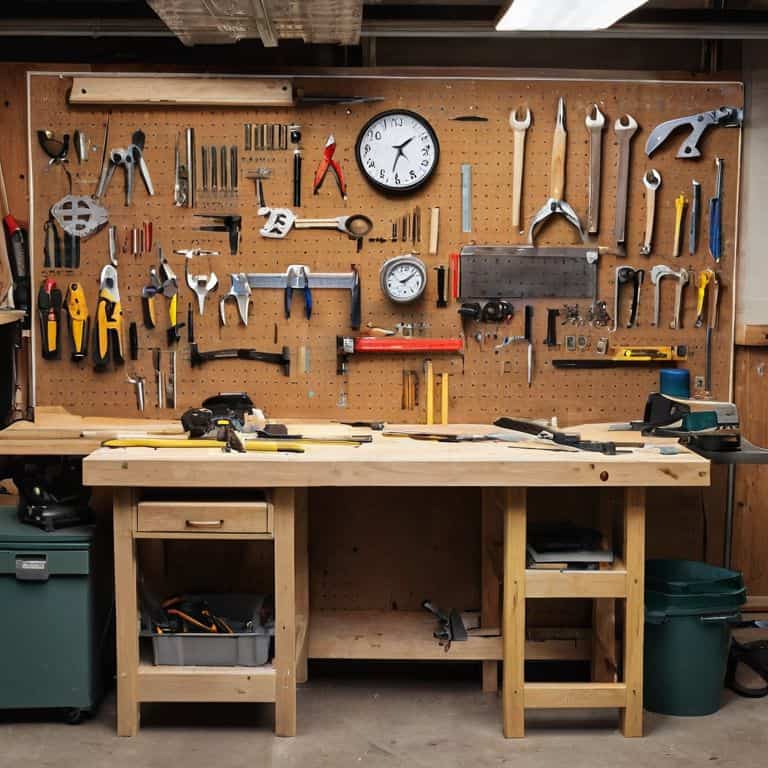
One of the most important considerations when crafting your dream workbench is the best materials for a workbench top. I’ve found that reclaimed wood or durable composite materials can add a touch of character and durability to your workspace. And let’s not forget about workbench storage solutions – a well-designed workbench should have ample space for tools, supplies, and other essentials. I’ve incorporated a few clever storage compartments into my own workbench, including a hidden drawer and a pegboard for hanging frequently used items.
As you bring your workbench to life, don’t forget to consider workbench height adjustment options to ensure that your workspace is comfortable and ergonomic. Whether you’re a seasoned DIY enthusiast or just starting out, a well-crafted workbench can be a game-changer for your productivity and creativity. With a little patience and imagination, you can create a one-of-a-kind workspace that reflects your personality and style – and that’s what diy workbench plans with drawers are all about.
Designing Storage With Reclaimed Flair
As I slip on my vibrant Van Gogh socks, I’m reminded that storage is not just about functionality, but also a chance to add a dash of personality to our workbench. I love incorporating reclaimed wood crates, old metal toolboxes, or even vintage suitcases to store my DIY essentials. Not only do these unique containers keep my workspace organized, but they also tell a story of their own, adding a layer of character to my workbench.
By repurposing these treasures, I’m able to create a space that’s both eclectic and efficient. My favorite part? Watching my students’ faces light up when they see the potential in an old, discarded item. It’s a thrill to see them transform a rustic wooden ladder into a quirky shelving unit or a set of antique drawers into a one-of-a-kind storage system. The possibilities are endless, and with a little creativity, our workbenches become a reflection of our individuality.
Uncover Building Secrets for Beginners
As a beginner, it’s essential to uncover the building secrets that will make your workbench truly special. I always say, the key to a great workbench is in the details – think clever storage solutions, ergonomic design, and a dash of personality. For my own workbench, I upcycled an old door into the main surface, adding a touch of history and character. My pair of Van Gogh socks seemed to inspire the vibrant colors I chose for the accents, don’t you think?
When starting out, don’t be afraid to experiment and try new things. Remember, it’s okay to make mistakes – they’re all part of the creative process. What’s most important is that you’re having fun and learning as you go. With a little patience and practice, you’ll be crafting like a pro in no time, and your workbench will be the envy of all your friends and family.
Hammering Out the Essentials: 5 Tips to Build Your Dream Workbench
- Embrace the Beauty of Imperfection: Don’t be afraid to mix and match different types of reclaimed wood to create a unique, one-of-a-kind workbench that tells a story
- Measure Twice, Cut Once (But Don’t Forget to Wear Your Favorite Socks): Accuracy is key when building a workbench, so take your time and double-check those measurements before making any cuts
- Get Creative with Storage: Incorporate quirky storage solutions, like vintage metal drawers or wooden crates, to add personality to your workbench and keep your tools within easy reach
- Add a Dash of Ergonomics: Consider the height and comfort of your workbench, adding features like a built-in vice or a cushioned shelf to make your DIY experience more enjoyable and efficient
- Light It Up: Don’t forget to add some functional lighting to your workbench, like a vintage metal lamp or a string of fairy lights, to illuminate your workspace and make those late-night DIY sessions a breeze
Timeless Treasures: 3 Key Takeaways for Your Dream Workbench
Embrace the art of upcycling by transforming vintage pieces into functional storage solutions, like turning old doors into shelves or crates into drawers, all while donning my favorite pair of Van Gogh-inspired socks to get those creative juices flowing
Unleash your inner craftsman by adding quirky details, such as antique hardware or handmade wooden accents, to give your workbench a one-of-a-kind personality that reflects your own unique style and flair
Remember, the true beauty of DIY lies in experimentation and creativity, so don’t be afraid to think outside the box, try new things, and make mistakes – after all, it’s often the unexpected twists that lead to the most incredible, show-stopping pieces, and I should know, I’ve got a pair of Picasso-themed socks to prove it
A Workbench Born from Passion
A workbench is not just a tool, it’s a canvas where stories of creation and innovation are written, one handmade detail at a time, and I believe that’s where the true magic of DIY lies – in the imperfections and the character that only a handmade piece can bring.
James O'Neill
Embracing the Joy of Creation: A Workbench to Call Your Own
As we conclude our journey to build a one-of-a-kind workbench, let’s reflect on the key takeaways: from selecting the perfect reclaimed wood to adding those quirky, personal touches that make your project truly unique. We’ve covered the essential steps, from designing your dream workbench to uncovering building secrets for beginners and designing storage with reclaimed flair. By embracing sustainable living and getting creative with materials, you’ve not only reduced waste but also infused your workspace with character and charm. Remember, the true beauty of DIY lies in the freedom to experiment and make mistakes – it’s all part of the whimsical journey to breathing new life into yesterday’s treasures.
Now, as you stand back to admire your handmade workbench, remember that this is just the beginning of your DIY adventure. With every new project, you’ll uncover more hidden potential in forgotten items, turning them into priceless, one-of-a-kind treasures. Keep exploring, stay curious, and always look for ways to blend the old with the new. Your workshop, much like your pair of favorite, colorful socks, should tell a story of creativity, passion, and the joy of bringing ideas to life. Happy building, and let’s get this DIY party started!
Frequently Asked Questions
What type of wood is best suited for building a workbench that can withstand heavy use and last for years to come?
For a workbench that’s built to last, I swear by hardwoods like oak or maple – they’re rockstars when it comes to withstanding heavy use. My personal favorite is reclaimed oak, it adds a touch of history and character to the workbench, plus it’s ridiculously durable. Pair that with my lucky Van Gogh socks, and you’ve got a winning combo!
How do I ensure my workbench is at the perfect height to avoid straining my back during long projects?
To find your perfect workbench height, stand with your feet shoulder-width apart and bend your elbows to about 90 degrees. Your hands should be at a comfortable working height, with your back straight and relaxed. For me, that’s around 36 inches, but feel free to experiment and find what works best for you – happy building, and don’t forget to wear your comfiest socks!
What are some creative ways to incorporate storage and organization into my workbench design without compromising its overall aesthetic?
Let’s get creative with storage, shall we? I love repurposing old crates, baskets, and even vintage suitcases to add a touch of whimsy to my workbench design. You can also try incorporating hidden compartments, sliding drawers, or pegboards to keep your tools and supplies organized and out of sight, all while maintaining that perfect blend of rustic charm and modern flair.