I still remember the day I decided to tackle the a guide to flooring installation in my tiny, rustic cottage – it was a journey of discovery, frustration, and ultimately, triumph. As I delved into the world of flooring, I realized that the process wasn’t as daunting as it seemed, and that with the right mindset and tools, anyone could achieve professional-looking results. My trusty sidekicks, a pair of Andy Warhol-inspired socks, seemed to echo this sentiment, reminding me that even the most mundane tasks can be transformed into something whimsically wonderful.
As you embark on your own a guide to flooring installation adventure, I want to assure you that this article will provide you with honest, no-nonsense advice and practical tips to help you navigate the process with ease. You’ll learn how to choose the perfect material, measure your space with precision, and install your new flooring like a pro. My goal is to empower you with the knowledge and confidence to take on this project, and to have fun while doing it! So, let’s get started on this creative journey, and turn your space into a unique reflection of your personality and style.
Table of Contents
- Guide Overview: What You'll Need
- Step-by-Step Instructions
- A Guide to Flooring Installation
- Flooring Frenzy: 5 Fantastic Tips to Step Up Your Installation Game
- Treasured Takeaways: Flooring Installation Wisdom
- Laying the Foundation for Beauty
- Stepping into Perfection: A Final Note on Flooring Installation
- Frequently Asked Questions
Guide Overview: What You'll Need

Total Time: 2 days to 1 week
Estimated Cost: $500 – $2000
Difficulty Level: Intermediate / Hard
Tools Required
- Tape Measure for measuring rooms and cutting materials
- Square for ensuring accurate cuts and corners
- Pencil and Marker for marking cuts and layouts
- Circular Saw for cutting lumber and flooring materials
- Drill for drilling pilot holes and driving screws
- Mallet for tapping flooring pieces into place
- Pull Bar for pulling flooring tight against walls
- Knee Kicker for tapping flooring into place with force
Supplies & Materials
- 2-in x 6-in lumber for subfloor support and joists
- Plywood or Oriented Strand Board for subfloor material
- Flooring Underlayment for smooth and quiet flooring
- Flooring Materials (e.g., Hardwood, Laminate, Tile) choose according to personal preference and room conditions
- Flooring Adhesive for securing flooring materials to subfloor
- Fasteners (e.g., Nails, Screws) for securing flooring materials to subfloor
- Transition Strips for connecting flooring to adjacent rooms or surfaces
Step-by-Step Instructions
- 1. First, let’s get started with preparing the subfloor, which is crucial for a successful flooring installation. This involves clearing the room of any furniture, fixtures, and old flooring to give us a clean slate to work with. Take this opportunity to inspect the subfloor for any damage or unevenness that might need to be addressed before proceeding.
- 2. Next, we need to check the subfloor’s moisture levels to ensure it’s dry enough for our new flooring. Excessive moisture can lead to a variety of issues, including warping, mold, and adhesive failure. Use a moisture meter to get an accurate reading, and take corrective action if necessary, such as applying a moisture barrier or using a dehumidifier.
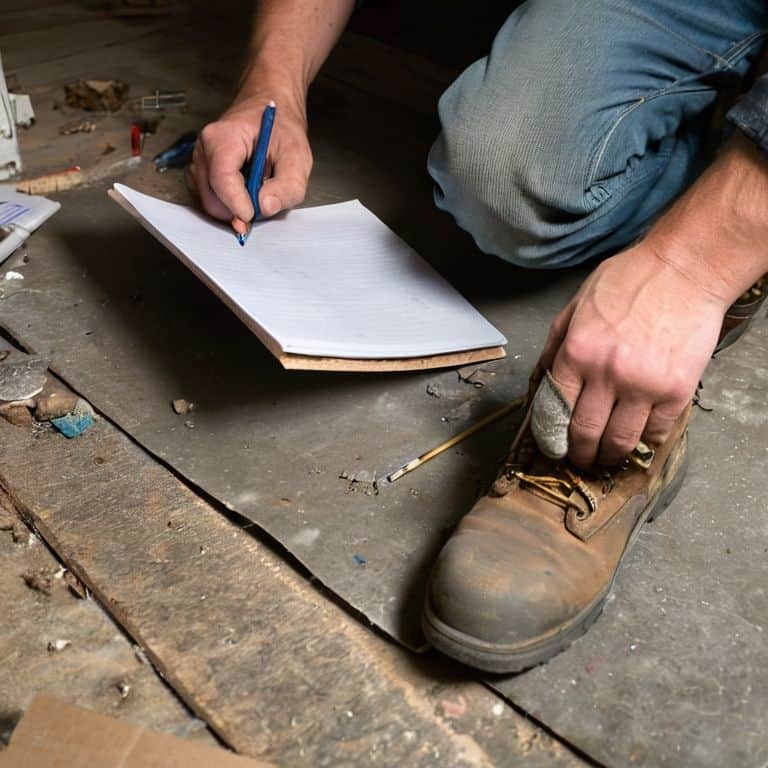
- 3. Now, it’s time to measure the room accurately to determine how much flooring we’ll need. Take into account any obstructions, such as heating vents or doorways, and consider the pattern and direction of the flooring to minimize waste. Make sure to add 10-15% to your total to account for cuts and any potential mistakes.
- 4. With our measurements in hand, we can start preparing the underlayment. This layer provides a smooth, even surface for our flooring and can help reduce noise and increase comfort. Depending on the type of flooring we’re using, we may need to apply a specific underlayment material, such as cement-based or foam, following the manufacturer’s instructions carefully.
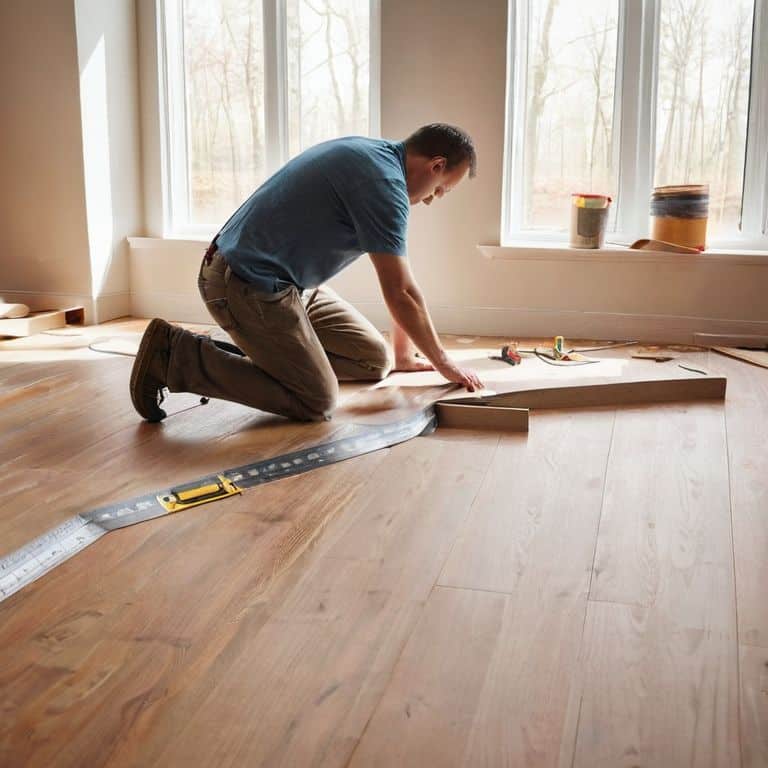
- 5. Once the underlayment is in place, it’s time to begin laying the flooring. Start by creating a reference line along the longest wall in the room, using a chalk line to snap a straight line. This will serve as our guide as we begin installing the flooring, working our way out from the reference line to maintain even spacing and pattern consistency.
- 6. As we lay each piece of flooring, we need to secure it properly to prevent movement or shifting over time. This may involve using nails, staples, or adhesive, depending on the type of flooring and underlayment we’re using. Make sure to follow the manufacturer’s recommendations for fastening to ensure a durable and long-lasting installation.
- 7. Finally, after all the flooring is laid, we need to finish the edges and add any transitions to create a seamless look. This might involve installing baseboards, quarter rounds, or transition strips to cover any gaps between the flooring and adjacent surfaces. Take your time to ensure a professional-looking finish, as this will make a significant difference in the overall appearance of the room.
A Guide to Flooring Installation
As I always say, the key to a successful flooring installation lies in the details. One of the most crucial steps is preparing the subfloor, which can make or break the entire process. I’ve seen many DIY enthusiasts rush into installation without properly inspecting and preparing the subfloor, only to encounter issues down the line. To avoid this, take the time to ensure your subfloor is level, clean, and dry. This will not only guarantee a smooth installation but also prevent any future problems with your new flooring.
When it comes to measuring the room, accuracy is paramount. A simple mistake can lead to costly delays or even worse, a poorly fitted floor. To avoid this, use a combination of traditional measuring techniques and modern tools, such as laser levels, to get an accurate reading. Additionally, consider investing in flooring installation tools for beginners, which can make the process much easier and less intimidating.
By following these tips and being mindful of common diy flooring mistakes to avoid, you’ll be well on your way to a successful installation. Remember, the goal is to create a beautiful and functional space that reflects your personality, so don’t be afraid to get creative and have fun with the process. With the right mindset and tools, you’ll be enjoying your new floor in no time.
Sole Searching Avoiding Diy Flooring Mistakes
As I always say, a successful DIY project is all about embracing the journey, and that includes learning from those pesky mistakes. I’ve had my fair share of flooring faux pas, from miscalculating the number of planks needed to not leaving enough expansion space. Let’s just say my collection of colorful socks has seen some stressful moments. But don’t worry, I’m here to guide you through the common pitfalls, so you can avoid the headaches and get straight to the fun part – admiring your handiwork.
By being aware of potential mistakes, you’ll be well on your way to a beautiful, professional-looking floor that reflects your unique style. Remember, it’s all about taking your time, measuring twice, and cutting once. With a little patience and the right mindset, you’ll be dancing on your new floor in no time, and I’ll be cheering you on from my own workshop, likely wearing a pair of socks featuring Vincent van Gogh’s vibrant swirls.
Subfloor Serenade Preparing for Installation Harmony
As I slip on my vibrant Van Gogh socks, I’m reminded that a beautiful floor starts with a solid foundation. Before you can install your new flooring, you need to ensure your subfloor is in harmony. This means checking for any unevenness, cracks, or old adhesives that might disrupt the installation process. I like to think of it as preparing a canvas for a masterpiece – you want a smooth, clean slate to bring out the best in your new flooring.
A quick scan with a level and a thorough cleaning can work wonders. If you find any imperfections, don’t worry! A little patchwork or self-leveling compound can be just what you need to create a sturdy base. With your subfloor serenaded into submission, you’ll be ready to move on to the exciting part – installing your new flooring and bringing your unique vision to life.
Flooring Frenzy: 5 Fantastic Tips to Step Up Your Installation Game
- Measure Magic: Double-check your room’s dimensions to ensure a flawless fit, and don’t forget to account for those quirky corners and cuts around fixtures
- Material Matters: Choose flooring that’s not only stylish but also sturdy, considering factors like foot traffic, moisture levels, and your personal lifestyle
- Subfloor Symphony: Prepare your subfloor by checking for levelness, cleaning thoroughly, and making any necessary repairs to create a solid foundation for your new flooring
- Pattern Palooza: Play with different patterns and layouts to add visual interest, from classic linear to more intricate designs, and don’t be afraid to get creative with your flooring’s personality
- Seal the Deal: Finish your flooring installation with a protective sealant or coating to safeguard against spills, scratches, and fading, ensuring your new floors stay fabulous for years to come
Treasured Takeaways: Flooring Installation Wisdom
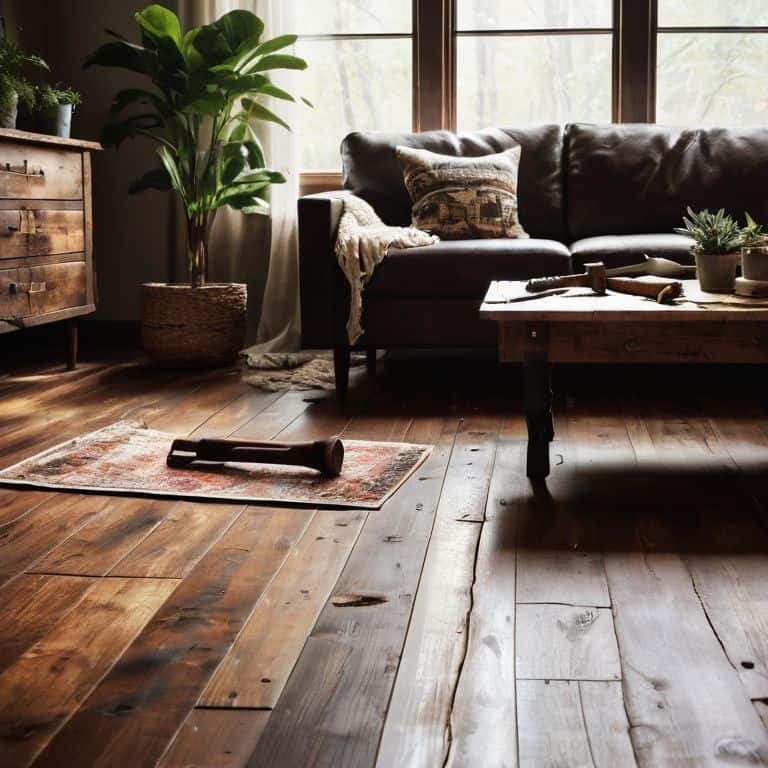
Embracing the eclectic: Don’t be afraid to mix and match different flooring materials to create a unique, whimsical look that reflects your personality – after all, it’s all about turning your space into a masterpiece!
Subfloor symphony: Remember, a successful flooring installation is all about harmony – ensure your subfloor is level, clean, and dry before laying down your new floors, and always consider the acoustics of your space
Sole mates for life: Choose flooring that’s not only aesthetically pleasing but also durable and sustainable, and don’t forget to add those quirky, personal touches – like a vintage rug or a handmade floor lamp – to make your space truly one-of-a-kind
Laying the Foundation for Beauty
The true magic of flooring installation lies not in the destination, but in the journey – where every plank, every tile, and every brushstroke tells a story of transformation, turning the ordinary into an extraordinary reflection of our unique souls.
James O'Neill
Stepping into Perfection: A Final Note on Flooring Installation
As we conclude this whimsical journey through the world of flooring installation, let’s take a moment to reflect on the key points that will make your project a true masterpiece. From selecting the perfect material to match your unique style, to avoiding common DIY mistakes and preparing your subfloor for installation harmony, it’s all about blending rustic charm with contemporary flair. Remember, the devil is in the details, so don’t be afraid to get creative and add your personal touch to each step of the process. With patience, dedication, and a willingness to learn, you’ll be well on your way to creating a space that’s not only functional but also a reflection of your eclectic personality.
As you stand back to admire your handiwork, remember that sustainable living is not just about the end result, but about the journey itself. It’s about embracing the imperfections, celebrating the quirks, and finding beauty in the unexpected. So, go ahead, slip on your favorite pair of colorful socks, and get ready to step into perfection. With every new project, you’ll become more confident in your ability to transform forgotten treasures into one-of-a-kind masterpieces, and that, my friends, is the greatest reward of all.
Frequently Asked Questions
What are the most common mistakes to avoid when installing flooring for the first time?
Oh, my friend, let’s dive into the top mistakes to avoid when installing flooring for the first time! I’ve seen it all – from uneven subfloors to incorrect material choices. To steer clear of these common pitfalls, remember to measure twice, prep your subfloor like a pro, and choose materials that match your lifestyle and decor. Trust me, your floors (and your sanity) will thank you!
How do I determine the best type of flooring for my specific room and lifestyle?
For me, choosing the perfect flooring is like finding the missing piece to a vintage puzzle – it’s all about matching the material to your unique vibe and lifestyle. Consider the room’s purpose, foot traffic, and your personal style. Do you have kids or pets? Maybe durable hardwood or tile is the way to go. Or, if you’re a cozy homebody like me, plush carpeting might be the perfect fit.
Are there any special considerations I should keep in mind when installing flooring over uneven or damaged subfloors?
When tackling uneven or damaged subfloors, I always say, ‘it’s all about the prep, baby!’ Make sure to assess the damage, and consider self-leveling compounds or patching materials to create a smooth canvas for your new flooring. Trust me, it’s worth the extra effort to avoid a wobbly finish – now, if you’ll excuse me, I need to match my socks to this renovation’s vibe!