I still remember the first time I attempted to how to install laminate flooring in my tiny studio apartment. I was a novice DIY enthusiast, armed with nothing but a few online tutorials and a can-do attitude. As I began to lay down the planks, I realized that the process wasn’t as straightforward as I thought it would be. The common myth that laminate flooring is a breeze to install had me fooled, but I soon discovered that it requires patience, attention to detail, and a willingness to get creative with problem-solving.
As you embark on your own journey to how to install laminate flooring, I want to assure you that this article will provide you with honest and practical advice to help you navigate the process. You won’t find any generic instructions or overly complicated jargon here. Instead, I’ll share my personal experiences, tips, and tricks to ensure that your laminate flooring installation is a success. From preparing the subfloor to clicking the final plank into place, I’ll guide you through each step with clarity and enthusiasm. So, let’s get started and turn your space into a beautiful, functional oasis that reflects your unique style!
Table of Contents
Guide Overview: What You'll Need
Total Time: 8 hours to 2 days
Estimated Cost: $0.50 – $2 per square foot
Difficulty Level: Intermediate
Tools Required
- Tape measure
- Square
- Pencil and marker
- Utility knife (with extra blades)
- Laminate cutter or circular saw (for cutting laminate boards)
- Drill (for drilling holes for pipes or heating vents)
- Notched trowel (for applying underlayment material)
- Knee kicker or pull bar (for tapping boards into place)
- Rubber mallet (for tapping boards into place)
- Wedges or shims (for maintaining expansion gaps)
- Vacuum cleaner (for cleaning the subfloor)
Supplies & Materials
- Laminate flooring boards
- Underlayment material (e.g., foam or cork)
- Underlayment tape
- Transition strips (for doorways and room transitions)
- Baseboards (for covering expansion gaps)
- Quarter-round molding (for covering expansion gaps)
- Silicone sealant (for sealing gaps around pipes and heating vents)
- 2-in x 4-in lumber (for supporting the underlayment material)
- 6 inches of plywood or oriented strand board (for supporting the underlayment material)
Step-by-Step Instructions
- 1. First, let’s get our toolbox essentials in order, which includes a tape measure, a utility knife, a pull bar, and a tapping block – all the heroes we need to save the day (and our laminate flooring). I like to keep my colorful socks, the ones featuring Van Gogh’s Starry Night, as a good luck charm for this part of the project, reminding me to add a touch of creativity to every step.
- 2. Next, we need to prepare the subfloor, ensuring it’s clean, dry, and level. This is crucial because any imperfections can lead to uneven flooring, which is a bit of a buzzkill. So, let’s get down to business and make sure our subfloor is as smooth as a freshly painted canvas, ready for our laminate flooring masterpiece.
- 3. Now, it’s time to lay down the underlayment material, which acts as a barrier between the subfloor and the laminate flooring, reducing noise and providing insulation. I find this step to be quite therapeutic, a bit like adding the first layer of paint to a new art piece – it sets the tone for everything that follows.
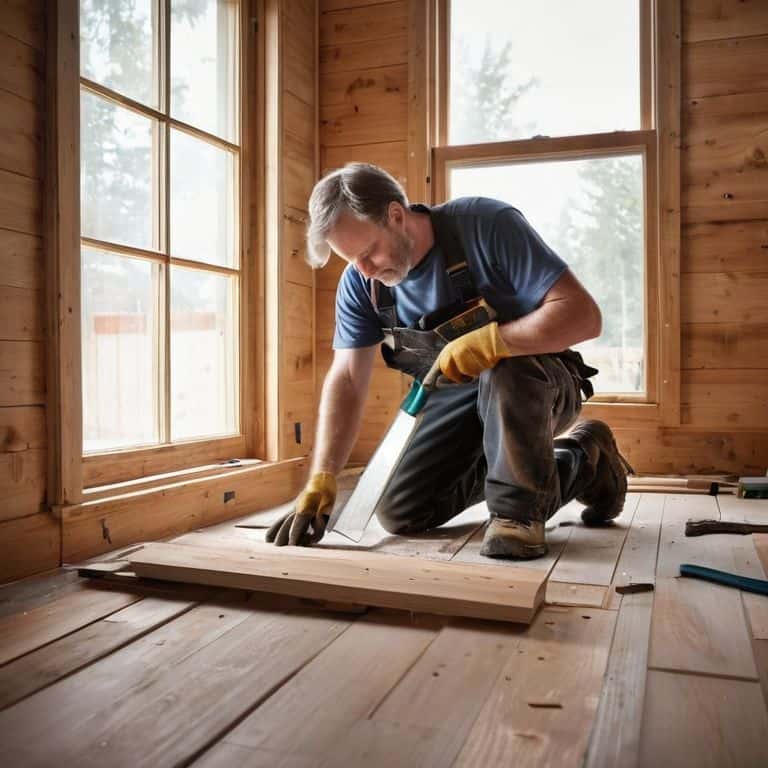
- 4. With our underlayment in place, we can start snapping the laminate flooring planks together. This is where the magic happens, and our room starts to transform. Remember, it’s all about the pattern and alignment, so take your time, and don’t be afraid to get creative with the layout.
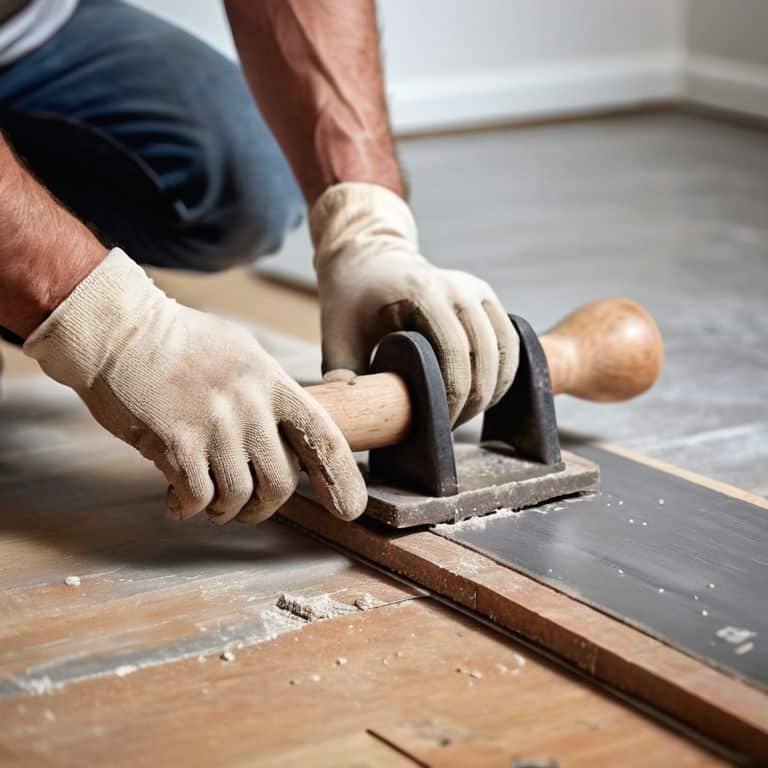
- 5. As we continue installing the laminate flooring, we’ll need to use our trusty tapping block and pull bar to secure the planks tightly against each other. This ensures a snug fit and prevents any gaps from forming. It’s a bit like adding the final touches to a piece of furniture I’m upcycling – it’s all about the details.
- 6. Once we’ve covered the entire floor with laminate planks, it’s time to add the baseboards and moldings. This step gives our room a polished look and covers any gaps between the flooring and the walls. I like to think of it as adding the frame to a finished painting – it completes the piece.
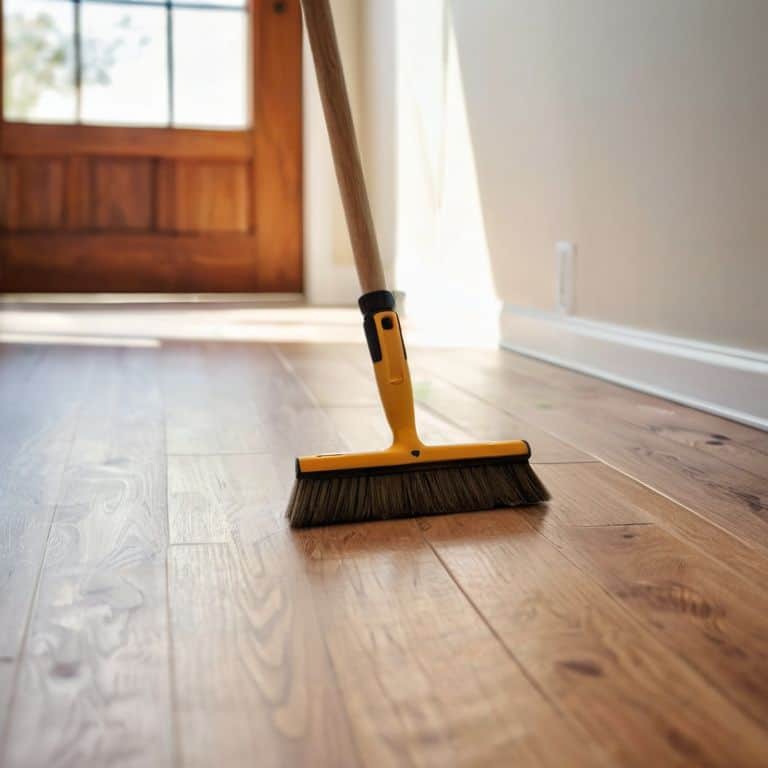
- 7. Finally, let’s take a step back and admire our handiwork. The last step involves inspecting the floor for any gaps or unevenness and making the necessary adjustments. It’s the final brushstroke on our masterpiece, and with a bit of pride, we can say we’ve not only installed beautiful laminate flooring but also created a space that’s truly one-of-a-kind.
Sole Mates How to Install Laminate Flooring
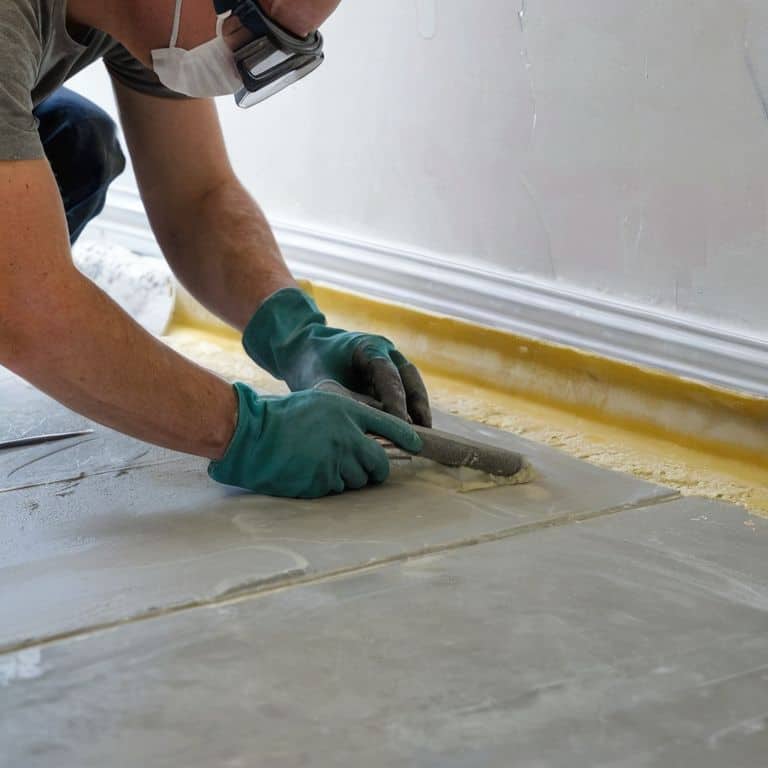
As I always say, the devil’s in the details, and when it comes to laying down laminate floors, preparing the subfloor is where the magic begins. It’s essential to ensure your subfloor is level, clean, and dry to avoid any bumps or unevenness in your new floor. I like to think of it as setting the stage for a beautiful performance – you want the foundation to be solid so the rest can shine. For instance, if you’re dealing with laminate flooring over concrete, you’ll want to make sure the concrete is properly sealed and primed for the underlayment.
When it comes to choosing the best underlayment for laminate, it’s crucial to consider factors like moisture resistance and sound reduction. I’ve found that a good underlayment can make all the difference in the longevity and comfort of your laminate floors. It’s also important to think about transitioning laminate to carpet or other flooring types, as this can affect the overall aesthetic and functionality of your space. By taking the time to carefully plan and execute these details, you’ll be well on your way to creating a beautiful and durable floor that will last for years to come.
To avoid common laminate flooring mistakes, it’s a good idea to have all the necessary laminate flooring tools needed on hand before you start your project. This will help you stay organized and focused, ensuring a smooth and successful installation process. By being prepared and taking your time, you can create a stunning laminate floor that adds warmth and character to any room.
Laying the Groundwork Best Underlayment Secrets
Now that we’ve prepped our subfloors for the perfect laminate floor dance, it’s time to talk about the often-overlooked heroes of the hour: underlayment materials. I like to think of underlayment as the secret ingredient in my favorite recipe – it’s what makes the whole dish come together seamlessly. For my latest project, I opted for a cork underlayment, which not only provides excellent soundproofing but also adds a touch of warmth underfoot. When choosing your underlayment, remember to consider factors like moisture levels, foot traffic, and even the color of your laminate flooring to ensure a match made in heaven.
Prepping Subfloors for Laminate Love
Now that we’ve got our laminate flooring party started, it’s time to prep the perfect dance floor – aka your subfloor. I like to think of this step as setting the stage for a beautiful, long-lasting relationship between your new floors and the foundation of your home. To do this, ensure your subfloor is level, clean, and dry. Any unevenness or moisture can lead to a less-than-perfect installation, so take your time to get it just right. I recall a project where I had to get creative with some vintage wooden shims to level out the subfloor – it was a fun challenge, and the end result was well worth it.
As I always say, a good foundation is key, much like the sturdy base of my favorite upcycled vintage chair. With your subfloor prepped, you’ll be ready to lay your laminate flooring with confidence, knowing it’ll be a beautiful, durable space that reflects your personal style – just like my trusty pair of Van Gogh socks that inspired this very project.
Flooring Frenzy: 5 Tips to Tame the Laminate Beast
- Measure like a pro, cut like a rockstar: taking precise measurements of your space and cutting your laminate flooring accordingly is key to a seamless installation
- Underlayment is your BFF: don’t underestimate the importance of a good underlayment material to ensure your laminate flooring stays stable, quiet, and dent-free
- Pattern play: mixing and matching different laminate flooring patterns can add a touch of personality to your space, but be sure to follow a consistent layout to avoid visual chaos
- Tap into your inner DIY diva: use a tapping block and a pull bar to fit those pesky laminate flooring planks together like a pro, and don’t be afraid to get a little creative with your tapping technique
- Seal the deal: applying a laminate flooring sealant can help protect your new floors from spills, scratches, and fading, giving you a durable and low-maintenance surface that’s perfect for busy lives
Laminate Flooring Frenzy: 3 Key Takeaways
Always prep your subfloor with love, ensuring it’s clean, dry, and level, before laying your laminate flooring to avoid any future headaches
Choose the right underlayment for your laminate flooring project, considering factors like moisture protection, insulation, and sound reduction to create a comfortable and durable space
Don’t be afraid to get creative with your laminate flooring installation, using reclaimed planks, experimenting with patterns, and adding personal touches to make your floors truly one-of-a-kind and reflective of your unique style
Laminate Flooring Wisdom
As you embark on the journey of installing laminate flooring, remember that it’s not just about laying planks, it’s about weaving stories, one floor at a time, where every step becomes a testament to the beauty of transformation and the joy of creating something with your own hands.
James O'Neill
Bringing it All Together: A Beautiful Floor Awaits
As we wrap up this journey of installing laminate flooring, let’s take a moment to reflect on the key points that will make your project a success. From prepping your subfloor to choosing the right underlayment, each step is crucial in ensuring your new floor is both beautiful and durable. Remember, the secret to a flawless installation lies in the details, so don’t rush through the process. Take your time, and don’t hesitate to reach out if you have any questions or need further guidance. With patience and the right mindset, you’ll be enjoying your new laminate floors in no time.
Now, as you stand back to admire your handiwork, remember that sustainable living is not just about the end result, but about the journey itself. The process of creating something with your own hands, of giving new life to a space, is incredibly rewarding. So, go ahead, put on your favorite pair of eclectic socks, and dance across your new floors, knowing you’ve not only created a beautiful space, but also contributed to a more environmentally conscious way of living. Congratulations, you’ve just leveled up in the world of DIY, and I couldn’t be more proud to have been a part of your journey!
Frequently Asked Questions
What are the most common mistakes to avoid when installing laminate flooring?
My friend, let’s steer clear of those pesky pitfalls! Common mistakes to avoid include incorrect underlayment installation, inadequate subfloor prep, and neglecting to leave expansion gaps – all of which can lead to a less-than-dreamy flooring situation. Trust me, I’ve been there, and my colorful socks have seen their fair share of DIY drama!
How do I choose the right underlayment for my specific subfloor type?
Choosing the right underlayment is like picking the perfect sock to match my DIY vibe – it’s all about the fit! For concrete subfloors, I swear by foam underlayment for its moisture-wicking magic, while plywood subfloors call for a cork or rubber underlayment to add some extra cushioning and love.
Can I install laminate flooring over existing flooring, such as carpet or tile?
Not so fast, friend! While it’s tempting to install laminate over existing flooring, it’s generally not recommended. You’ll want to remove that old carpet or tile to ensure a smooth, stable surface for your new laminate to shine. Trust me, it’s worth the extra effort – your floors will thank you!