I still remember the first time I attempted to grout tile in my tiny bathroom renovation project – it was a disaster. The grout was uneven, the color was off, and I ended up with a mess that looked like a kindergartener’s art project. But, as I delved deeper into the world of DIY, I discovered that how to grout tile isn’t as daunting as it seems. In fact, with the right techniques and a bit of patience, you can achieve a seamless, professional-looking finish that brings the whole room together.
As someone who’s passionate about upcycling and sustainable living, I’m excited to share my no-nonsense guide on how to grout tile with you. In this article, you’ll get honest, practical advice on preparing your surface, choosing the right grout, and avoiding common mistakes that can leave your project looking lackluster. Whether you’re a seasoned DIY enthusiast or a beginner looking to tackle your first renovation project, this guide will walk you through the process with ease, helping you to create a beautiful, long-lasting finish that you’ll love for years to come.
Table of Contents
Guide Overview: What You'll Need
Total Time: 2 hours 30 minutes
Estimated Cost: $20 – $50
Difficulty Level: Intermediate
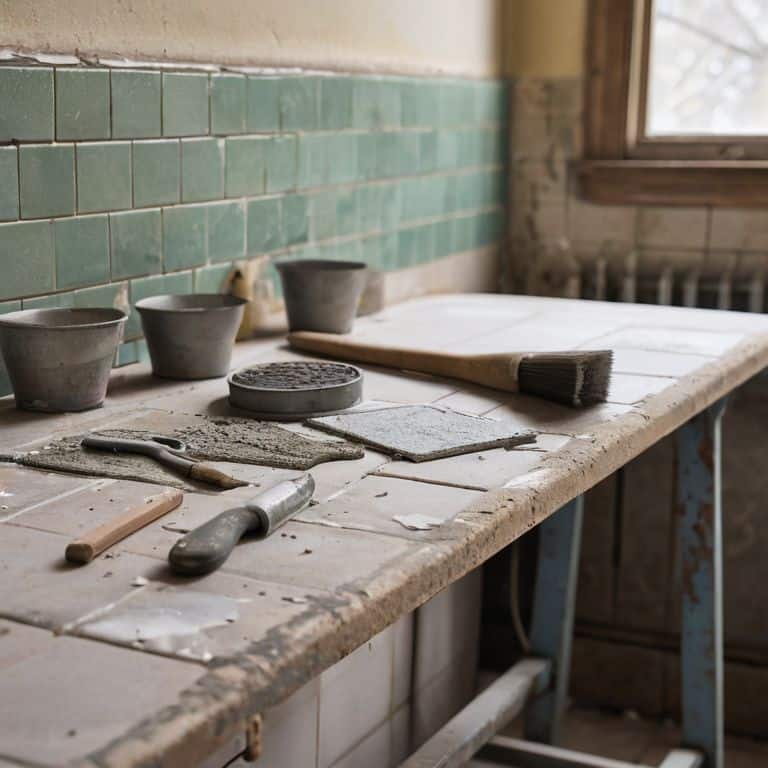
Tools Required
- Grout Float for spreading grout
- Grout Sponge for cleaning excess grout
- Grout Saw or Utility Knife for removing old grout
- Mixing Bucket for mixing grout
- Measuring Cups and Spoons for accurate measurements
- Putty Knife for applying grout in small areas
- Rubber Gloves for protecting hands from grout
Supplies & Materials
- Grout choose the right type for your tile
- Grout Sealer optional, for protecting grout from stains
- Water for mixing with grout
- Grout Colorant optional, for matching grout color
- Silicone Caulk for sealing edges and corners
Step-by-Step Instructions
- 1. First, let’s get our workspace ready by laying down a drop cloth or old sheets to protect our floors from any potential spills or stains. I always like to wear my favorite pair of colorful socks, the ones with Van Gogh’s Starry Night, to get me in the creative mood for this kind of project.
- 2. Next, we need to prepare our grout by mixing it with water in a large bucket, following the manufacturer’s instructions for the right consistency. It’s essential to achieve a _smooth paste_ that’s not too runny or too thick, as this will affect how well the grout fills the gaps between the tiles.
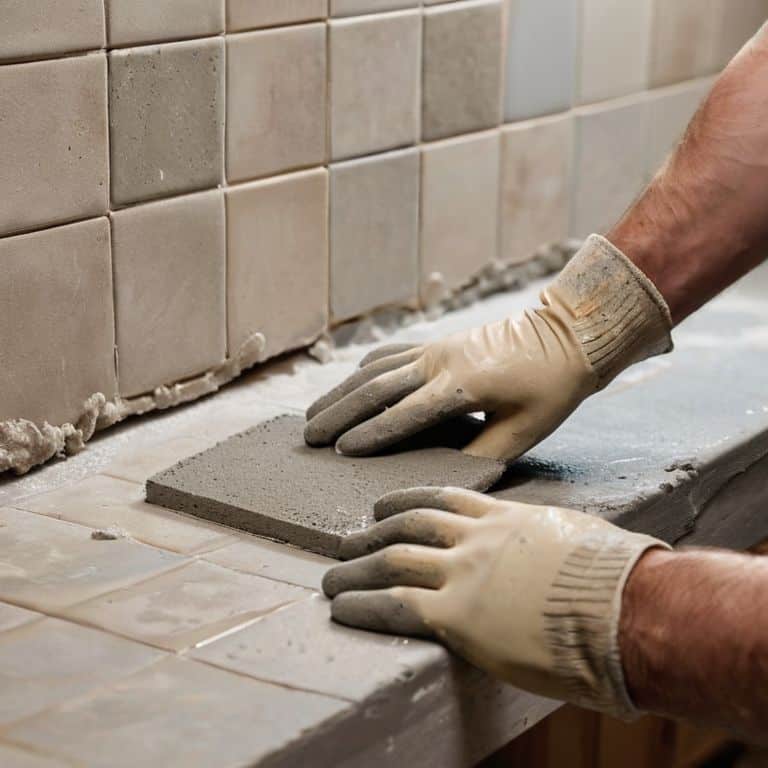
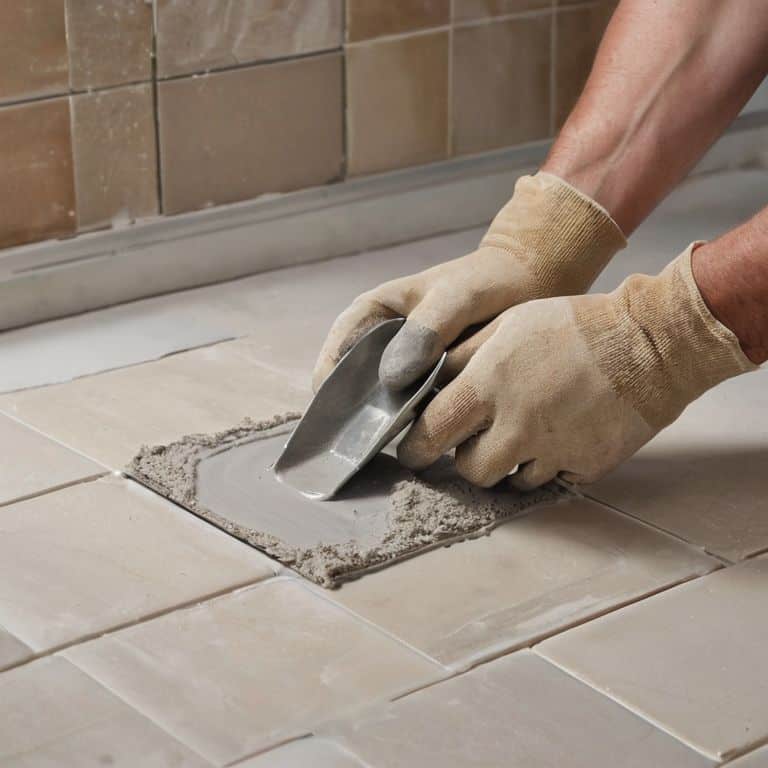
- 3. Now, it’s time to apply the grout using a grout float, pressing it firmly into the gaps to ensure it fills them completely. I find that working in small sections, about 4 feet by 4 feet, helps in maintaining even coverage and avoiding any grout from drying out before it’s wiped away.
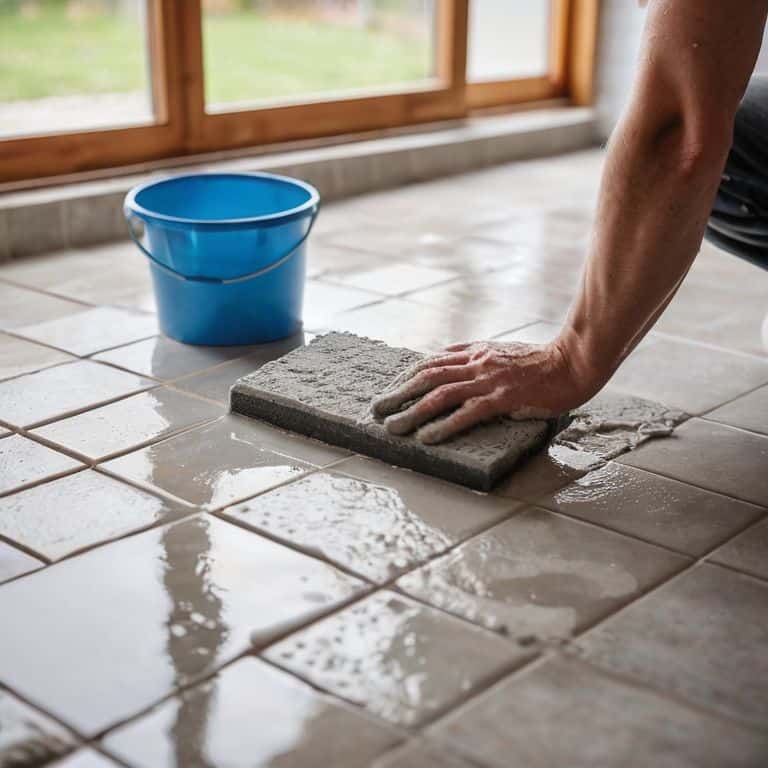
- 4. After applying the grout, we’ll need to wait for about 10-15 minutes, or as the manufacturer advises, for it to start setting. Then, using a damp grout sponge, we gently wipe away the excess grout from the surface of the tiles, working in a circular motion. This step requires some patience, as we want to remove the excess without pulling the grout out of the gaps.
- 5. As we continue wiping away the excess grout, it’s crucial to _rinse the sponge frequently_ to prevent it from becoming too laden with grout, which could deposit it back onto the tiles. This process might take a few rounds, but the end result is well worth the effort.
- 6. Once the grout has been wiped clean and the tiles are free of excess grout, we can move on to the sealing process. Depending on the type of grout and tiles used, applying a sealant might be necessary to protect the grout from stains and make cleaning easier. Always follow the manufacturer’s instructions for application and drying times.
- 7. The final step involves a _thorough inspection_ of our handiwork to ensure all gaps are filled evenly and there are no spots where the grout might be missing or uneven. If necessary, touch-ups can be made at this stage. Then, it’s just a matter of waiting for the grout to cure completely, usually a couple of days, before the area can be fully used again.
- 8. Lastly, stand back and admire your work! The process of grouting might seem tedious, but the end result, with its beautifully filled gaps and refreshed appearance, is incredibly rewarding. Plus, think of the satisfaction you’ll get from knowing you’ve given new life to something that might have otherwise been overlooked, all while donning your favorite _art-inspired socks_.
Grout Mastery Unlocked
As I delve deeper into the world of grouting, I’ve come to realize that mastering the art of grout removal is just as crucial as applying it. When working with vintage tiles, it’s essential to understand the types of grout that complement them. For instance, epoxy-based grouts are perfect for delicate, antique pieces, while cement-based grouts are better suited for more robust, modern designs.
When it comes to selecting the right grouting tools, I always recommend starting with the basics: a reliable float, a grout spreader, and a trusty old sponge. As a beginner, it’s easy to get overwhelmed by the plethora of grouting tools for beginners available in the market. However, I’ve found that investing in a good quality grout spreader can make all the difference in achieving a smooth, even finish.
To avoid common grouting mistakes, it’s vital to consider the grout color selection tips that will enhance the overall aesthetic of your space. I like to think of grout as the “glue” that holds the entire design together. By choosing a grout color that complements the tile, you can create a cohesive look that’s both visually appealing and durable. Remember, the grout drying time and temperature will also impact the final result, so be sure to follow the manufacturer’s instructions to ensure a flawless finish.
Grout Color Magic for Beginners
Now that we’ve mastered the art of grout removal, let’s dive into the realm of grout color magic. I just love how a simple change in grout color can completely transform the ambiance of a room. For beginners, it’s essential to remember that grout color can either blend seamlessly with your tiles or create a beautiful contrast. My favorite trick is to use a grout color that complements the dominant hue in the room, creating a sense of harmony and balance.
As I always say, the right grout color can make your tiles sing. When I’m working on a project, I like to match my colorful socks to the grout color I’m using – it’s a fun way to get into the zone. For a rustic look, earthy tones like terracotta or sienna work wonders, while a sleek, modern aesthetic can be achieved with crisp whites or deep grays. Experimenting with different grout colors can be a fun and creative process, and I encourage you to try out a few options to see what works best for your unique space.
Grout Removal Secrets Revealed
Now that we’ve mastered the art of grouting, it’s time to tackle the not-so-glamorous task of grout removal. I like to think of it as a chance to give my trusty vintage scraper a workout. When faced with old, worn-out grout, I slip on my vibrant Van Gogh socks for inspiration and get to work. With a gentle yet firm touch, I scrape away the decay, uncovering the hidden beauty beneath. It’s almost therapeutic, watching the old make way for the new.
As I work, I’m reminded of the countless hours I spent exploring antique markets with my family, discovering unique pieces that just needed a little TLC. Grout removal is much the same – a delicate dance between preservation and renewal. With the right tools and a dash of patience, even the most stubborn grout can be coaxed away, revealing a blank canvas waiting for its next chapter.
Grout Like a Pro: 5 Tips to Tile Triumph
- Prepare for Perfection: Always ensure your tiles are securely in place and the surface is clean and dry before applying grout – it’s like setting the stage for a masterpiece!
- Grout Consistency Matters: Mix your grout to a toothpaste-like consistency for optimal spreadability and adhesion – think of it as finding the perfect recipe for your tile tapestry
- Tool Time: Invest in a good quality grout float and sponge, they’re the dynamic duo that will make your grouting journey smoother and more efficient
- Seal the Deal: Consider applying a grout sealer after your grout has fully dried to protect it from stains and make cleaning a breeze – it’s like giving your tiles a force field against everyday life
- Blend with Beauty: Don’t be afraid to experiment with different grout colors to find the perfect match for your tiles – remember, grout is not just a filler, it’s a design element that can elevate your entire space
Grouting Like a Pro: Top Takeaways
Always remember to seal your grout after it’s fully dry to protect it from stains and make cleaning a breeze – trust me, your future self will thank you!
Experimenting with different grout colors can completely transform the look of your tile work, so don’t be afraid to get creative and find the perfect match for your unique space
Whether you’re a seasoned DIY enthusiast or a beginner, mastering the art of grouting is all about patience, practice, and having the right tools for the job – so take your time, and don’t hesitate to reach out if you have any questions along the way!
Grouting Wisdom
As I always say, grouting is not just about filling gaps, it’s about bridging the past and the present, where every careful stroke is a testament to the beauty of transformation and the stories that tiles tell.
James O'Neill
Wrapping Up Your Grouting Journey
As we’ve explored the world of grouting together, I hope you’ve picked up some valuable tips and tricks to make your tile projects shine. From the initial preparation to the final flourishes of grout color magic, it’s been a wild ride. We’ve covered the basics of grouting, delved into the secrets of grout removal, and even touched on the art of choosing the perfect grout color to match your unique style. Whether you’re a seasoned pro or a DIY newbie, my goal has been to empower you with the knowledge and confidence to tackle any tiling project that comes your way.
So, as you put down your trowel and step back to admire your handiwork, remember that the true beauty of grouting lies not just in the technical skills, but in the creative freedom it offers. Don’t be afraid to experiment, to try new things, and to make mistakes – because in the world of DIY, it’s often the unexpected twists and turns that lead to the most incredible results. Happy grouting, and I’ll catch you in the next post, where we’ll be exploring more exciting adventures in upcycling and home renovation!
Frequently Asked Questions
What's the best way to choose a grout color that complements my tile and the overall aesthetic of the room?
Ah, the million-dollar question! Choosing the perfect grout color is all about harmony. I like to think of it as finding the rhythm that brings my tiles and room together. Consider the color palette, the style of your space, and the mood you want to create. For a cohesive look, pick a grout that complements the dominant color in your tile, or go bold and choose a contrasting shade to add some visual zing!
How do I prevent grout from getting stuck in the small spaces between intricate tile patterns or designs?
For intricate tile patterns, I swear by using a damp cloth to wipe away excess grout as I go – it’s like a little dance, grout and wipe, grout and wipe. You can also try using a small, soft-bristled brush to gently sweep away any stray grout bits, making sure those teeny spaces stay clear.
Can I use a grout sealer to protect my grout from stains and spills, and if so, how often should I apply it?
Absolutely, my friend! Grout sealers are a fantastic way to shield your hard work from stains and spills. I recommend applying a sealer every 5-10 years, or as needed. Just be sure to choose a breathable sealer to avoid trapping moisture – and don’t forget to test it on a small area first, like I do with my quirky vintage pieces.