I still remember the first time I tried to how to use power tools – it was a disaster. My grandfather, a seasoned carpenter, had handed me his old drill, saying, “It’s time you learned how to bring old furniture back to life.” But as I fumbled with the settings and nearly drilled a hole through my own workbench, I realized that there’s more to mastering power tools than just turning them on. The myth that you need to be a seasoned pro to wield power tools like a rockstar is simply not true – with the right guidance, anyone can become a DIY wizard.
As we dive into the world of power tools, I promise to share practical advice and honest tips on how to get the most out of your toolbox. In this article, we’ll explore the basics of how to use power tools, from safety precautions to advanced techniques, all while having a blast upcycling vintage furniture into quirky modern pieces. By the end of this journey, you’ll be equipped with the confidence and skills to tackle any DIY project that comes your way, and maybe even find yourself donning a pair of colorful socks to match your newfound enthusiasm for creation.
Table of Contents
Guide Overview: What You'll Need
Total Time: 1 hour 15 minutes
Estimated Cost: $50 – $100
Difficulty Level: Intermediate
Tools Required
- Cordless Drill (with screwdriver and drill bits)
- Circular Saw (for cutting lumber)
- Sander (for smoothing wood surfaces)
- Impact Driver (for heavy-duty driving)
- Jigsaw (for curved cuts)
- Safety Glasses (for protecting eyes)
- Work Light (for illuminating work area)
Supplies & Materials
- 2-in x 4-in lumber (for practice cuts)
- Plywood (for practice drilling)
- Sandpaper (for smoothing surfaces)
- Drill Bits (in various sizes)
- Screws (in various sizes)
- Clamps (for holding workpieces in place)
Step-by-Step Instructions
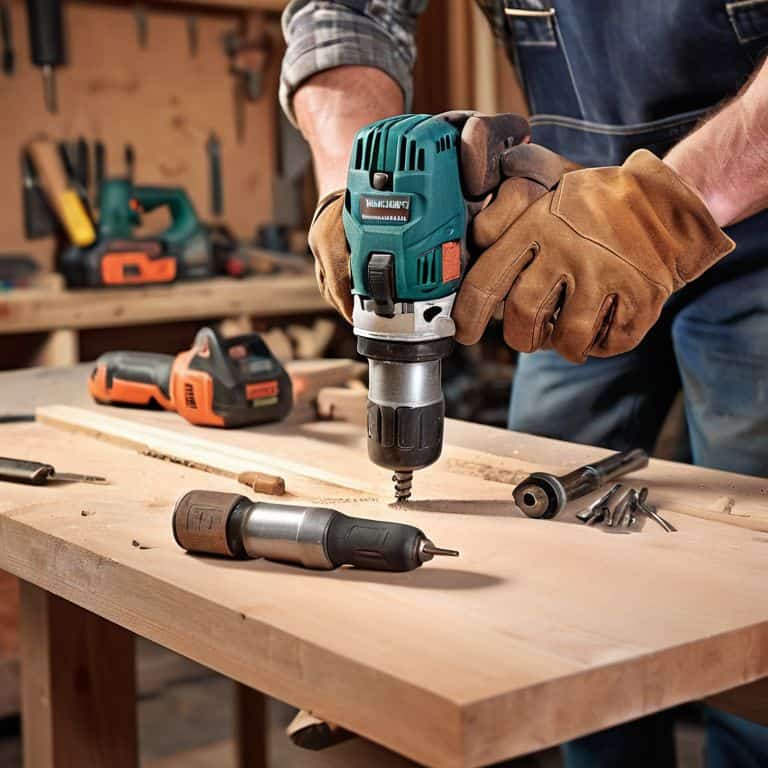
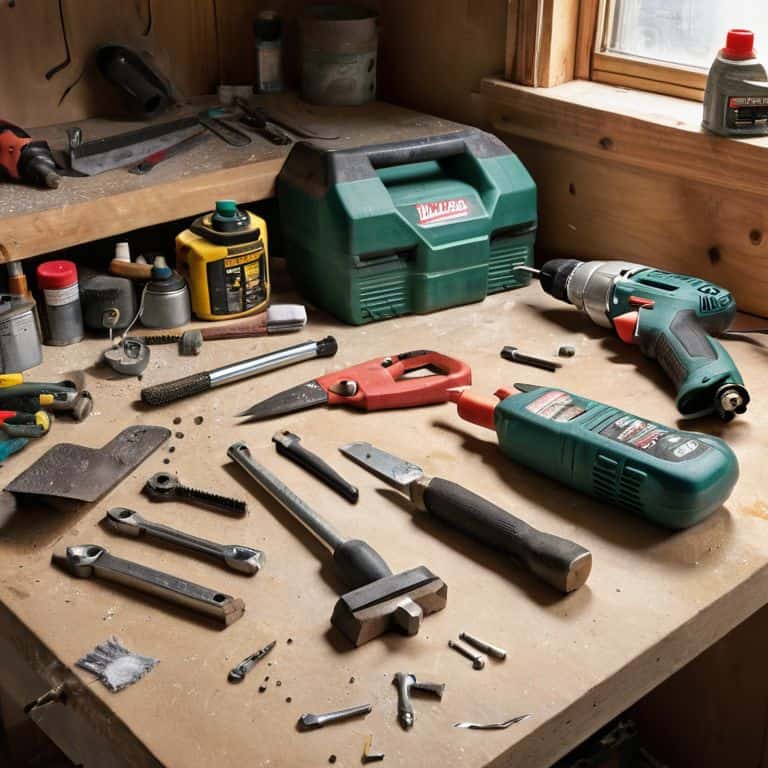
- 1. First, let’s get familiar with the power tool arsenal at our disposal, shall we? Start by gathering all the necessary tools for your project, including drills, saws, and sanders, and give them a good once-over to ensure they’re in working condition. I like to lay them out on a vintage workbench, which adds a touch of character to the whole process.
- 2. Next, safety first is our motto, so make sure you’re dressed for the task at hand. This means donning a pair of sturdy gloves, protective eyewear, and a dust mask. I also like to wear my favorite pair of Pablo Picasso socks for a dash of artistic inspiration – it’s all about finding that creative spark, you know?
- 3. Now, let’s talk about tool calibration, which is essentially the process of getting to know your tools and how they handle. For instance, if you’re using a drill, practice drilling into a scrap piece of wood to get a feel for the variable speed control. This step is crucial in avoiding any mishaps down the line and ensuring your project turns out as envisioned.
- 4. With our tools at the ready and our safety gear in check, it’s time to dive into the project itself. For this example, let’s say we’re upcycling an old wooden chair. Start by disassembling the chair, taking note of the screws, nails, or other fasteners used in its construction. This is where the magic happens, as you begin to envision the new life you’re about to breathe into this discarded treasure.
- 5. Once you have all the parts laid out, it’s time to get creative with your power tools. If you’re looking to add some modern flair to your chair, you might use a jigsaw to cut out intricate designs or patterns from the wooden slats. Remember, the key to mastering power tools is practice and patience, so don’t be discouraged if your first attempts don’t turn out exactly as planned.
- 6. After you’ve cut and shaped your wood to the desired form, it’s time to sand it down to a smooth finish. This is where sanders come into play, and I must say, there’s something therapeutic about watching the rough edges of old wood transform into a silky surface. Be sure to work your way up from coarse to fine grit for the best results.
- 7. Finally, assembly and finishing are the last steps in our upcycling journey. Use your drill to screw the pieces back together, ensuring everything is sturdy and secure. Then, apply a finish of your choice – be it stain, varnish, or paint – to protect the wood and enhance its appearance. As you place the final touches on your project, step back and admire the transformation, feeling proud of the unique piece of art you’ve created from something once destined for the landfill.
Mastering Power Tools
As I delve into the world of power tools, I’ve come to realize the importance of power tool maintenance tips. Regularly cleaning and lubricating your tools can significantly extend their lifespan and prevent common issues like rust and jamming. I’ve learned this the hard way, having once neglected my trusty drill only to have it fail me mid-project. Now, I make it a point to set aside time each week to give my tools a little TLC.
When it comes to choosing the right tools for your project, it’s essential to consider beginner-friendly power tools. As someone who’s worked with numerous beginners, I can attest that starting with the basics is crucial. Look for tools with ergonomic designs and intuitive controls, making it easier to navigate the world of power tools. Safety should always be your top priority, so don’t forget to invest in safety equipment for power tools, such as gloves and goggles.
In my experience, power tool usage for woodworking requires a great deal of finesse and attention to detail. To avoid common power tool accidents, it’s vital to understand the specific needs of your project and choose the right tool for the job. By doing so, you’ll not only ensure your safety but also achieve professional-looking results. Whether you’re a seasoned pro or just starting out, remember to always handle your power tools with care and respect.
Safety Essentials Uncovered
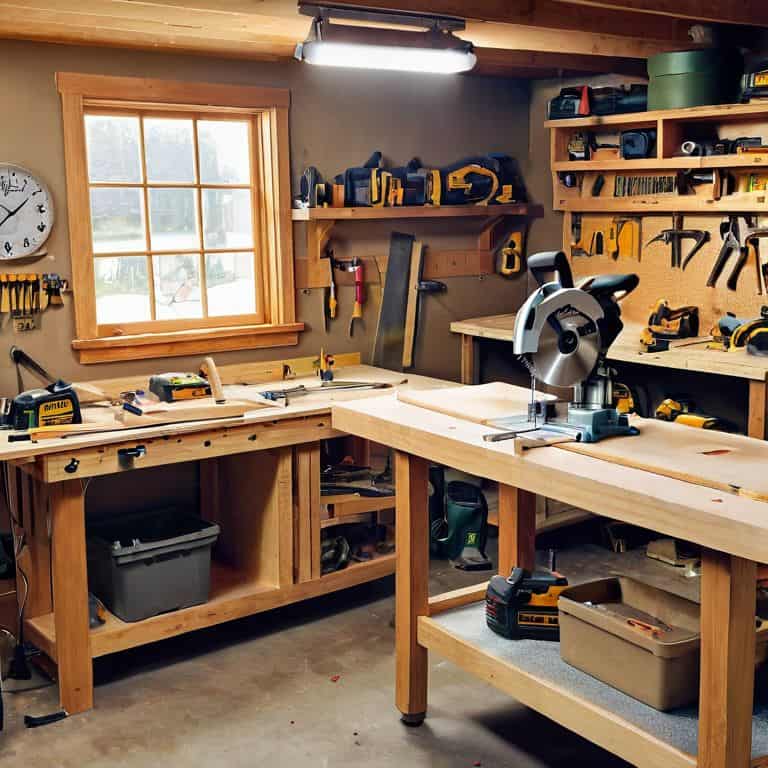
As I always say, safety is the unsung hero of any DIY adventure. Before we dive into the thrill of creating, let’s make sure we’re geared up to protect ourselves from those unexpected twists and turns. I’m talking about donning the right attire, from safety goggles to gloves, and of course, my trusty pair of Vincent van Gogh socks – they’re my good luck charm! A clean and organized workspace is also key, ensuring that all our tools are within easy reach and cords are neatly tucked away.
By taking these simple precautions, we’re not only safeguarding our well-being but also setting ourselves up for a fun and focused creative journey. Now, let’s get ready to unleash our inner makers and breathe new life into those vintage treasures!
Unlocking Beginner Friendly Tools
As I always say, mastering power tools is a journey, not a destination. For those just starting out, it’s essential to begin with beginner-friendly tools that spark joy and confidence. I’m talking about the humble drill, the versatile jigsaw, and the trusty sander. These power tools are the perfect introduction to the world of DIY, allowing you to tackle small projects and build your skills. Plus, they’re incredibly versatile – I’ve used my drill to hang vintage posters and my jigsaw to craft quirky wooden decorations.
I recall my first project, upcycling an old wooden bench with my trusty sander. It was a game-changer, and I was hooked. These tools are the gateway to unlocking your full creative potential, and I’m excited to share my favorite tips and tricks for getting the most out of them. With a little practice, you’ll be well on your way to creating unique, one-of-a-kind pieces that reflect your personal style.
Powering Up: 5 Tips to Unleash Your Inner Maker
- Get to Know Your Tools: Before diving into a project, take some time to read the manual and understand the unique characteristics of each power tool
- Choose the Right Blade or Bit: Whether you’re cutting through wood or drilling into metal, the right blade or bit can make all the difference in the quality of your work
- Dress for Success: Wear comfortable, safe clothing and keep loose items tied back, and of course, don my favorite colorful socks for a dash of inspiration
- Work in a Well-Ventilated Area: Keep your workspace clean and well-ventilated to avoid inhaling dust and fumes, and to maintain a clear mind for creativity
- Practice Makes Perfect: Don’t be discouraged if your first few projects don’t turn out as expected – keep experimenting, learning, and pushing the boundaries of what’s possible with power tools
Rebel Toolbox Revelations: 3 Key Takeaways
Embracing the thrill of power tools is all about experimentation and creativity, so don’t be afraid to try new techniques and make mistakes – they’re an integral part of the DIY journey!
Safety always comes first, so ensure you’re equipped with the right gear and knowledge to wield those power tools like a pro, protecting both yourself and your surroundings from potential hazards.
By mastering the art of power tool operation and safety, you’ll unlock a world of limitless possibilities in upcycling and DIY projects, transforming discarded treasures into one-of-a-kind masterpieces that reflect your unique personality and style.
Embracing the Art of Power Tool Mastery
With every whir of the drill and every swing of the hammer, remember that power tools are not just instruments of creation, but keys to unlocking the hidden potential in every discarded dream, waiting to be transformed into a masterpiece of rebellion and joy.
James O'Neill
Embracing the Thrill of Creation

As we conclude this whimsical journey into the world of power tools, let’s take a moment to reflect on the key takeaways. We’ve delved into the basics of power tool operation, explored the essential safety measures to keep you protected, and even touched on mastering beginner-friendly tools. By now, you should feel empowered to tackle a variety of DIY projects, from restoring vintage furniture to crafting unique decor pieces. Remember, the art of working with power tools is not just about following instructions, but about unleashing your creativity and bringing your most ambitious ideas to life.
As you put down your power tools and step back to admire your latest creation, remember that the true magic lies not in the tools themselves, but in the stories they help you tell. Every piece you create is a testament to your ingenuity and craftsmanship, a blend of traditional techniques and modern flair. So, don’t be afraid to experiment, to push boundaries, and to make your mark on the world of DIY. With every project, you’re not just building something new – you’re building a legacy, one that will inspire others to join you on this incredible journey of creation and self-expression.
Frequently Asked Questions
What are the most essential power tools for a beginner to invest in for their DIY projects?
My friend, for a beginner, I always recommend starting with the basics: a trusty drill, a versatile jigsaw, and a reliable sander. These three power tools will be your new best friends, helping you tackle a variety of DIY projects with ease and confidence. Plus, they’re super versatile, making them perfect for upcycling vintage furniture, just like I do!
How can I maintain and properly store my power tools to ensure they last longer?
To keep my power tools in tip-top shape, I swear by regular cleaning, dry storage, and a dash of TLC. I store them in a rustic, upcycled cabinet, lined with vintage fabric, and make sure to label each tool, so they’re easy to find and put back – it’s all about creating a harmonious workshop haven!
Are there any specific power tools that are more versatile and can be used for a variety of tasks in upcycling and furniture restoration?
My friend, I swear by my trusty drill press and jigsaw – they’re the ultimate rebels in my toolbox! These versatile power tools can tackle everything from drilling precise holes to slicing through curved lines, making them perfect for upcycling and furniture restoration projects.