I still remember the first time I attempted to use wood glue for a DIY project – it was a disaster. I had heard that it was a crucial component in any woodworking venture, but I had no idea where to start. That’s why I’m excited to share with you a guide to wood glue for beginners, because I believe that with the right knowledge, anyone can unlock the secrets of this amazing adhesive. My favorite pair of socks, featuring a portrait of Leonardo da Vinci, seemed to be mocking me as I struggled to get the glue to stick. Little did I know, I was using it all wrong.
As you read through this article, I promise to share with you my honest and practical advice on how to get the most out of wood glue. You’ll learn the basics of wood glue application, from preparation to finishing touches, and how to avoid common mistakes that can ruin your project. My goal is to empower you with the knowledge and confidence to tackle any DIY project that comes your way, and to make sustainable living a fun and accessible reality. So, let’s dive in and explore the magical world of wood glue together!
Table of Contents
Guide Overview: What You'll Need
Total Time: 1 hour 15 minutes
Estimated Cost: $10 – $30
Difficulty Level: Easy
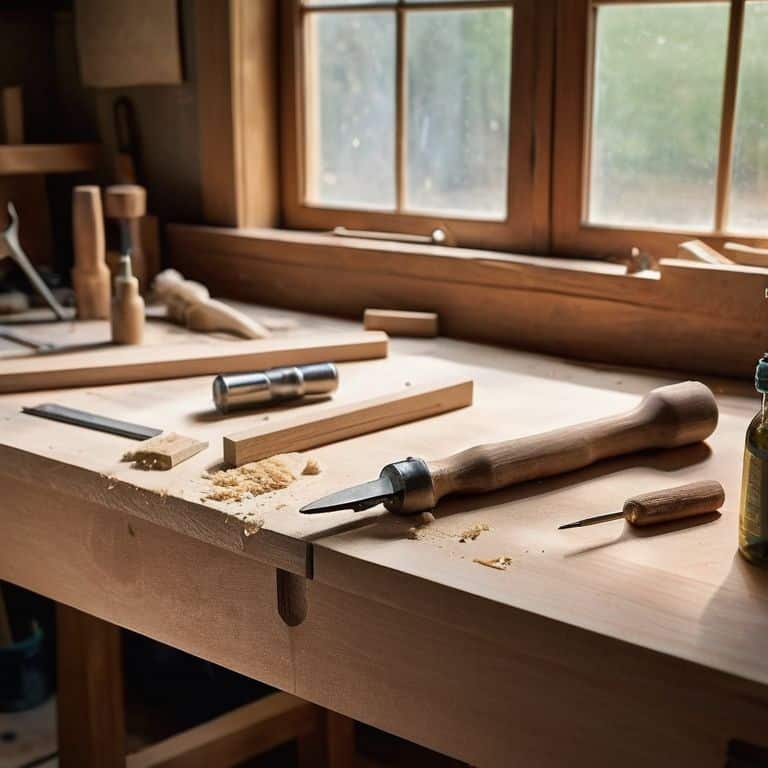
Tools Required
- Clamp (bar clamp or C-clamp)
- Brush (for applying glue)
- Rag (for cleaning up spills)
- Measuring tape (for measuring wood pieces)
- Square (for ensuring proper alignment)
Supplies & Materials
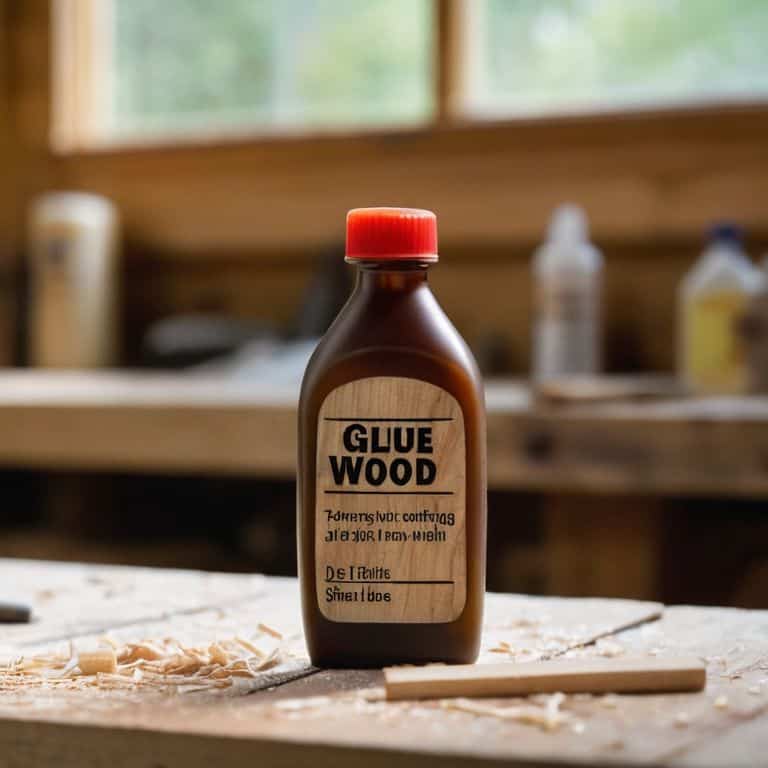
- Wood glue (various types, e.g., PVA, epoxy, or polyurethane)
- Wood pieces (e.g., 2-in x 4-in lumber or 1/4-inch plywood)
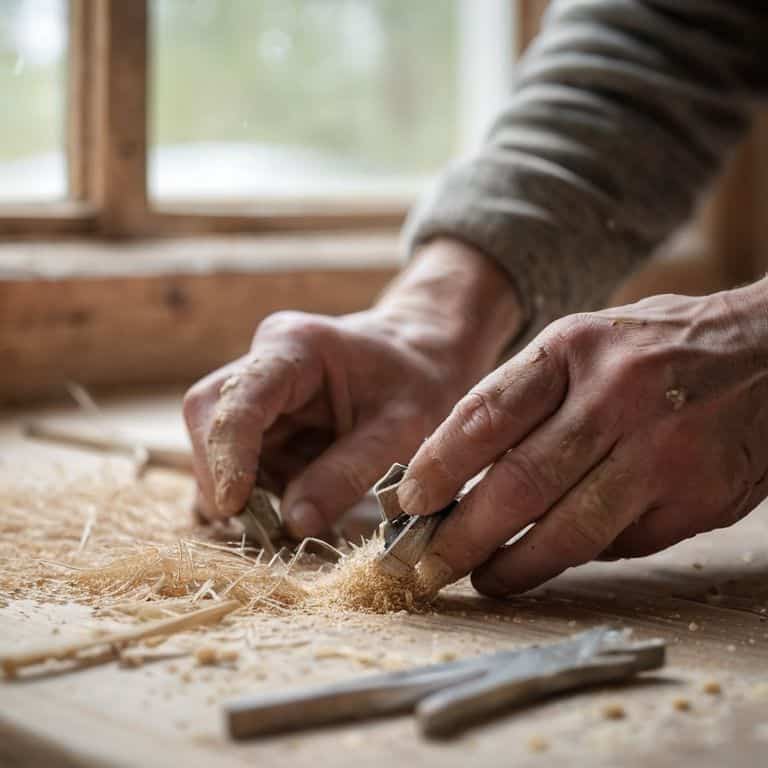
- Sandpaper (for smoothing out wood surfaces)
- Wood filler (optional, for filling gaps or holes)
Step-by-Step Instructions
- 1. First, let’s start with the basics: understanding the different types of wood glue available. Wood glue comes in various forms, including white glue, yellow glue, and epoxy, each with its own strengths and ideal uses. For beginners, I recommend starting with a versatile wood glue that can handle a variety of projects, from simple furniture repairs to more complex woodworking endeavors.
- 2. Next, prepare your workspace by covering your work surface with a drop cloth or old sheets to prevent any accidental spills or stains. This is also a good time to gather all your materials, including the wood pieces you want to glue, clamps, and any other necessary tools. I like to wear my Picasso-inspired socks for good luck when I’m about to start a new project, and I find it helps me get into a creative mindset.
- 3. Now, it’s time to apply the wood glue. Make sure to read the instructions on the glue bottle for the recommended application amount, as this can vary between products. Generally, you’ll want to apply a thin, even layer of glue to one of the wood surfaces. I find that using a small brush can help you get into tight spaces and apply the glue more precisely.
- 4. After applying the glue, carefully place the two wood pieces together, making sure they are aligned properly. Use clamps to hold the pieces in place, and apply gentle to moderate pressure, depending on the specific glue and wood type. It’s essential to follow the clamp’s instruction manual for the recommended pressure to avoid damaging your project.
- 5. Allow the glue to dry for the recommended amount of time, which can range from a few minutes to several hours, depending on the type of glue and environmental conditions. I like to use this time to work on other parts of my project or plan my next upcycling adventure. Keep in mind that some glues may require a longer drying time in humid or cold environments.
- 6. Once the glue is dry, remove the clamps and inspect the bond. If necessary, you can use a small amount of wood filler to fill any gaps or imperfections. Sand the area to create a smooth surface, and your project is ready for the next step, whether that’s painting, staining, or applying a finish. I always feel a sense of satisfaction when I see my projects come together, and I’m sure you will too.
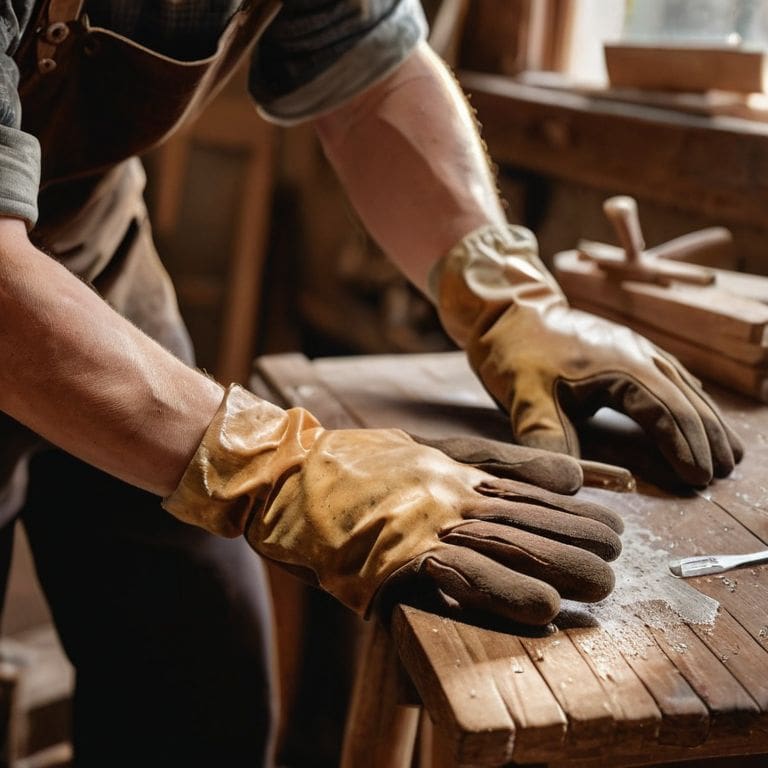
- 7. Finally, take a step back and admire your handiwork. With these simple steps and a bit of practice, you’ll become a wood glue master in no time, able to tackle a wide range of woodworking projects with confidence. Remember to always follow safety precautions when working with wood and adhesives, and don’t hesitate to experiment with different techniques and materials to find what works best for you.
A Guide to Wood Glue for Beginners
As I delve into the world of wood glue, I’ve discovered that understanding the drying time is crucial for a successful project. It’s essential to allow the glue to dry completely, following the manufacturer’s instructions, to ensure a strong bond. I’ve learned that patience is key when working with wood glue, as rushing the process can lead to a weak joint. When it comes to furniture making, I swear by the best wood glue for furniture making, which provides a strong and durable bond.
When comparing wood glue vs ca glue, it’s important to consider the specific needs of your project. Wood glue is ideal for bonding wood to wood, while ca glue is better suited for smaller, more precise applications. I’ve found that how to apply wood glue is just as important as the type of glue you use. Applying the right amount of glue and clamping the pieces together properly can make all the difference in the success of your project.
To avoid common wood glue mistakes, it’s essential to read the instructions carefully and follow the recommended application and drying times. I’ve also found that using wood glue for outdoor projects requires special consideration, as the glue must be able to withstand the elements. By following these tips and tricks, you’ll be well on your way to creating beautiful and functional pieces that will last for years to come.
Glueing Like a Pro Best Wood Glue for Furniture Making
Now that we’ve got the basics covered, let’s dive into the fun part – choosing the best wood glue for your furniture making projects. As someone who’s passionate about upcycling vintage pieces, I can tell you that the right glue can make all the difference. I’ve experimented with various types, and my go-to is a high-quality, water-resistant wood glue that dries clear. It’s perfect for creating sturdy bonds on everything from delicate chair legs to bulky tabletops. With this glue, you can trust that your handmade pieces will withstand the test of time and remain sturdy for years to come.
Stick With Me Wood Glue Drying Time Secrets
Now that we’ve covered the basics, let’s dive into the fascinating world of wood glue drying times. I like to think of it as the secret ingredient that makes all the difference in my upcycling projects. You see, the drying time of wood glue can vary greatly depending on the type of glue, temperature, and humidity. As a general rule, most wood glues take anywhere from 10 to 30 minutes to set, and up to 24 hours to fully cure. But here’s the thing: I’ve found that using a hair dryer or a warm cloth can speed up the process, while also ensuring a stronger bond between the pieces. It’s all about experimentation and finding what works best for your unique project.
Sticking to the Basics: 5 Essential Tips for Wood Glue Newbies
- Choose the Right Type: Select a wood glue that’s suitable for your project, whether it’s a waterproof, interior, or exterior application – and always read the label, my friend!
- Prepare for Perfection: Ensure your surfaces are clean, dry, and free of dust or debris to get the strongest bond possible – it’s like giving your project a fresh start!
- Clamp it Like You Mean It: Apply even pressure to your glued pieces, and don’t be afraid to get creative with clamps or weights to achieve that perfect hold – think of it as a big hug for your DIY baby!
- Timing is Everything: Pay attention to the drying time, and don’t rush the process – a good wood glue takes time to reach its full strength, so be patient and let it do its magic!
- Practice Makes Perfect: Don’t be discouraged if your first few attempts at using wood glue don’t turn out exactly as planned – it’s all part of the learning process, and with time, you’ll become a wood glue wizard, just like me!
Key Takeaways to Stick By
Always choose the right type of wood glue for your project, considering factors like drying time, bonding strength, and suitability for the specific types of wood you’re working with
Prepare your surfaces before applying wood glue, ensuring they are clean, dry, and free of dust or debris to achieve the strongest bond possible
Experiment with different clamping techniques and tools to apply even pressure and minimize warping or cracking, helping your DIY creations turn out professional and uniquely charming
Sticking to the Basics
The art of working with wood glue is not just about bonding pieces together, but about understanding the story each material tells and how they can be woven into a new narrative, one drop of glue at a time.
James O'Neill
Sticking to the Basics: A Beginner's Journey with Wood Glue
As we conclude this journey through the world of wood glue, it’s essential to remember the basics. We’ve covered the importance of choosing the right type of glue for your project, understanding the drying times, and applying the perfect amount of pressure. These fundamental principles will serve as the backbone of your DIY adventures, allowing you to bring new life to old, forgotten pieces of furniture. Whether you’re a seasoned pro or a beginner, mastering the art of wood glue is a skill that will elevate your craft and open doors to a world of creative possibilities.
As you embark on your own woodworking escapades, keep in mind that the true magic lies not in the glue itself, but in the stories you create with each piece. Every scratch, every stain, and every carefully placed drop of glue is a testament to your imagination and dedication. So, don’t be afraid to get creative, to experiment, and to push the boundaries of what’s possible. With wood glue as your trusty sidekick, the only limit is your own imagination, and I have no doubt that you’ll unleash a world of wonder, one DIY project at a time.
Frequently Asked Questions
What are the most common mistakes to avoid when using wood glue for the first time?
So, you’re about to get stuck into wood glue for the first time? Awesome! Just remember, newbie mistakes can be a real pain. Don’t apply too much glue, or you’ll end up with a mess. And please, for the love of all things wooden, clamp it properly to avoid uneven bonding. Trust me, I’ve been there, and it’s a real sticky situation!
How do I choose the right type of wood glue for my specific DIY project?
Choosing the right wood glue is like picking the perfect sock to match my project’s vibe – it’s all about the details. Consider the type of wood, the project’s purpose, and the desired finish. Do you need a strong bond for a functional piece or a flexible one for a decorative item? Let’s get down to the nitty-gritty and find the perfect glue for your unique DIY masterpiece!
Can I speed up the wood glue drying time without compromising the strength of the bond?
The age-old question: how to hurry up the waiting game with wood glue! I’ve got a trick up my sleeve – or should I say, on my workbench? Applying a small amount of pressure or using a clamp can help speed up the drying process without sacrificing bond strength. Just be gentle, my friend, as too much pressure can compromise the integrity of your masterpiece!