I still remember the day I stumbled upon my grandfather’s old workshop, filled with tools scattered all over the place. It was a treasure trove of chaos, and I was determined to bring order to it. That’s when I discovered the magic of a guide to organizing your tools on a pegboard. It’s amazing how a simple pegboard can transform a cluttered mess into a functional haven. I’ve seen many people struggle with tool organization, and I’m excited to share my experience with you. As someone who’s passionate about upcycling vintage furniture, I know that a well-organized workspace is essential for creativity and productivity.
In this article, I’ll share my no-nonsense approach to organizing your tools on a pegboard. You’ll learn how to maximize your workshop’s potential by creating a customized pegboard system that suits your needs. I’ll walk you through the process of assessing your tool collection, designing a pegboard layout, and implementing a maintenance routine to keep your workspace tidy. By the end of this guide, you’ll be equipped with the knowledge to turn your cluttered workshop into a well-oiled machine, where you can focus on creating something truly unique and special. So, let’s get started on this journey to pegboard perfection!
Table of Contents
Guide Overview: What You'll Need
Total Time: 1 hour 45 minutes
Estimated Cost: $20 – $40
Difficulty Level: Easy
Tools Required
- Drill (with screwdriver and drill bits)
- Level (for ensuring pegboard is straight)
- Tape Measure (for measuring wall and pegboard)
- Pencil (for marking holes)
- Utility Knife (for cutting pegboard hooks to size)
Supplies & Materials
- Pegboard (typically 1/4 inch or 1/2 inch thick, 2 feet x 4 feet)
- Pegboard Hooks (assorted sizes and types)
- Screws (for mounting pegboard to wall, 1 inch or 1.5 inches long)
- Wall Anchors (optional, for heavy tools or weak walls)
- Marker or Labels (for labeling tool locations)
Step-by-Step Instructions
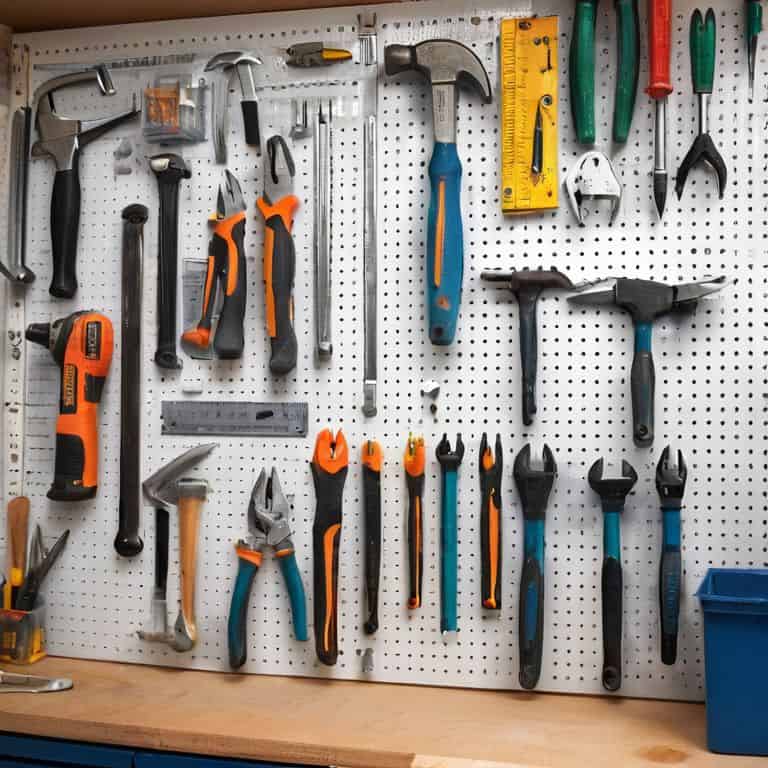
- 1. First, let’s clear the clutter and start with a blank slate – or in this case, a empty pegboard. Remove all the tools and gadgets that are currently hanging on it, and give the board a good wipe down to get rid of any dust or grime that may have accumulated. This will give us a fresh start and help us think more clearly about how we want to organize our tools.
- 2. Next, take some time to _categorize your tools_ into groups based on their function, size, or frequency of use. This will help us create a more efficient and functional layout on our pegboard. For example, you might have a group for all your screwdrivers, another for your hammers, and another for your measuring tapes.
- 3. Now it’s time to measure and map out our pegboard. Take some measurements to determine how much space we have to work with, and start thinking about how we can use that space to our advantage. Consider the size and shape of each tool, as well as how often we use them. We want to place our most frequently used tools in easy-to-reach locations, and our less frequently used tools in areas that are a bit more out of the way.
- 4. With our plan in place, it’s time to start _installing our hooks and bins_. We’ll want to use a variety of different types of hooks and bins to accommodate all of our different tools. For example, we might use large hooks for our hammers and axes, smaller hooks for our screwdrivers and pliers, and bins for our smaller parts and accessories.
- 5. Once we have all of our hooks and bins installed, it’s time to start hanging our tools. Begin by hanging our most frequently used tools, and work our way down to our less frequently used tools. Make sure to leave a little bit of space between each tool to avoid overcrowding, and consider using _labels or signs_ to help us quickly identify what each tool is.
- 6. As we’re hanging our tools, let’s also think about creating a maintenance routine to keep our pegboard organized and functional over time. This might involve setting aside a few minutes each week to tidy up our tools, or implementing a “one in, one out” policy to prevent clutter from building up again.
- 7. Finally, take a step back and _admire our handiwork_. Our pegboard should now be a beautifully organized and functional space that makes it easy to find the tools we need when we need them. Take some time to appreciate the sense of satisfaction that comes with creating a well-organized workspace, and enjoy the knowledge that we’ve created a system that will help us work more efficiently and effectively for years to come.
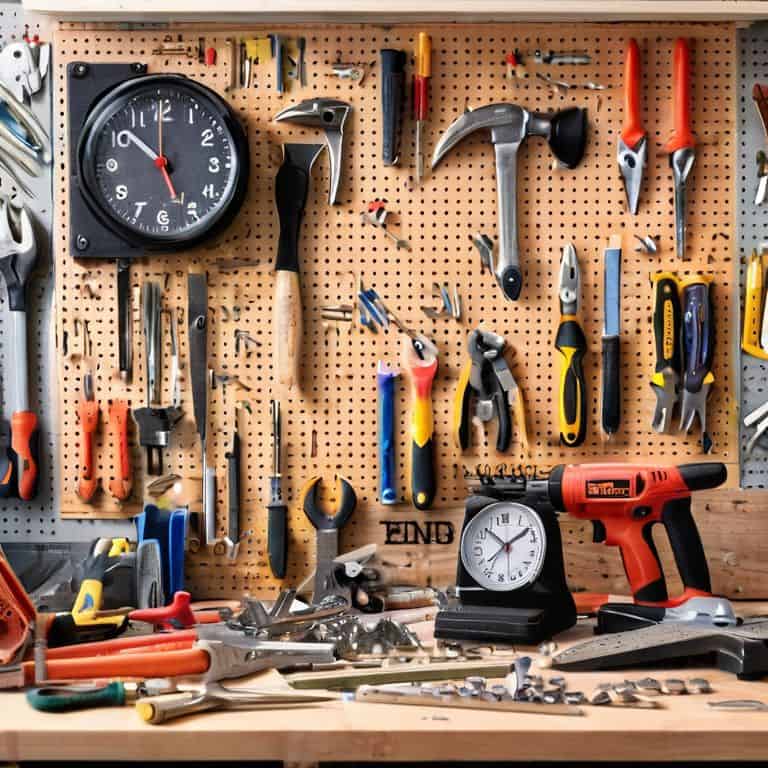
Pegboard Paradise Found
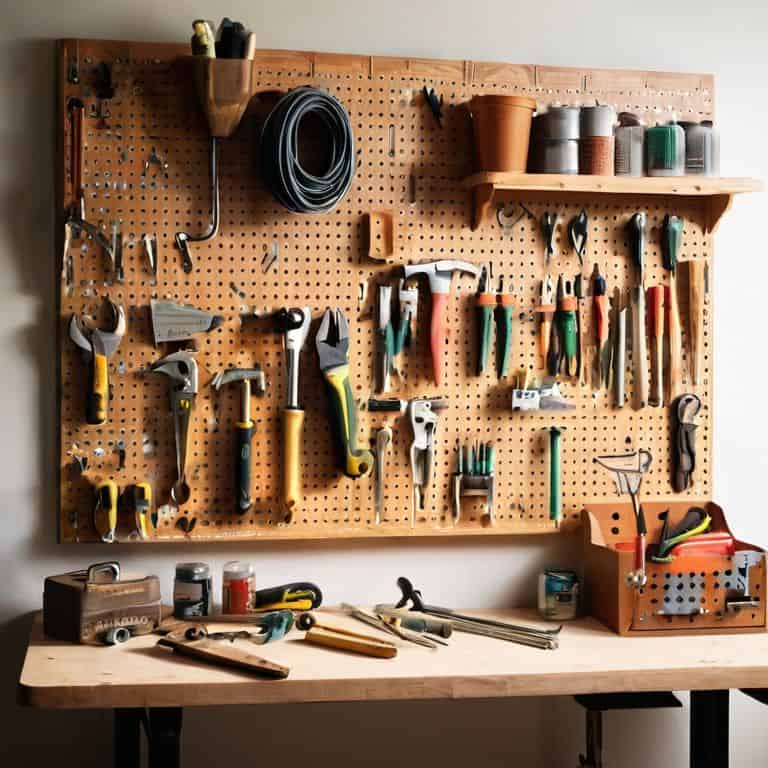
As I always say, a well-organized workshop is a happy workshop. Now that we’ve got our pegboard up and running, let’s talk about taking it to the next level with custom pegboard designs. I mean, who says you can’t have a little fun with your tool storage? By incorporating a few cleverly designed hooks and bins, you can turn your pegboard into a veritable tool paradise.
When it comes to choosing the right hooks for your pegboard, it’s all about mixing and matching to create a pegboard hook selection guide that works for you. Don’t be afraid to experiment with different shapes, sizes, and materials to find the perfect combination for your tools. And remember, the key to optimizing garage storage space is to keep it flexible and adaptable.
As a creative workshop instructor, I’m always on the lookout for new workshop layout ideas for small spaces. One of my favorite tricks is to use a pegboard as a room divider, creating a separate area for tools and supplies while still maintaining an open and airy feel. By incorporating a few tool organization systems for professionals into your design, you can create a workspace that’s both functional and beautiful.
Custom Designs for Whimsy Workshop
As I delve into the realm of custom designs, my colorful socks – today featuring Van Gogh’s swirling patterns – seem to match the creative chaos in my mind. I adore incorporating personal touches into pegboard designs, making each workshop a reflection of its owner’s personality. Whimsical workshop owners, rejoice! You can add a dash of playfulness with customized hooks, brightly colored pegs, or even a hand-painted pegboard backdrop that doubles as a functional piece of art.
In my own workshop, I’ve experimented with mixing vintage and modern elements, like pairing antique door handles with neon-lit pegs. The result? A one-of-a-kind space that’s equal parts functional and fascinating. Feel free to get creative and make your pegboard a masterpiece that sparks joy every time you step into your workshop.
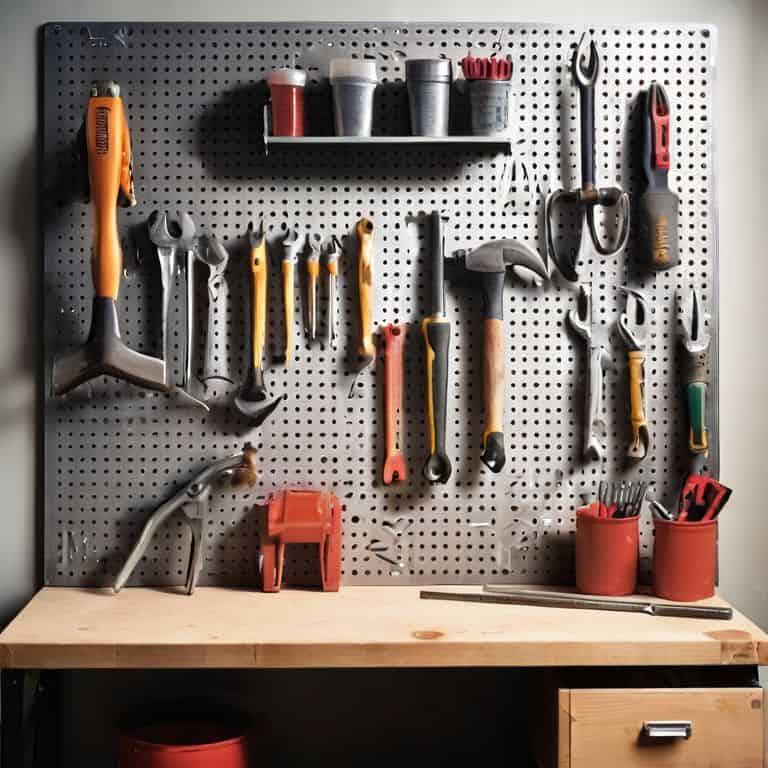
Hook Selection for Tool Wizardry
As I delve into the world of pegboard paradise, I find myself enchanted by the humble hook. It’s amazing how such a simple component can elevate our tool organization from mundane to magical. For my own workshop, I adore mixing and matching hooks of various shapes and sizes to create a visually appealing landscape. From sturdy screw hooks for heavier items like wrenches and hammers, to slender pins for smaller gadgets, the right hook can make all the difference in maintaining a sense of whimsy and wonder.
I like to think of hook selection as an art form, where each choice is a brushstroke on the canvas of our pegboard masterpiece. By choosing hooks that not only serve a purpose but also add a touch of personality, we can turn our workshop into a reflection of our unique style and creativity. And, of course, my trusty pair of Van Gogh socks seems to agree, inspiring me to see the beauty in every detail, no matter how small.
Pegboard Perfection: 5 Whimsical Tips to Tame Your Toolbox
- Assign a Home for Each Tool: Designate a specific spot for each tool on your pegboard, making it easier to find what you need and put things back in their place
- Measure Twice, Drill Once: Take precise measurements before drilling holes for your pegs to ensure a sturdy and balanced pegboard that won’t leave you hanging
- Group Similar Tools Together: Categorize your tools into families, like all your screwdrivers or pliers, and group them on the pegboard for a sense of harmony and workflow efficiency
- Leave Space to Breathe: Don’t overcrowd your pegboard – leave some empty space between tools to create a visually appealing and functional layout that’s easy on the eyes
- Add a Dash of Personality: Incorporate decorative elements, like colorful pegs or a whimsical tool holder, to reflect your unique style and make your pegboard a one-of-a-kind masterpiece
Pegboard Perfection: 3 Key Takeaways
Transform your workshop into a functional haven by organizing your tools on a pegboard, where every hook and holder tells a story of whimsy and practicality
Unleash your inner tool wizard by selecting the perfect hooks for your most trusted companions, from screwdrivers to pliers, and give each one a home that sparks joy
Remember, a pegboard is not just a storage solution, but a canvas for your creativity – don’t be afraid to add a dash of personality with custom designs, colorful hooks, or even a few vintage touches to make your workshop truly one-of-a-kind
The Pegboard Philosophy
As we weave a tapestry of tools on our pegboard, we’re not just organizing our space, we’re orchestrating a symphony of creativity, where every hook, every hanger, and every carefully placed item becomes a note that harmonizes functionality with flair.
James O'Neill
Pegboard Perfection: The Final Touches
As we wrap up this journey to pegboard paradise, let’s take a moment to reflect on the key takeaways. We’ve covered the essential steps to transform your workshop into a well-oiled machine, from clever pegboard designs to the art of hook selection for tool wizardry. By embracing these simple yet effective strategies, you’ll not only boost your productivity but also infuse your workspace with a dash of personality. Remember, the goal is to create a haven that sparks joy and inspires creativity, so don’t be afraid to add your own unique touch to make it truly special.
As you put the finishing touches on your pegboard masterpiece, I encourage you to step back and admire your handiwork. Feel the sense of pride and accomplishment that comes with knowing you’ve created something truly one-of-a-kind. Your newly organized workshop is more than just a space – it’s a reflection of your creativity and a testament to the power of whimsy and wonder. So go ahead, get creative, and make that pegboard shine!
Frequently Asked Questions
What are some creative ways to label and categorize tools on a pegboard for easy identification?
Let’s get labeling, shall we? I adore using colorful chalk markers, stickers, or even painting tiny masterpieces to categorize my tools – it’s all about adding a dash of personality to your pegboard. You can group tools by type, frequency of use, or even create a ‘Tool of the Month’ section, making it a fun adventure to find what you need!
How can I determine the optimal hook spacing and arrangement for my specific set of tools?
Determining the perfect hook spacing is an art form, my friend! I like to lay out my tools in a rough arrangement, then measure the gaps between them. Consider the size and shape of each tool, and group similar ones together. This will give you a sense of the optimal hook spacing and arrangement that’s tailored to your unique toolkit.
Are there any tips for incorporating pegboard organization into a small or shared workshop space?
For smaller or shared spaces, I swear by vertical pegboard installations and double-sided hooks – they’re total game-changers! You can also designate zones for specific tools or users, keeping everything tidy and accessible. Plus, labeling each hook with its corresponding tool adds a touch of personality to your workshop, don’t you think?