I still remember the day I realized that my inbox was eating away at my productivity – I was spending more time sorting through emails than actually tackling my to-do list. That’s when I discovered the power of a guide to using email filters to automate your inbox. It’s amazing how such a simple tool can be a total game-changer for your daily routine. I was able to streamline my email management and free up more time for the things that matter. As someone who’s passionate about speed-puzzle solving, I love how email filters can help you solve the puzzle of a cluttered inbox.
In this article, I’ll share my top secrets for using email filters to take control of your inbox. You’ll learn how to set up filters that automatically sort and prioritize your emails, so you can focus on the tasks that need your attention. I’ll give you practical tips and tricks for creating a customized filtering system that works for you, not against you. By the end of this guide, you’ll be equipped with the knowledge to transform your inbox from a source of stress to a tool for productivity. So, let’s get started and tame that email beast once and for all!
Table of Contents
Guide Overview: What You'll Need

Total Time: 30 minutes to 1 hour
Estimated Cost: free – using existing email account
Difficulty Level: Easy
Tools Required
- Computer (with internet connection)
- Email Account (with filtering capabilities)
Supplies & Materials
- Email Filter Rules customizable to user needs
Step-by-Step Instructions
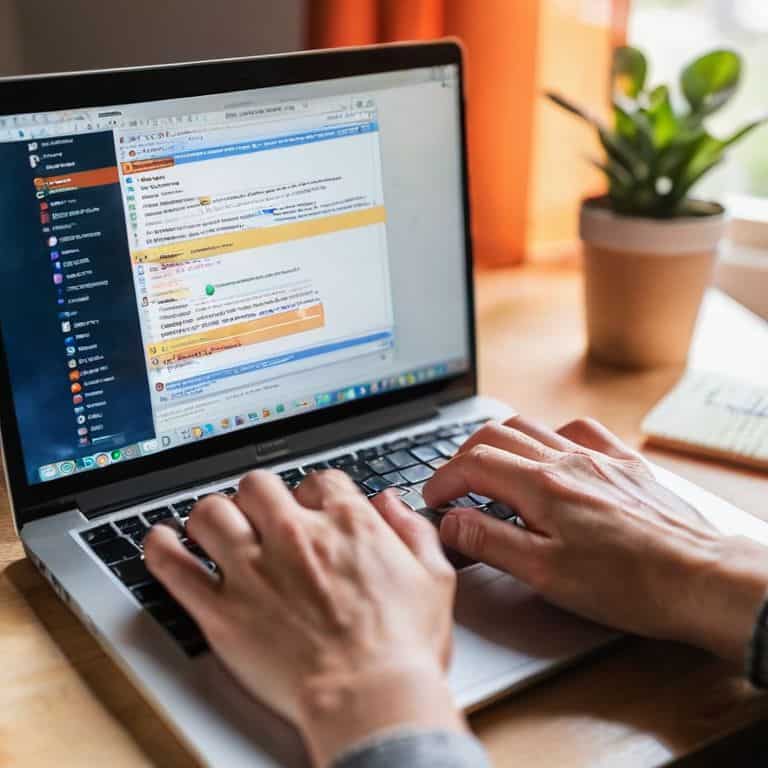
- 1. First, let’s get started with setting up your email filters by accessing your email account’s settings – this is usually found in a dropdown menu or a gear icon, and it’s where the magic happens. Look for the “Filters” or “Rules” section, as this is where you’ll be creating your automated inbox system.
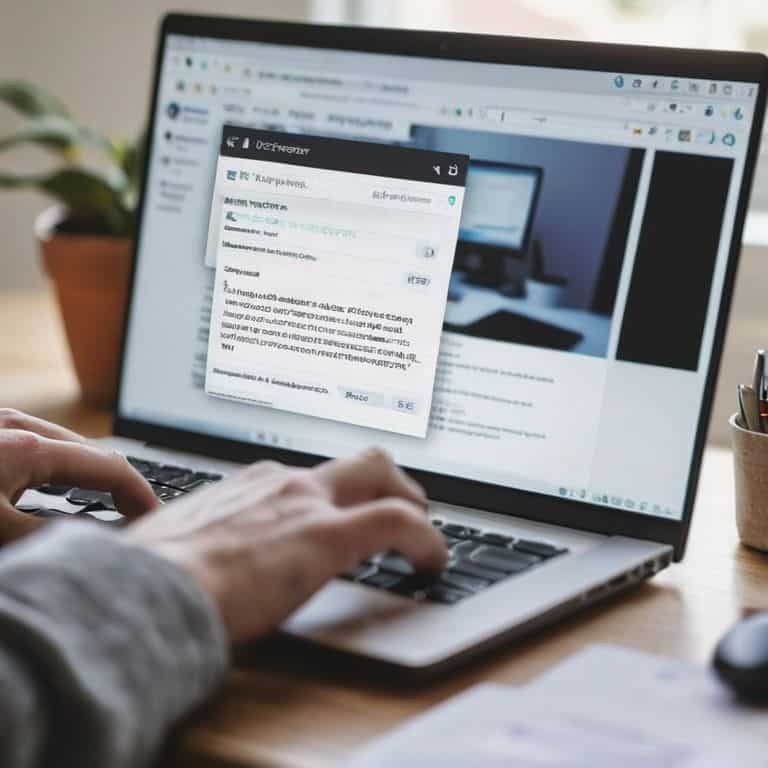
- 2. Next, you’ll want to create a new filter, which typically involves clicking a “Create” or “New” button – it’s time to get your inbox in order with some _serious organization_. You’ll be asked to set up conditions for the filter, such as the sender, subject line, or keywords in the email body. Be as specific as possible to ensure your filters are _laser-focused_.
- 3. Now, it’s time to decide what action you want the filter to take when it encounters an email that matches your conditions – think of it as streamlining your workflow. You can choose to have the email automatically sorted into a specific folder, marked as read, or even deleted. The key is to think about how you want to _simplify your inbox_.
- 4. To make your filters even more powerful, you can also use operators like “contains,” “does not contain,” or “equals” to refine your conditions – it’s all about _fine-tuning_ your system. For example, you might create a filter that looks for emails from a specific sender and contains a certain keyword in the subject line. This way, you can ensure that only the most relevant emails reach your inbox.
- 5. As you create more filters, it’s essential to test them out to make sure they’re working as intended – _trial and error_ is your friend here. Send yourself a few test emails that match your filter conditions and verify that they’re being sorted correctly. This will help you iron out any kinks and ensure your filters are running smoothly.
- 6. Another crucial step is to regularly review and update your filters to reflect changes in your email habits or priorities – it’s all about staying adaptable. You might find that certain filters are no longer necessary or that new ones need to be created. By periodically reviewing your filters, you can ensure that your inbox remains optimized for productivity.
- 7. Finally, don’t be afraid to get creative with your filters and experiment with different conditions and actions – this is where the fun begins. You might discover new ways to automate tasks or simplify your email workflow. Remember, the key to mastering email filters is to be _consistent and patient_, as it may take some time to get everything set up and running smoothly.
A Guide to Using Email Filters
As I always say, email filter best practices are key to a stress-free inbox. When setting up your filters, consider the types of emails you receive regularly and how you can automate repetitive emails to save time. For instance, you can create a filter to automatically move newsletters or promotional emails to a designated folder, keeping your primary inbox clutter-free.
To take your email management to the next level, try using labels in Gmail or categories in Outlook to further organize your emails. This way, you can quickly identify and prioritize important messages. I also recommend setting up custom email filter rules to handle specific types of emails, such as invoices or receipts, and have them automatically sorted and labeled.
By implementing these strategies, you’ll be well on your way to achieving email management for productivity. Remember, the goal is to create a system that works for you, not against you. With a little practice and patience, you’ll be a pro at managing your inbox in no time, and you can focus on more pressing tasks – like solving speed puzzles, my personal favorite!
Filter Frenzy Taming Email Chaos
Now that we’ve covered the basics, let’s dive into the fun part – creating a filter frenzy that tames your email chaos! I swear by my trusty stopwatch to time every task, and setting up email filters is no exception. By implementing these simple yet powerful tools, you’ll be amazed at how much time you can save. I’m talking minutes, hours, even days – all reclaimed from the inbox black hole.
My top secret to making filters work for you? Keep it simple, yet strategic. Start by identifying your most time-sucking email patterns, and then create filters that automatically sort, label, or even respond to them. With a little creativity, you can turn your inbox into a well-oiled machine, freeing you up to focus on the tasks that really matter. Trust me, the sense of accomplishment is addicting – and I should know, I’ve timed it!
Outlook Inbox Hacks Custom Rules
To take your email filtering to the next level, let’s dive into custom rules in Outlook. I’m a huge fan of tailoring my inbox to my specific needs, and custom rules allow you to do just that. With a few clicks, you can set up rules that automatically sort, prioritize, or even respond to emails based on sender, subject, or keywords.
My personal favorite hack is setting up a rule to automatically move emails from certain senders into designated folders. It’s a game-changer for staying organized and focused. I time myself (yes, with my trusty stopwatch!) to see how quickly I can set up these custom rules – it’s amazing how much time you can save in the long run. Give it a try and watch your inbox transform into a streamlined powerhouse!
Filtering Like a Pro: 5 Tips to Supercharge Your Inbox
- Set up a ‘Someday’ folder with a filter that automatically moves emails you don’t need to action immediately, but want to keep for future reference
- Use the ‘CC’ field to your advantage by creating a filter that flags emails where you’re CC’d, helping you prioritize emails where you’re the main recipient
- Create a ‘Newsletters’ filter to keep your inbox clutter-free by automatically moving subscription emails into a separate folder
- Implement a ‘Follow-up’ filter that flags emails you’ve sent but haven’t received a response to, making it easier to chase up contacts
- Establish a ‘Spam Slayer’ filter to aggressively block unwanted emails, using keywords and sender lists to keep your inbox clean and your sanity intact
Key Takeaways to Supercharge Your Inbox
To tame the email beast, set up filters that automatically sort, prioritize, and even respond to routine messages, freeing you up for more strategic tasks
Customize your email client’s rules to fit your unique workflow, whether that’s in Outlook, Gmail, or another platform, and watch your productivity soar
By implementing these filter strategies and maintaining them with regular checks, you’ll not only save time but also reduce stress and stay focused on what really matters – achieving your goals with lightning speed and efficiency
Taming the Inbox
Automating your inbox with email filters isn’t just about clearing clutter – it’s about reclaiming your time and focus, so you can sprint towards your goals with clarity and speed!
Anna Wright
Wrapping Up: Mastering Email Filters for a Stress-Free Inbox
As we’ve explored in this guide to using email filters to automate your inbox, the key to taming the email beast lies in understanding how to create and apply custom filters that work for you, not against you. We’ve covered the basics of setting up email filters, delved into the specifics of Outlook inbox hacks, and even touched on how to maintain your newly organized inbox. By implementing these strategies, you’ll be well on your way to achieving a more streamlined and efficient email management system. Remember, the goal is to spend less time sifting through emails and more time focusing on what matters most to you.
So, as you embark on this journey to email filter mastery, keep in mind that it’s all about finding a rhythm that works for you. Don’t be too hard on yourself if it takes a little time to get everything just right – the important thing is that you’re taking the first steps towards a more organized, less stressful you. With your newfound skills and a dash of creativity, you’ll be solving your email puzzles in no time, and that’s a beautiful thing!
Frequently Asked Questions
How can I ensure my email filters are working efficiently without accidentally archiving or deleting important emails?
Time to optimize those filters! I set a stopwatch to review my email rules regularly. Check your filter criteria, ensure specific keywords are used, and test them with sample emails. This way, you’ll catch any potential issues before they become major headaches – and save yourself some serious time in the long run!
Can I apply multiple filters to a single email to categorize and prioritize my inbox more effectively?
Absolutely, you can apply multiple filters to a single email. I call it ‘filter layering’ – it’s a total game-changer. By stacking filters, you can categorize, prioritize, and even automate responses to specific emails, making your inbox management a breeze. I time myself doing this, and trust me, it’s a huge time-saver!
What are some common mistakes to avoid when setting up email filters to automate my inbox and how can I troubleshoot them?
Time to troubleshoot! Common mistakes include over-filtering, which can hide important emails, and under-specifying rules, leading to false positives. My tip? Set a timer for 5 minutes and review your filter rules – it’s a speed-puzzle solving trick that works wonders! Identify any overly broad or vague rules and tweak them for precision.