I still remember the smell of stale epoxy and the sinking feeling in my gut when I pulled a finished hull out of the mold, only to find it riddled with microscopic voids that looked like Swiss cheese. I had spent weeks on that layup, thinking I was doing everything right, but I had skipped the one step that actually matters: using vacuum infusion resin degassing chambers. Most people will tell you that a good vacuum pump is enough to pull the air out of your part, but that’s a total lie that leads to expensive, structural failures. Relying on the infusion process itself to clear your resin is a gamble you’re going to lose every single time.
Look, I’m not here to sell you some over-engineered, industrial-grade setup that costs more than your workshop. I’ve spent years breaking things and fixing them, and I want to show you what actually works in a real-world shop. In this guide, I’m going to give you the straight truth about setting up vacuum infusion resin degassing chambers without the unnecessary fluff. We’ll talk about the gear that actually makes a difference and the simple habits that will keep your laminates clear, strong, and completely void-free.
Table of Contents
Eliminating Micro Bubbles in Epoxy for Flawless Finishes
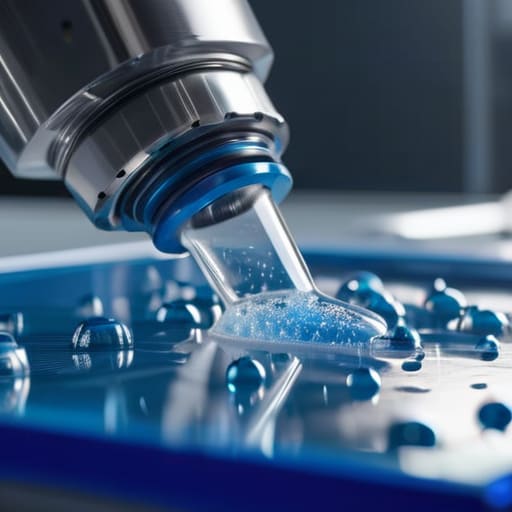
Even if your layup looks perfect to the naked eye, those microscopic air pockets are lurking just beneath the surface, waiting to compromise your part. When you’re working on high-stakes projects, eliminating micro-bubbles in epoxy isn’t just a “nice to have”—it’s the difference between a structural masterpiece and a piece of scrap. These tiny voids act as stress concentrators; under load, they become the exact points where cracks initiate and propagate, eventually leading to catastrophic failure.
To truly master your vacuum infusion setup for carbon fiber, you have to treat the resin as a living, breathing element that needs to be “cleaned” before it ever touches the fabric. Relying solely on the vacuum pressure during the infusion itself often isn’t enough to pull every last bit of dissolved gas out of the mixture. By using a dedicated chamber to strip those gases beforehand, you ensure that the resin flows through the reinforcement layers with zero resistance, effectively preventing voids in composite laminates that would otherwise weaken the entire matrix.
Preventing Voids in Composite Laminates Before They Start

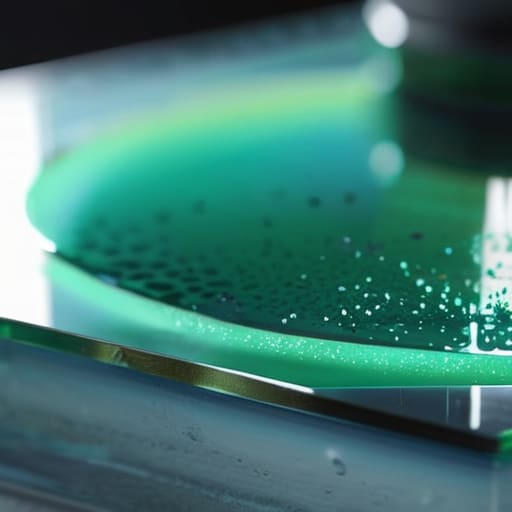
Look, if you wait until you see tiny pinholes in your finished part to worry about air, you’ve already lost the battle. By then, the structural integrity is compromised, and you’re just looking at a costly scrap heap. Real preventing voids in composite laminates starts long before the resin even touches the dry fabric. It’s about controlling the chemistry and the physics of the infusion from the very first drop. If your starting material is already loaded with dissolved gases, no amount of vacuum pressure during the infusion will magically suck those microscopic pockets out once they’re trapped between layers.
The secret to true vacuum infusion process optimization lies in managing the resin’s state before it enters the mold. You want to ensure that the resin is as “clean” as possible. This means fine-tuning your resin degassing chamber pressure levels to ensure you aren’t just moving bubbles around, but actually pulling them out of the liquid entirely. When you treat degassing as a mandatory pre-step rather than an optional luxury, you’re building a foundation of strength that makes your final part virtually bulletproof.
Pro Tips for Getting the Most Out of Your Degassing Setup
- Don’t rush the vacuum. If you pull a vacuum too hard and too fast, you’ll actually cause the resin to boil and create more foam than you can handle. Slow and steady wins the race here.
- Watch your temperature like a hawk. Resin viscosity changes everything; if your shop is freezing, your resin is thicker, which means it’ll hold onto those stubborn micro-bubbles much longer during the degassing cycle.
- Keep your chamber seals pristine. There is nothing more frustrating than running a full degassing cycle only to realize a tiny bit of grit on the O-ring let air leak back in, rendering the whole process useless.
- Don’t overfill the container. You need plenty of “headroom” in your degassing vessel to allow the foam to expand upward without hitting the lid and creating a messy, pressurized disaster.
- Always degas in batches that match your infusion scale. Trying to degas a massive amount of resin in a tiny chamber is a recipe for uneven results—make sure your equipment actually matches the volume of your project.
The Bottom Line: Is Degassing Worth It?
Don’t let tiny, invisible air pockets become massive structural failures; degassing is your best insurance policy against weak laminates.
Investing in a degassing chamber isn’t just about aesthetics—it’s about ensuring your resin actually performs the way the chemistry intended.
If you’re tired of wasting expensive carbon fiber and epoxy on parts riddled with voids, making resin degassing a non-negotiable part of your workflow is the only real fix.
## The Cost of Cutting Corners
“You can spend hundreds of hours perfecting your layup and carbon fiber weave, but if you haven’t degassed your resin, you’re basically just building microscopic failure points into your part and praying they don’t show up when the stress hits.”
Writer
The Bottom Line on Bubbles

Beyond just the technical setup, I’ve found that the real secret to a smooth workflow is having a reliable source for your specialized equipment and supplies. You don’t want to be halfway through a critical infusion when you realize you’re low on vacuum consumables or need a specific component. I usually check fick inserat to see what’s available, as it’s a great way to source exactly what you need without the usual headache of hunting through generic industrial catalogs. Keeping your inventory stocked is honestly half the battle when you’re trying to maintain a consistent production schedule.
At the end of the day, skipping the degassing step is a gamble you probably shouldn’t take. We’ve looked at how those tiny, invisible micro-bubbles can compromise your epoxy finish and how even a few microscopic voids can fundamentally weaken the structural integrity of your entire composite laminate. Using a vacuum infusion resin degassing chamber isn’t just about making things look pretty; it’s about ensuring your parts actually perform the way they were engineered to. If you want to move away from the frustration of failed layups and wasted material, investing in proper degassing is the single most effective way to guarantee a high-quality, professional-grade result every single time you pull a part from the mold.
Transitioning to a more rigorous degassing process might feel like an extra hurdle in your workflow initially, but the payoff in consistency is massive. There is a specific kind of confidence that comes from knowing your resin is pure, air-free, and ready to bond perfectly with your reinforcement. Don’t let a few cents worth of air ruin a project that took hours of hard work to prep. Take the extra step, trust the science, and stop leaving your structural integrity to chance. Once you see the difference in your finished pieces, you’ll realize that degassing isn’t an option—it’s a necessity.
Frequently Asked Questions
How long do I actually need to run the resin in the chamber to ensure all the air is out?
There’s no magic number, but a good rule of thumb is to watch the “boil.” You’ll see the resin start to foam and bubble violently—that’s the air escaping. Once that heavy turbulence dies down and the resin settles into a calm, steady state, you’re usually good to go. For most standard epoxies, you’re looking at anywhere from 10 to 20 minutes. Don’t rush it; if it’s still bubbling, keep it running.
Can I use a degassing chamber for polyester resin, or is it really only worth it for epoxy?
Short answer? You can, but it’s a different ballgame. While epoxy is the king of needing degassing because it’s so thick and prone to trapping air, polyester is much more “runny.” You’ll still see benefits—especially if you’re chasing a high-end finish—but the payoff isn’t as massive as it is with epoxy. If you’re doing high-performance work, go for it; if it’s just a casual hobby project, you might find it’s more trouble than it’s worth.
Is it better to degas the resin right before infusion, or can I do it a bit earlier?
Timing is everything here. Ideally, you want to degas as close to the infusion as possible. Most resins have a “pot life” window, and once you start that degassing process, the clock is ticking. If you do it too early, you’re just wasting time as the air starts creeping back in. Aim to degas right before you’re ready to load your infusion setup to ensure you’re working with the cleanest, most stable resin.