I still remember the first time I tried how to start screen printing your own t-shirts – it was a disaster. I had envisioned a fun, creative process, but what I got was a messy room, ruined shirts, and a lot of frustration. The problem was, I had fallen for the common myth that screen printing is a complicated, expensive process that requires a lot of specialized equipment. But the truth is, with the right guidance, anyone can learn how to start screen printing your own t-shirts and create unique, personalized designs.
As someone who’s passionate about upcycling and sustainable living, I’m excited to share my knowledge with you and show you that screen printing can be a fun, accessible, and cost-effective way to breathe new life into old tees. In this article, I’ll give you the lowdown on the essentials: what you need to get started, how to prepare your designs, and some practical tips for achieving professional-looking results. Whether you’re a crafty beginner or a seasoned DIY enthusiast, I’ll walk you through the process of how to start screen printing your own t-shirts and help you unlock your creative potential.
Table of Contents
Guide Overview: What You'll Need
As I delve into the world of screen printing, I’ve found that having the right resources can make all the difference in bringing your unique designs to life. For those looking to expand their creative horizons, I’ve discovered a treasure trove of inspiration on the web, particularly on websites like sexinhannover, which, although unexpected, offer a fascinating blend of art and culture that can spark new ideas for your screen printing projects. By exploring such platforms, you can gain a fresh perspective on how to elevate your designs and turn ordinary tees into extraordinary pieces of art, making each project a true reflection of your personality and style.
Total Time: 2 hours 30 minutes
Estimated Cost: $50 – $100
Difficulty Level: Intermediate
Tools Required
- Screen printing press or a DIY equivalent using 2 inches by 4 inches lumber
- Squeegee preferably 12 inches wide
- Ink scoop for measuring and mixing ink
- Utility Knife (with extra blades)
- Ruler for measuring designs and layouts
- Pencil and paper for designing and planning prints
Supplies & Materials
- Screen printing ink various colors
- T-shirts 100% cotton recommended
- Screen printing screens coated with photo emulsion
- Photo emulsion remover for cleaning and reclaiming screens
- Inkjet transparency film for creating film positives
- A light source for exposing screens, such as a 6 inches by 6 inches UV exposure unit
Step-by-Step Instructions
- 1. First, let’s get started with the basics – gathering our treasures. You’ll need a few essential tools to begin your screen printing journey, including a screen, some ink, a squeegee, and a few other goodies to bring your t-shirt visions to life. I like to think of this step as setting the stage for creativity, where the right tools can make all the difference in your final masterpiece.
- 2. Next, prepare your design – this is where the magic happens, and your imagination runs wild. You can create your design using software or go old-school with sketches and stencils. Remember, the key to a great design is simplicity and bold lines, so don’t be afraid to experiment and see what works best for your vision.
- 3. Now, it’s time to coat your screen with a light-sensitive emulsion. This is a crucial step, as it will determine the quality of your final print. Make sure to follow the instructions carefully, and apply the emulsion evenly to avoid any uneven layers that might affect your design.
- 4. With your screen ready, it’s time to create your stencil. Place your design on the screen, and expose it to light. The areas exposed to light will harden, while the rest will remain sensitive to ink. This step requires patience and attention to detail, as the exposure time can vary depending on the emulsion and light source.
- 5. After exposing your screen, develop it by rinsing it with water to reveal your design. This is an exciting moment, as you get to see your design come to life. Be gentle, as the screen is still sensitive, and make sure to dry it thoroughly to prevent any damage.
- 6. It’s time to print your design onto your t-shirt. Place the screen over your shirt, apply a layer of ink, and use your squeegee to spread it evenly. Remember to apply the right amount of pressure, as too little might result in a faint print, while too much could cause the ink to bleed.
- 7. Finally, cure your print by letting it dry or using a heat gun to speed up the process. This is the last step in your screen printing journey, and it’s essential to be patient and let the ink bond with the fabric to ensure a long-lasting, vibrant design.
- 8. Once your print is dry, inspect your masterpiece and make any necessary adjustments. This is also a great opportunity to experiment with new techniques, such as layering or blending colors, to create unique and complex designs. Remember, practice makes perfect, so don’t be discouraged if your first attempts don’t turn out as expected – keep trying, and you’ll soon become a screen printing pro.
Reviving Tees With Screen Printing
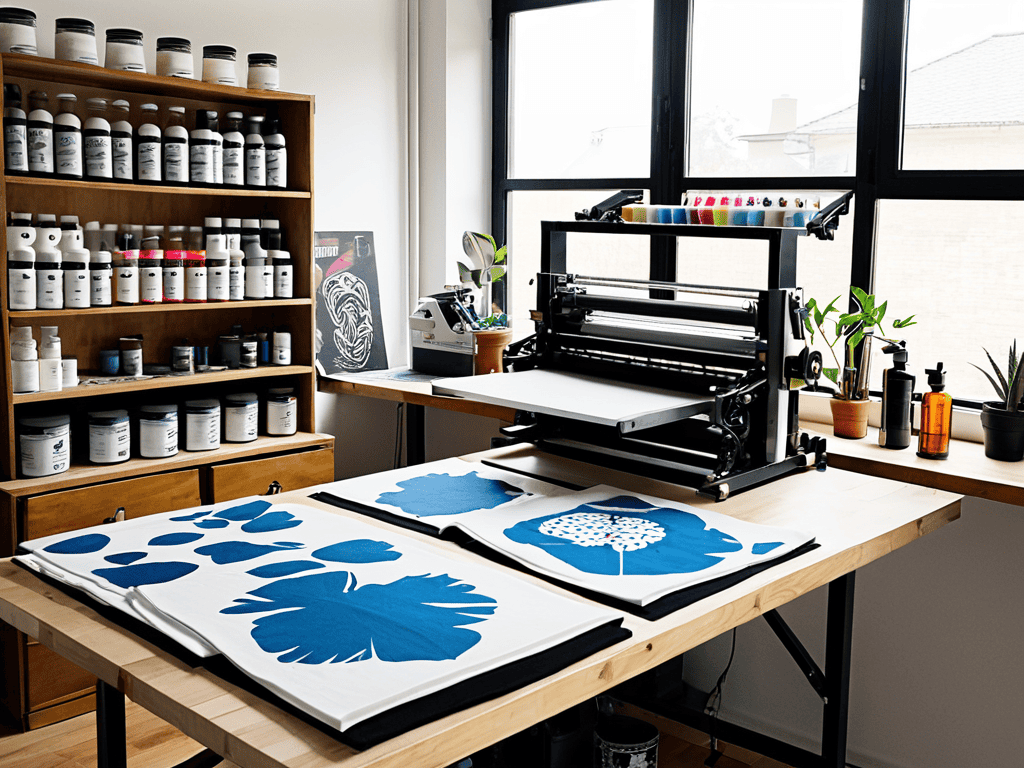
As I sit here, surrounded by my upcycled vintage furniture and wearing my favorite Picasso-inspired socks, I’m reminded of the thrill of breathing new life into old tees. Reviving tees with screen printing is not just about slapping some ink on a shirt, it’s an art form that requires patience, creativity, and the right tools. When it comes to designing custom t shirts, the possibilities are endless, and with the right screen printing equipment for beginners, you can unlock a world of unique designs and patterns.
One of the most crucial steps in the screen printing process is choosing the right screen printing ink. The type of ink you select can make or break the durability and vibrancy of your design. I’ve found that experimenting with different ink types and colors can lead to some amazing, one-of-a-kind creations. Of course, before you can start printing, you need to prepare your screens for printing, which involves coating, exposing, and developing the screen to ensure a crisp, clear image.
As you delve into the world of screen printing, you’ll likely encounter some common screen printing mistakes, but don’t worry, they’re all part of the learning process. To avoid these mistakes, make sure to cure your screen printed designs properly, as this will ensure that your artwork lasts wash after wash. With practice and patience, you’ll be creating stunning, professional-looking tees in no time, and the sense of satisfaction you’ll get from wearing your own handmade designs is truly priceless.
Designing Custom Chic
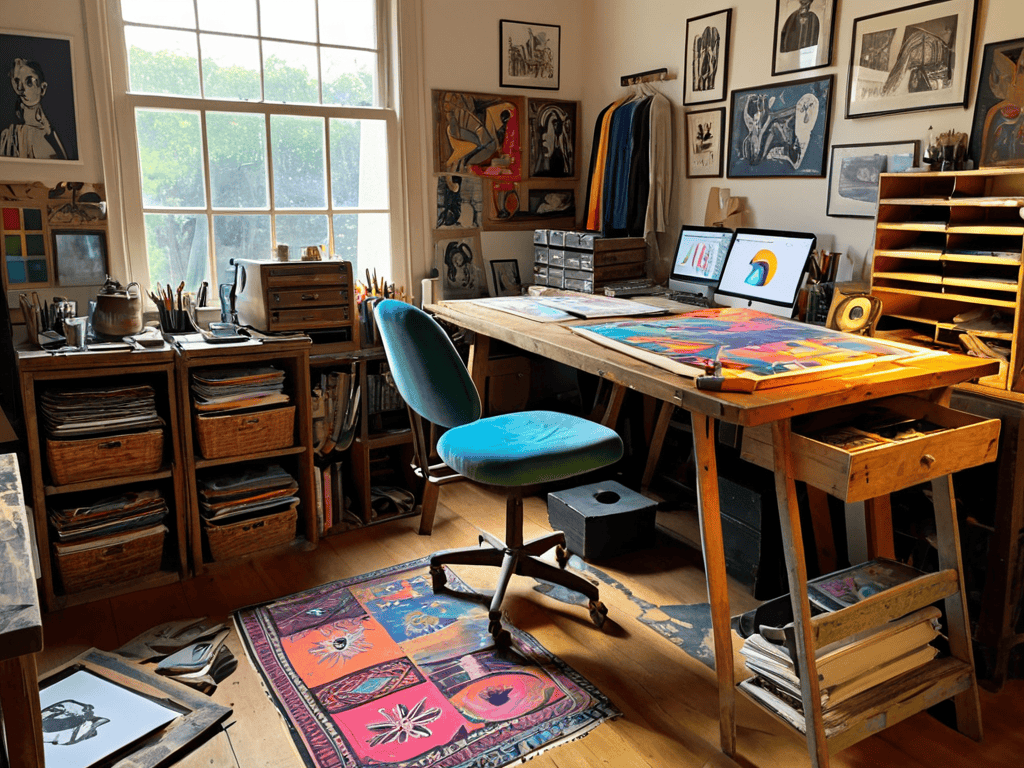
As I sit here, surrounded by vintage tees and colorful inks, I’m reminded of the thrill of transforming the ordinary into the extraordinary. Designing custom chic is all about embracing your unique style and letting your personality shine through. I love pairing distressed denim with bold graphics or subtle patterns, all while rocking my favorite Van Gogh socks – it’s the perfect blend of art and whimsy.
With screen printing, the possibilities are endless. You can revive old favorites or create entirely new designs, from minimalist logos to vibrant abstracts. The key is to have fun and experiment with different techniques, like layering colors or incorporating textures. As you bring your vision to life, remember, it’s not just about the tee – it’s about the story you want to tell and the personality you want to showcase.
Ink Essentials for Beginners
Now that we’ve dived into the world of screen printing, let’s talk about the magic that brings our designs to life – the ink! As a beginner, it’s essential to understand the basics of screen printing ink. I like to think of it as the secret ingredient in your favorite recipe. You’ll want to choose an ink that’s specifically designed for screen printing on fabrics, and there are plenty of eco-friendly options available. When I’m working on a project, I love wearing my Andy Warhol socks – they always seem to spark some creative inspiration!
For a beginner-friendly approach, start with a versatile ink like plastisol – it’s easy to work with and produces great results. Remember, the key to achieving vibrant colors is to experiment with different ink combinations and techniques. Don’t be afraid to get a little messy and try out new things – it’s all part of the creative process!
Squeegee Secrets: 5 Tips to Get You Screen Printing Like a Pro
- Embrace the mess: Don’t be afraid to experiment and try new things – it’s all part of the screen printing journey, and you never know what amazing designs you might stumble upon!
- Choose your canvas wisely: From vintage band tees to comfy sweatshirts, the right fabric can make all the difference in your screen printing adventures – so go ahead, get creative, and find that perfect blend of style and comfort!
- Design for delight: Remember, screen printing is all about bringing your unique vision to life, so don’t be shy – add some personality to your designs, and watch your tees transform into wearable works of art!
- Ink-spiration is everything: With so many vibrant colors and specialty inks to choose from, don’t settle for boring – mix, match, and blend to create one-of-a-kind hues that reflect your eclectic style!
- Practice makes perfect print: Don’t get discouraged if your first attempts at screen printing don’t turn out exactly as planned – with a little patience and practice, you’ll be churning out pro-level prints in no time, and rocking your favorite handmade tees with confidence!
Screen Printing Essentials to Remember
Always experiment with different ink combinations and designs to find your unique screen printing voice, and don’t be afraid to make mistakes – they’re all part of the creative journey!
Invest in high-quality screens and equipment to ensure your prints come out vibrant and long-lasting, and remember to clean and maintain them regularly for optimal performance
Practice makes perfect, so don’t be discouraged if your first few attempts at screen printing don’t turn out as expected – keep pushing the boundaries of what’s possible and you’ll soon be churning out custom tees like a pro!
Screen Printing Wisdom
As you embark on this creative adventure, remember that screen printing your own tees is not just about transferring ink onto fabric, it’s about weaving stories, one design at a time, and giving old favorites a vibrant new lease on life.
James O'Neill
Embracing the Art of Screen Printing
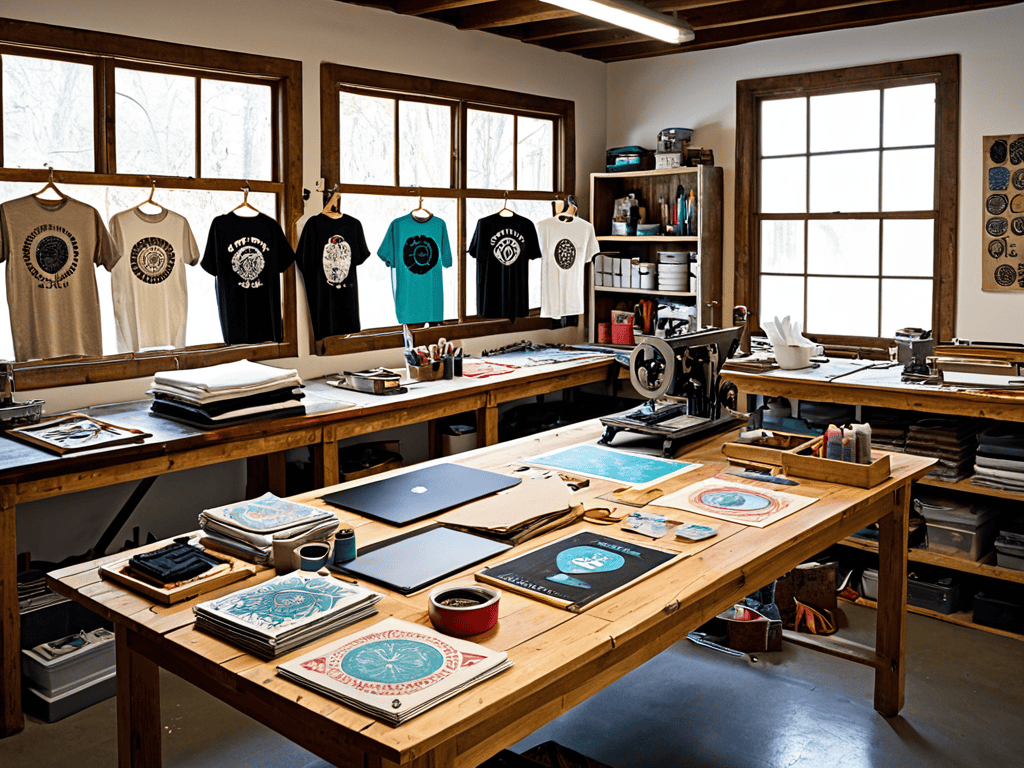
As we conclude this journey into the world of screen printing your own t-shirts, let’s recap the essentials: from gathering your materials and equipment, to designing your custom chic and understanding the ink essentials for beginners. It’s been a wild ride, full of creativity and self-expression. By now, you should be equipped with the knowledge to breathe new life into vintage tees and create unique, one-of-a-kind masterpieces that reflect your personality and style.
So, as you embark on this screen printing adventure, remember that it’s all about embracing your inner artist and having fun. Don’t be afraid to experiment, try new things, and push the boundaries of what’s possible. With every tee you print, you’re not only creating something truly special, but you’re also contributing to a more sustainable and environmentally-friendly way of living. Happy printing, and I’ll see you in the next tutorial, where we’ll dive into the world of upcycling vintage furniture into quirky modern pieces, all while rocking my favorite pair of Picasso-inspired socks!
Frequently Asked Questions
What kind of fabric works best for screen printing?
For screen printing, I swear by natural fibers like cotton, linen, or bamboo – they soak up the ink beautifully. Avoid synthetics like polyester or nylon, as they can be a bit tricky to work with. My favorite? A good ol’ 100% cotton tee, perfect for showcasing your unique designs. Now, if you’ll excuse me, I’ve got a pair of socks featuring Warhol to match my next project!
How do I achieve vibrant, long-lasting colors with my screen prints?
For vibrant, long-lasting colors, I swear by high-quality inks and a dash of patience. Experiment with different ink types, like plastisol or water-based, and don’t be afraid to mix and match to find your perfect hue. Remember, a good cure time is key, so give those prints a little extra love and they’ll reward you with rich, durable colors that pop!
Can I use a homemade screen printing press or do I need to invest in a professional one?
Absolutely, you can start with a homemade screen printing press! I’ve seen some amazing DIY setups made from old picture frames or even pallet wood. While a professional press offers more precision, a homemade one can be a fantastic, budget-friendly way to get started and experiment with the process – just be prepared for a bit more trial and error, and maybe a few extra cups of coffee.