I still remember the first time I tried to upcycle an old dresser, only to end up with a blotchy, uneven mess. It was a harsh lesson in the common painting mistakes to avoid, but one that sparked a passion for mastering the art of painting and restoration. As I delved deeper into the world of DIY, I realized that many of us fall into the same traps – from inadequate surface preparation to using the wrong brushes. But what if I told you that avoiding these pitfalls is easier than you think? With a little practice and patience, you can turn even the most worn-out piece into a stunning work of art.
In this article, I’ll share my personal experience and no-nonsense advice on how to sidestep the most frequent painting blunders. You’ll learn how to prepare your surface like a pro, choose the right materials, and achieve a smooth, even finish. Whether you’re a seasoned DIY enthusiast or just starting out, my goal is to empower you with the knowledge and confidence to tackle any painting project that comes your way. So, let’s dive in and explore the top common painting mistakes to avoid, shall we?
Table of Contents
Guide Overview: What You'll Need
Total Time: 1 hour 30 minutes
Estimated Cost: $20 – $50
Difficulty Level: Easy
Tools Required
- Paintbrushes various sizes
- Roller Extension Pole for ceiling painting
- Sandpaper for surface preparation
- Drop Cloths for floor protection
- Tape for trimming and edges
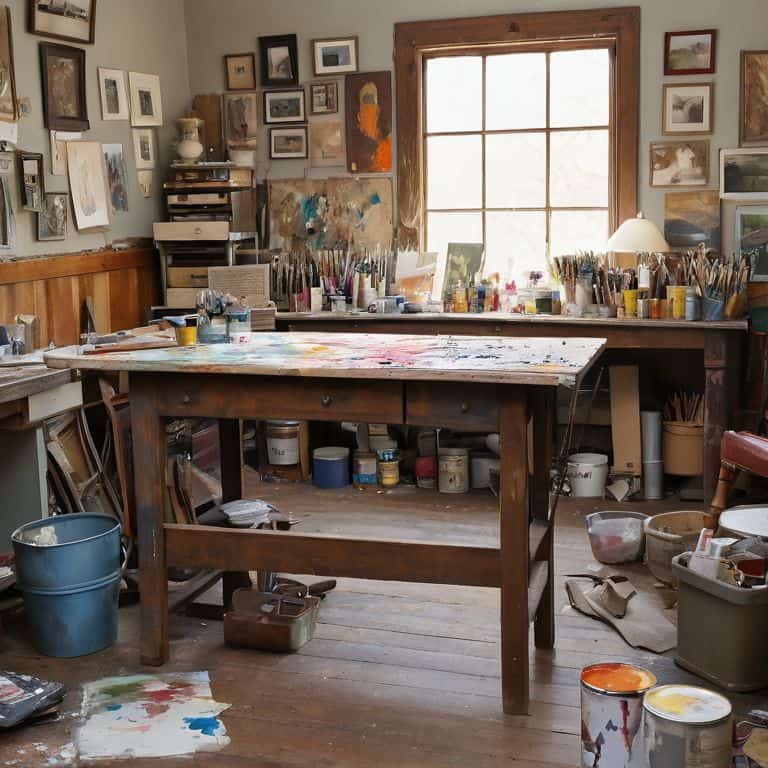
Supplies & Materials
- Paint choose your color
- Primer optional, but recommended
- Paint Tray for roller
- Rags for cleaning spills
- Ladder for reaching high areas, approximately 6 feet tall
Step-by-Step Instructions
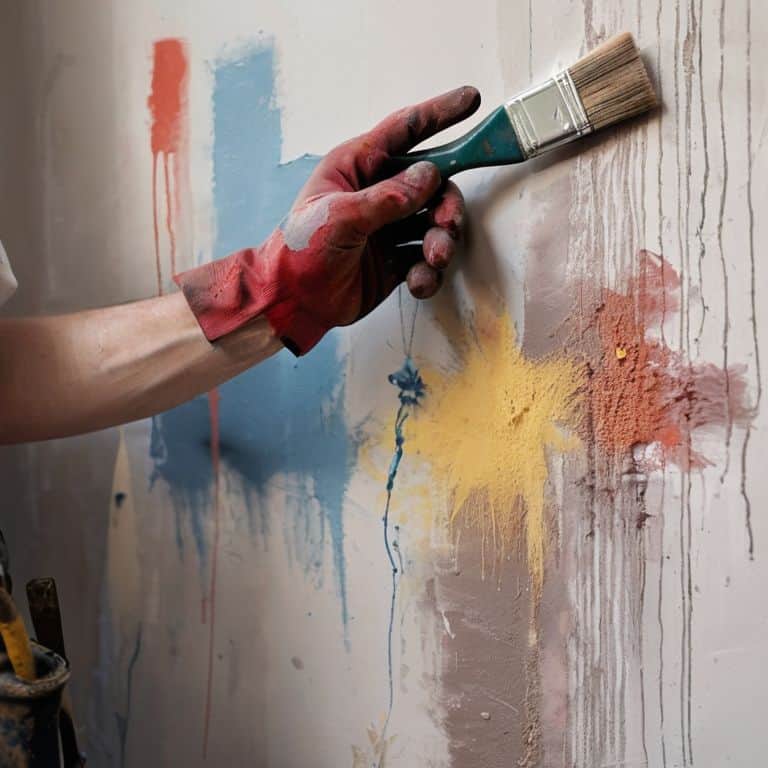
- 1. First, let’s talk about preparation – it’s the backbone of any successful painting project. Before you even think about dipping your brush into that vibrant paint, make sure your surface is clean and dry. I like to use a mix of soap and water to wipe down the area, and then let it air dry completely. This step is crucial in ensuring that your paint adheres evenly and doesn’t peel off soon after application.
- 2. Next, choose the right paint type for your project. Not all paints are created equal, and selecting the wrong one can lead to a multitude of issues, from poor adhesion to uneven finishes. For example, if you’re working with a vintage wooden dresser, you might want to opt for a high-quality, water-based acrylic paint that’s specifically designed for furniture restoration.
- 3. Now, it’s time to tape off the trim. This is where many beginners go wrong, resulting in messy lines and a lot of frustration. To avoid this, use a high-quality painter’s tape that’s designed for your specific surface type. Apply the tape carefully, making sure it’s pressed firmly onto the surface to create a seal. This will help you achieve those crisp, clean lines that make all the difference in a professional-looking finish.
- 4. When it comes to sanding, don’t be afraid to get a little aggressive. A smooth surface is essential for a flawless paint job, so take your time and sand down any rough spots or imperfections. I like to use a combination of coarse and fine-grit sandpaper to get the job done. Remember to wipe away any dust or debris with a damp cloth before moving on to the next step.
- 5. Once you’ve prepped your surface, it’s time to prime (if necessary). Not all surfaces require a primer, but if you’re working with a particularly porous or uneven material, it can make all the difference. Look for a high-quality primer that’s specifically designed for your surface type, and apply it according to the manufacturer’s instructions. This will help create a strong bond between the surface and the paint, resulting in a more durable finish.
- 6. Now we’re ready to paint! When it comes to applying the paint, remember to work in thin, even layers. This will help prevent drips and unevenness, and ensure that your finish is smooth and consistent. I like to use a high-quality brush or roller, depending on the specific project and surface type. Take your time, and don’t be afraid to let each layer dry completely before applying the next one.
- 7. Finally, seal your work with a high-quality clear coat. This will help protect your paint job from scratches and fading, and give it a beautiful, glossy finish. Look for a water-based or oil-based clear coat, depending on your specific needs and surface type. Apply it according to the manufacturer’s instructions, and voila! You’ve just completed a professional-looking paint job that’s sure to impress.
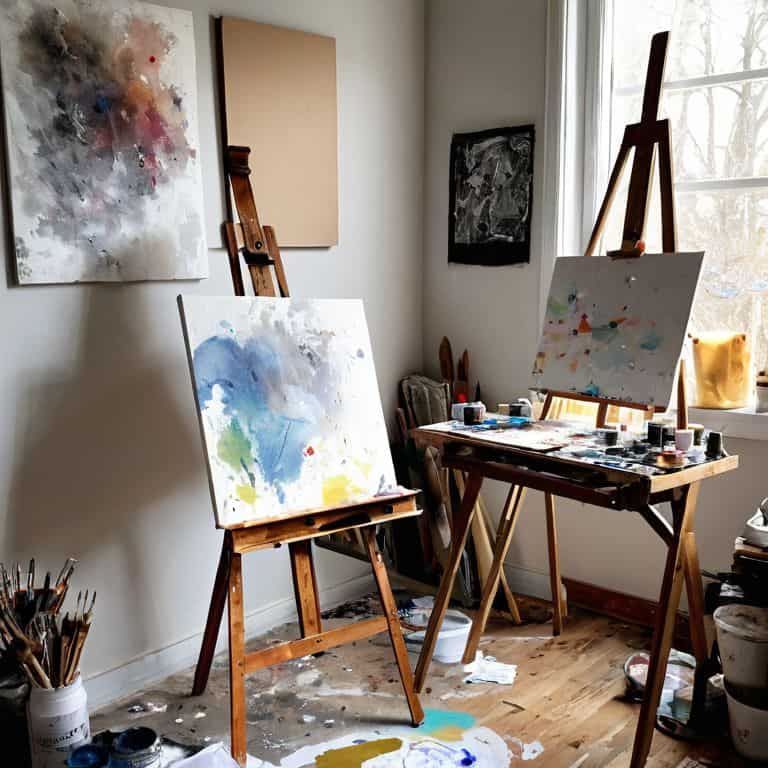
Dodging Painting Pitfalls

As I delve into the world of painting, I’ve come to realize that painting surface preparation tips are crucial for a flawless finish. It’s essential to clean and prime the surface before applying paint to ensure a strong bond and prevent any imperfections from showing through. I’ve learned this the hard way, having spent hours sanding down an old dresser only to find that the paint wouldn’t adhere properly due to a lack of primer.
When it comes to choosing the right paint, selecting the perfect finish can make all the difference. From matte to glossy, each finish has its own unique characteristics that can enhance or detract from the overall aesthetic of the piece. For my upcycling projects, I often opt for a semi-gloss finish, as it provides a beautiful sheen while also being easy to clean. Additionally, using common painting tools for beginners, such as foam brushes and rollers, can help achieve a smooth, even coat.
In my experience, painting in high humidity environments can be a challenge, as it can cause the paint to dry too slowly or unevenly. To combat this, I recommend using a dehumidifier or painting in a well-ventilated area to speed up the drying process. By taking these extra precautions and being mindful of the painting process, you can avoid costly mistakes and achieve a professional-looking finish that will make your upcycled piece truly shine.
Fixing Color Mismatches Magic
As I always say, a dash of magic happens when colors come together in harmony. But, we’ve all been there – a mismatched hue that throws off the entire vibe of our masterpiece. To fix this, I swear by the “Sock Drawer Method” (yes, it’s a thing!). I match my trusty artist socks to the project’s color palette and use them as a visual cue. For instance, if I’m working with earthy tones, my Van Gogh socks inspire me to blend warm, natural shades. By using this unconventional trick, you’ll be amazed at how easily you can tweak your color scheme to achieve a cohesive look.
When all else fails, don’t be afraid to get creative with glazes or layering techniques. I recall a project where I transformed a dull, beige cabinet into a stunning, turquoise showstopper by applying a series of translucent coats. The result was nothing short of enchanting! Remember, it’s all about experimentation and having fun with the process. So, go ahead, take a deep breath, and let your inner artist shine through – your unique piece of upcycled art is waiting to happen!
Prepping Surfaces With Whimsy
As I always say, a good paint job starts with a great foundation. Prepping surfaces is where the magic begins, and I love adding a dash of whimsy to this process. I recall a project where I upcycled an old vintage door into a quirky coffee table – the key to its success lay in the meticulous surface prep. For a smooth finish, I sand down the surfaces, removing any imperfections or old finishes. It’s amazing how a little bit of elbow grease can transform a piece.
My colorful socks, featuring the whimsical artwork of Salvador Dali, seem to inspire me to think outside the box when it comes to surface prep. I experiment with unique materials like reclaimed wood or vintage metal, which add character to my projects. With the right prep, even the most unlikely surfaces can become stunning works of art.
Painting Pitfalls to Dodge: My Top 5 Tips
- Using the wrong primer for your surface, because trust me, it’s like trying to put a modern art piece in a vintage frame – it just won’t mesh
- Not testing your paint colors in different lighting conditions, which can lead to a hue that’s more ‘meh’ than mesmerizing
- Overlooking the importance of cleaning your brushes between coats, resulting in a finish that’s more textured than a Pollock painting
- Skipping the crucial step of sanding between coats, which can leave your piece looking like it was crafted by a novice rather than a whimsy warrior
- Rushing the drying process, because patience is a virtue, my friends, and a good paint job is worth the wait – just like waiting for the perfect vintage find at a flea market
Painting Pitfalls: 3 Key Takeaways to Master
Always prep your surface with a dash of whimsy, whether that’s sanding down vintage wood or applying a specialized primer to create a unique texture that tells a story
Fixing color mismatches is an art form in itself – experiment with layering, blending, and even intentionally mismatching hues to create a one-of-a-kind piece that reflects your personality
Embracing mistakes as part of the creative process is key to turning an ordinary painting project into an extraordinary work of art, so don’t be afraid to get a little messy and try again with a fresh perspective
A Brush with Wisdom
The beauty of painting lies not in the perfection of the strokes, but in the courage to make mistakes and turn them into masterpieces, for it’s in the imperfections that we find the true character of a piece, and the story it tells of our own whimsical journey.
James O'Neill
Embracing the Art of Imperfection
As we wrap up our whimsical journey through the world of painting pitfalls, let’s take a moment to reflect on the key takeaways. From prepping surfaces with whimsy to fixing color mismatches magic, we’ve explored the most common mistakes to avoid when giving new life to old, forgotten pieces. By embracing these tips and tricks, you’ll not only become a more confident painter but also a master of uncovering the hidden potential in every discarded item. Remember, it’s all about having fun and experimenting with different techniques to create unique, one-of-a-kind treasures.
So, the next time you’re tempted to toss that old, worn-out dresser, take a step back and imagine the endless possibilities. With a little creativity and patience, you can transform it into a stunning masterpiece that tells a story. As you embark on your own DIY adventures, always keep in mind that sustainable living is accessible and fun for everyone. Don’t be afraid to get a little messy, try new things, and make mistakes – after all, it’s often the imperfections that make our creations truly special.
Frequently Asked Questions
What are some common mistakes to avoid when painting over a dark color with a lighter one?
When painting over a dark color with a lighter one, beware of insufficient primer usage – it’s like trying to cover a bold Pollock with a faint watercolor! Use a high-quality primer to ensure a smooth, even base, and apply multiple thin coats of paint to avoid streaks and unevenness, my friend!
How can I prevent brush strokes from showing on a smooth surface?
To keep brush strokes under wraps on a smooth surface, I swear by using high-quality brushes with synthetic bristles and applying thin, even coats of paint. It’s also crucial to work in the direction of the surface’s texture, if it has one. And, of course, don’t overload the brush with paint – that’s just asking for visible strokes!
Are there any specific techniques for avoiding paint drips and uneven edges on intricate or curved pieces of furniture?
For intricate or curved pieces, I swear by using a high-quality brush with synthetic bristles, which helps control paint flow. I also love employing the ‘dripless’ technique: loading the brush with just the right amount of paint and using smooth, gentle strokes to coax the paint into all the nooks and crannies. Trust me, it’s a game-changer!