I still remember the first time I attempted to paint a room in my grandmother’s old Victorian house. I was armed with a brush, a can of paint, and a whole lot of enthusiasm, but what I lacked was the know-how. The result was a mess of uneven coats and a color that didn’t quite match the swatch. It was a hard lesson to learn, but it taught me that painting a room isn’t just about slapping on some color – it’s an art that requires patience, practice, and a bit of whimsy. If you’re looking for a guide on how to paint a room, you’re in the right place.
As we dive into the world of painting, I promise to share with you my honest and practical advice on how to turn your space into a masterpiece. In this article, we’ll cover the essentials of how to paint a room, from preparing the walls to adding that final flourish. We’ll explore the best practices for choosing the right colors, selecting the perfect brushes, and avoiding common mistakes that can leave your room looking lackluster. By the end of this journey, you’ll be equipped with the knowledge and confidence to tackle any painting project that comes your way, and maybe even discover a new passion for upcycling and DIY decor, just like I did.
Table of Contents
Guide Overview: What You'll Need
Total Time: 2 hours 30 minutes
Estimated Cost: $50 – $100
Difficulty Level: Intermediate
Tools Required
- Paintbrushes various sizes
- Roller Extension Pole for reaching high ceilings
- Paint Roller Covers microfiber or wool
- Paint Tray for holding paint and roller
- Drop Cloths for protecting floors and furniture
- Sandpaper for light surface preparation
- Tape for masking trim and edges
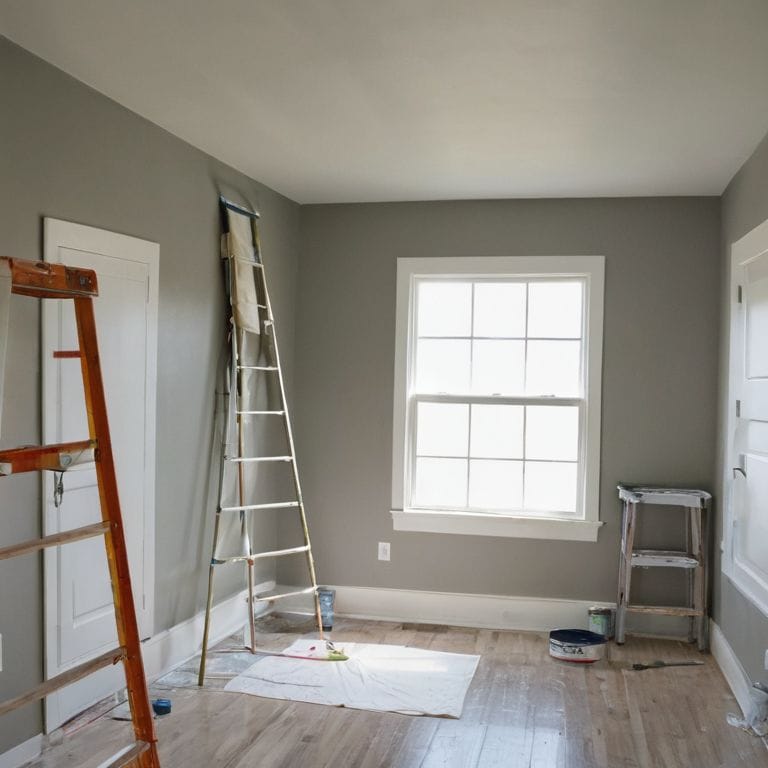
- Ladder for reaching high areas, about 6 feet tall
- Cleaning Rags for wiping spills and cleaning tools
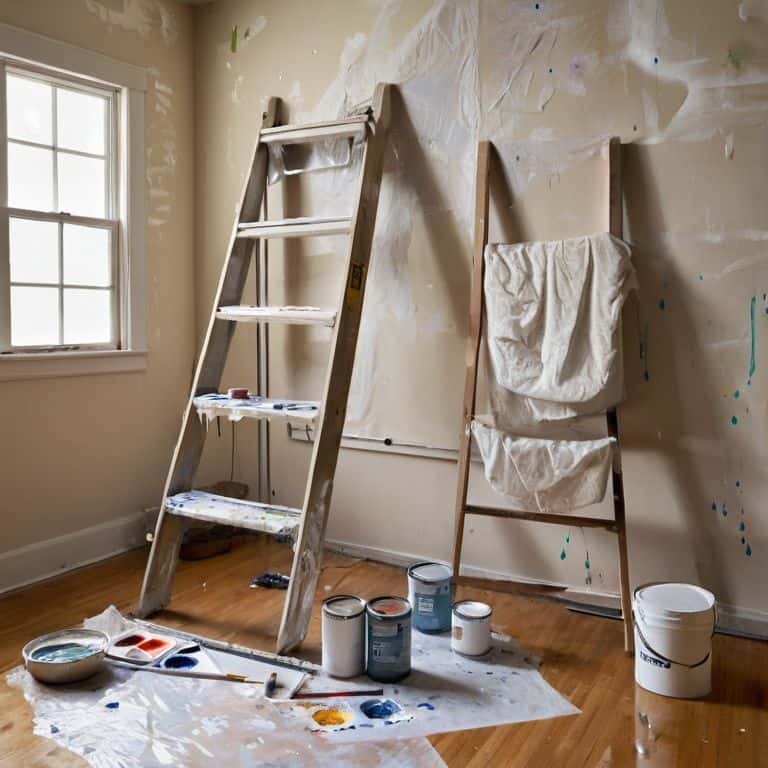
Supplies & Materials
- Paint choose your desired color and finish
- Primer optional, but recommended for bold color changes
- Wall Cleaner for preparing surface before painting
Step-by-Step Instructions
- 1. First, let’s get started with the prep work – before we dive into painting, we need to make sure our room is ready for its makeover. This means removing any furniture, curtains, and rugs, and covering the floors and remaining furniture with drop cloths to protect them from any accidental paint spills. I like to think of this step as the “blank canvas” moment, where we get to start from scratch and unleash our creativity.
- 2. Next, we need to clean the walls thoroughly to remove any dirt, grime, or grease that might interfere with the paint’s adhesion. I use a mixture of soap and water, and a soft-bristled brush to gently scrub away any stubborn stains. This step is crucial in ensuring a smooth, even finish, and it’s also a great opportunity to inspect the walls for any holes or cracks that need to be filled.
- 3. Now it’s time to fill any holes or cracks in the walls with spackling compound, and sand them down to a smooth finish. I find this step to be quite therapeutic, as it’s a chance to get up close and personal with the walls and really understand their texture and character. Once the compound is dry, I use a sanding block to feather it out, making sure it blends seamlessly with the surrounding area.
- 4. With our walls prepped and ready, it’s time to tape off the trim and any areas we don’t want to paint, such as baseboards, moldings, and windows. I use a high-quality painter’s tape to ensure a sharp, clean edge, and apply it carefully to avoid any wrinkles or air bubbles. This step requires a bit of patience, but trust me, it’s worth it in the end.
- 5. Next, we need to prime the walls if necessary – if we’re using a dark color or covering a light color, or if the walls have a glossy finish. I like to think of primer as a magic potion that helps the paint adhere and brings out its true color. I apply it evenly, using a roller extension pole to reach those hard-to-access areas, and let it dry according to the manufacturer’s instructions.
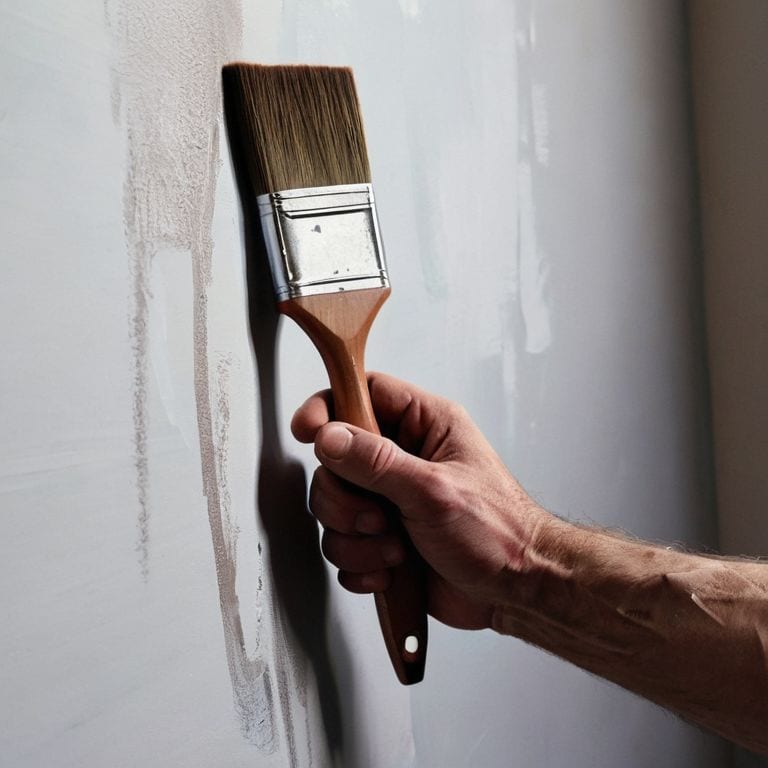
- 6. Now it’s time to get painting – I start by cutting in around the edges, using a high-quality paintbrush to create a smooth, seamless edge. I work in small sections, using a “W” or “M” pattern to ensure even coverage, and gradually build up to the desired color intensity. It’s exciting to see the room start to transform before our eyes.
- 7. Once the first coat is dry, I inspect the walls to see if a second coat is necessary – if the color is still a bit uneven or patchy, I’ll apply another coat, following the same process as before. Finally, I remove the tape, and voilà – our room is transformed, and we can’t wait to add the finishing touches and make it our own.
Mastering How to Paint a Room
As I delve into the world of painting, I find myself fascinated by the painting techniques for smooth finish that can elevate a room from ordinary to extraordinary. One of my favorite tips is to use a combination of roller and brush strokes to achieve a seamless finish. When it comes to choosing the right tools, I always say that selecting the perfect paintbrush is an art form in itself. With the right brush, you can add texture, depth, and character to your walls.
When it comes to color selection tips for interior walls, I believe that the key is to experiment and have fun. Don’t be afraid to try out bold, vibrant hues or soft, pastel shades – after all, it’s all about finding the perfect fit for your unique space. I also like to remind my students to prepare their walls for painting by cleaning, sanding, and filling any holes or cracks. This ensures a smooth, even finish that will make your paint job look professional.
To avoid common painting mistakes, I always advise my students to work in small sections, using a ‘W’ or ‘M’ pattern to prevent streaks and lines. And, of course, no painting project would be complete without a few painting a room with minimal mess tips – my favorite trick is to use a drop cloth or old sheets to protect your floors and furniture from stray paint splatters. With these tips and tricks up your sleeve, you’ll be well on your way to creating a beautiful, one-of-a-kind space that reflects your personality and style.
Choosing Right Paintbrush for Eclectic Charm
The perfect paintbrush can make all the difference in achieving that unique, eclectic charm. I like to think of my paintbrushes as an extension of my artistic personality – each one a trusted companion in the creative process. For a smooth finish, I swear by high-quality synthetic brushes that glide effortlessly across the walls. And, of course, the right size matters – I always keep a variety on hand to tackle everything from delicate trim work to broad strokes of color.
As I work, I find myself drawing inspiration from the world of art, much like the vibrant socks I wear featuring famous artists – today, it’s Van Gogh’s bold brushstrokes that have me reaching for a thicker, more textured brush to add some organic flair to the design. By choosing the right paintbrush, you’re not just applying paint – you’re bringing your vision to life, one stroke at a time.
Unveiling Painting Techniques for Smooth Finish
To achieve a silky smooth finish, it’s all about the technique. I like to think of it as a beautiful waltz between brush and wall. Start with a gentle touch, letting your brush dance across the surface in smooth, even strokes. Remember, it’s not about slapping on the paint, but about coaxing out the perfect hue. As I always say, “A good paint job is like a good upcycling project – it’s all about bringing out the hidden beauty.”
Now, let’s talk about the magic of layering. Thin, even coats are your friends here. Don’t be afraid to let each layer dry completely before adding the next – it’s like waiting for the perfect glaze to set on a vintage furniture piece. With patience and practice, you’ll be unveiling a finish that’s as smooth as, well, a freshly painted wall! And, of course, I’m rocking my favorite Van Gogh socks to inspire the perfect blend of colors.
Painting Like a Pro: 5 Whimsical Tips to Revive Your Space
- Let the prep party begin: Before you dip your brush, ensure your walls are squeaky clean and dry – a dash of sugar soap can work wonders!
- Choose your colorful crusader: Select a paint that’s as unique as you are, considering factors like finish, durability, and of course, that perfect hue to match your quirky socks
- Get your groove on with the right tools: From fluffy rollers to precision brushes, having the right arsenal can make all the difference between a smooth, velvety finish and a hot mess
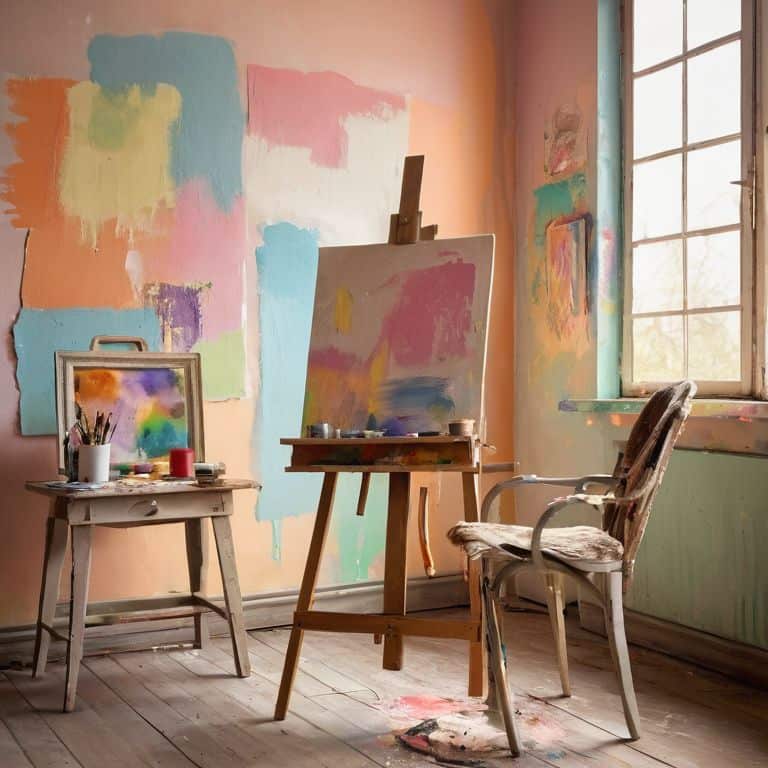
- Unleash your inner artist: Don’t be afraid to add a personal touch – a statement wall, a pop of color, or even a handmade stencil can elevate your space from bland to grand
- Step back, relax, and let it shine: Remember, painting is a process, and it’s okay to take your time – grab a cuppa, put on your favorite tunes, and let the transformation magic happen
Key Takeaways to Revitalize Your Space
Embracing the art of painting is not just about slapping on a fresh coat, but about transforming your space into a vibrant reflection of your personality – think bold hues, eclectic charm, and a dash of whimsy!
Mastering the right techniques, from smooth finishes to textured effects, can elevate your DIY game and turn any room into a masterpiece that tells a story of its own, all while donning your favorite pair of artistic socks for inspiration
By choosing the right tools, including the perfect paintbrush that feels like an extension of your creative hand, and experimenting with unique painting methods, you’ll unlock the secrets to making your space a one-of-a-kind treasure that’s as sustainable as it is stunning
Painting with Soul
As you dip your brush into the vibrant hues, remember that painting a room isn’t just about covering walls, it’s about uncovering the story they’ve been waiting to tell – a tale of laughter, tears, and the eclectic charm that makes a house a home.
James O'Neill
Bringing Your Vision to Life
As we conclude this whimsical journey of painting a room, let’s take a moment to reflect on the key points we’ve covered. From the initial introduction to the main step-by-step instructions, we’ve explored the world of painting with a dash of eclectic charm. We’ve also delved into mastering the art of painting a room, unveiling techniques for a smooth finish, and choosing the right paintbrush to bring your unique vision to life. Whether you’re a seasoned DIY enthusiast or a beginner looking to add some personality to your space, remember that the most important aspect of any project is to have fun and experiment with different styles and ideas.
As you put down your brush and step back to admire your handiwork, remember that transforming a space is not just about applying a fresh coat of paint – it’s about infusing your personality into every corner of your home. So, don’t be afraid to think outside the box, get creative, and make each room a reflection of your unique spirit. With a little patience, practice, and passion, you’ll be well on your way to creating a space that’s truly one-of-a-kind, and that’s the greatest masterpiece of all.
Frequently Asked Questions
What are some tips for preparing the walls before painting to ensure a smooth finish?
Before we dive into the painting fun, let’s prep those walls for a silky smooth finish! Give them a good clean, fix any holes or cracks, and sand away rough spots. I like to think of it as giving my walls a mini-spa day, complete with a gentle scrub and a dusting of TLC – my vintage-inspired socks are already dancing with excitement!
How can I choose the perfect color palette to match my room's eclectic charm and furniture?
Ah, the perfect color palette – it’s like finding the missing piece to a vintage puzzle! For an eclectic charm, I say, let your furniture be the muse. Pick hues that complement its unique character, like earthy tones for a rustic vibe or bold accents for a quirky twist. My colorful socks, featuring Van Gogh’s swirls, are inspiring me to suggest: don’t be afraid to mix and match, just like I do with my upcycled furniture projects!
Are there any special techniques for painting corners, baseboards, and other trim to achieve a professional-looking result?
The trickiest parts of the room – corners, baseboards, and trim! For a pro finish, use a small brush to cut in carefully, and don’t forget to tape off those areas for crisp lines. I like to call it ‘dancing with the edges’ – it’s all about finesse and patience, my friend!