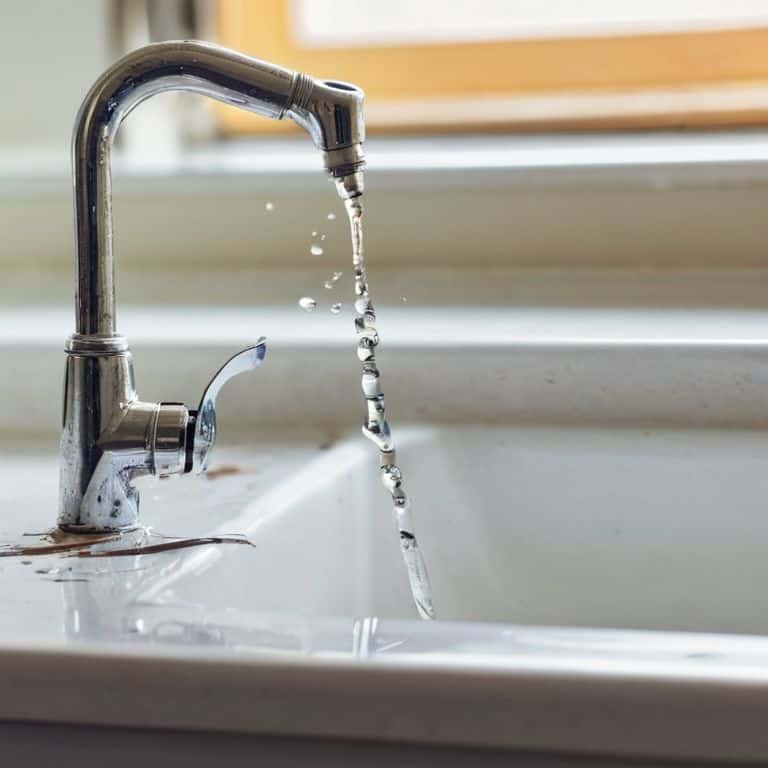
I still remember the first time I tackled a leaky faucet in my grandfather’s old cottage – it was a mess, but it sparked a passion in me for uncovering the hidden potential in everyday items. As I delved deeper into the world of DIY, I realized that many people believe fixing a faucet is a daunting task that requires professional help, but the truth is, learning how to fix a leaky faucet can be a fun and empowering experience. With the right mindset and a few simple tools, you can turn a drippy disaster into a charming, one-of-a-kind fixture that’s as functional as it is funky.
In this article, I’ll share my honest, no-hype advice on how to fix a leaky faucet, walking you through the process with practical tips and tricks that I’ve gathered from my own experiences. You’ll learn how to identify the source of the leak, choose the right materials, and bring your faucet back to life without breaking the bank. By the end of this journey, you’ll be equipped with the confidence to tackle not just leaky faucets, but any DIY project that comes your way, and uncover the joy of creating something truly unique. So, let’s get started and turn that leaky faucet into a masterpiece that reflects your personal style and flair.
Table of Contents
Guide Overview: What You'll Need
Total Time: 1 hour 15 minutes
Estimated Cost: $20 – $40
Difficulty Level: Intermediate
Tools Required
- Adjustable Wrench for tightening and loosening faucet parts
- Channel-Type Pliers for gripping small parts
- Needle-Nose Pliers for reaching into tight spaces
- Screwdriver flathead and Phillips
- Teflon Tape for threaded pipe connections
Supplies & Materials
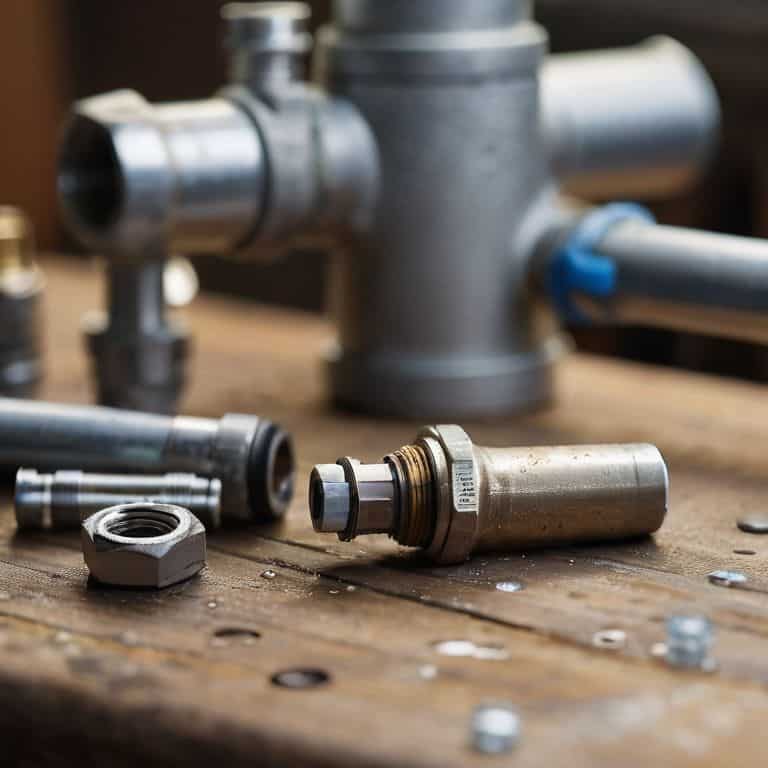
- Faucet Cartridge or O-Ring depending on the type of faucet
- Faucet Gasket to replace worn-out gaskets
- Pipe Wrench optional, for larger pipe connections
- Plumber’s Putty for creating a watertight seal
Step-by-Step Instructions
- 1. First, let’s get started by gathering our tools – we’ll need a wrench, pliers, and a screwdriver to tackle that leaky faucet. Make sure you have a bucket or a container ready to catch any water that might spill out during the process. I like to wear my Van Gogh socks for inspiration when I’m about to get creative with some DIY magic.
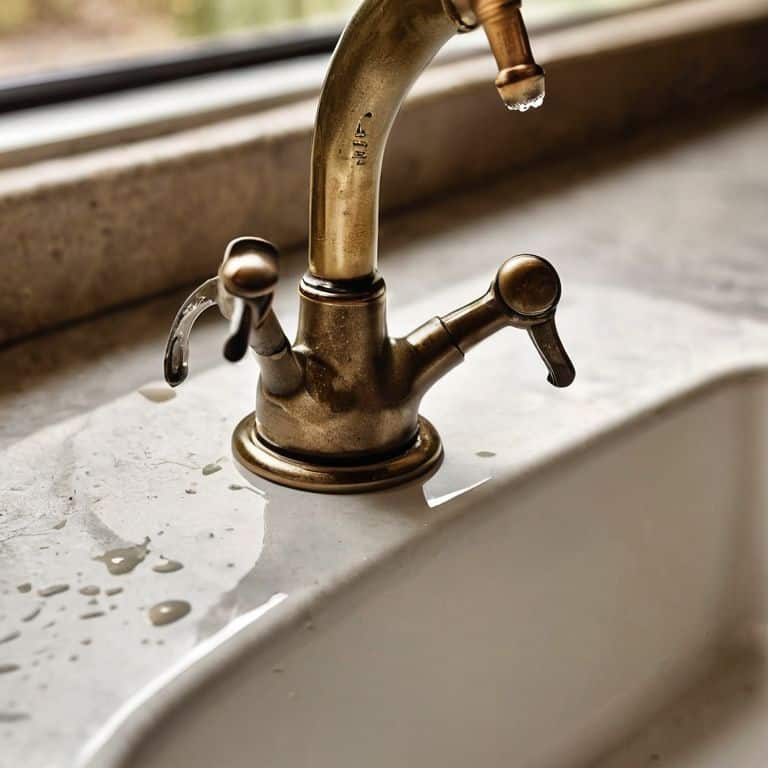
- 2. Next, we need to turn off the water supply to the faucet – this is usually done by locating the shut-off valves under the sink and turning them clockwise. Once you’ve done that, open the faucet to drain the water from the pipes. Now, take a moment to appreciate the quirky charm of your old faucet – we’re about to give it a new lease on life.
- 3. Now it’s time to disassemble the faucet – use your wrench to loosen any nuts or bolts holding the handle in place. Be careful not to strip any screws, and don’t worry if it takes a little elbow grease to get things moving. As you work, imagine the unique character you’re about to uncover in this old fixture.
- 4. With the handle removed, you should see the stem and O-ring – these are usually the culprits behind a leaky faucet. Use your pliers to remove any corroded or damaged parts, and set them aside for replacement. Take a deep breath and enjoy the satisfying clunk of old parts coming loose.
- 5. Next, we need to inspect and clean the faucet’s interior – use a soft brush or cloth to remove any mineral deposits or grime that might be obstructing the water flow. This is a great opportunity to get up close and personal with the inner workings of your faucet, and appreciate the ingenuity that went into its design.
- 6. Now it’s time to replace the O-ring – take your new replacement part and apply a thin layer of plumber’s grease to help it seal properly. Use your pliers to gently press the new O-ring into place, making sure it’s secure and even. Don’t overtighten, or you might end up with a sticky situation on your hands.
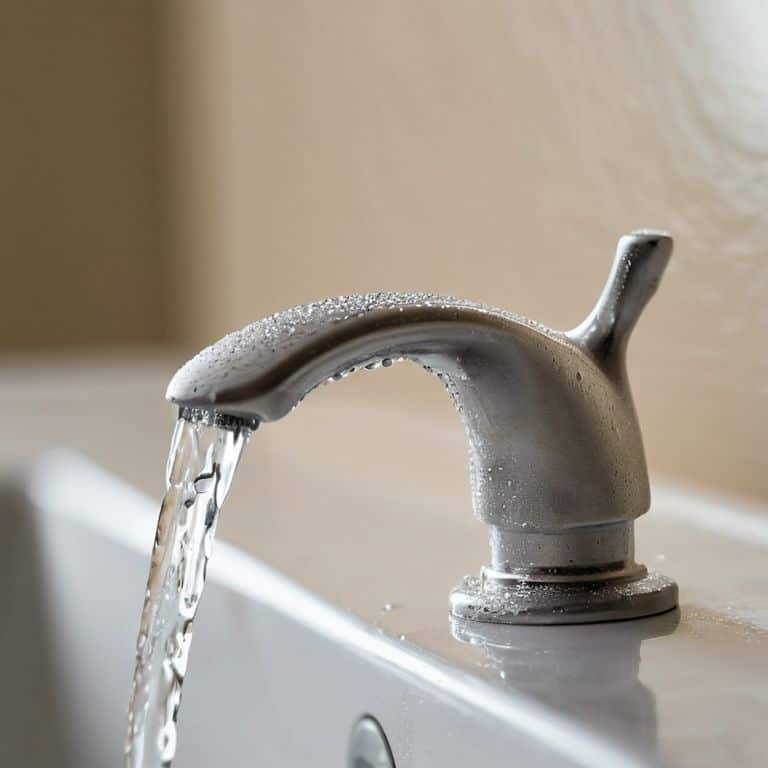
- 7. With the new O-ring in place, it’s time to reassemble the faucet – reverse the steps you took to disassemble it, making sure all nuts and bolts are securely tightened. Turn the water supply back on, and voila! – your leaky faucet should now be good as new, with a unique charm that’s all its own.
How to Fix a Leaky Faucet
As I delve into the world of faucet repair, I’m reminded of the importance of faucet leak detection methods. It’s crucial to identify the source of the leak before we can begin our creative fix. I like to think of it as a treasure hunt, where the treasure is a fully functional, unique faucet that tells a story. When it comes to types of faucet cartridges, I’ve found that understanding the different mechanisms can be a game-changer. It’s like deciphering a puzzle, and once you have the right pieces, the solution becomes clear.
In my experience, o_ring replacement techniques can make all the difference in the world. It’s amazing how something as simple as a worn-out o-ring can cause a leak, but replacing it can be a bit tricky. That’s why having the right plumbing tools for faucet repair is essential. I always say, “A good craftsman is only as good as his tools.” With the right tools and a bit of patience, you can turn a drippy disaster into a charming fixture.
As we explore the world of faucet repair, it’s essential to keep in mind common faucet problems and solutions. By understanding these, we can not only fix our leaky faucet but also prevent future issues. And, let’s not forget about faucet maintenance tips, which can help extend the life of our newly repaired faucet. With a little creativity and the right know-how, we can create a truly one-of-a-kind piece that’s both functional and visually striking.
Faucet Leak Detection Magic
Faucet Leak Detection Magic
To uncover the source of the leak, I like to think of myself as a DIY detective, searching for clues. First, I turn off the water supply – no sense in making a mess, right? Then, I disassemble the faucet, taking note of any mineral buildup or worn-out parts. It’s amazing how a little bit of investigation can lead to a world of difference in fixing that pesky leak. I always wear my “Van Gogh” socks for inspiration – the swirling patterns remind me to think outside the box.
As I examine each component, I’m on the lookout for any signs of moisture or corrosion. It’s like a treasure hunt, and the prize is a leak-free faucet! By methodically checking each part, I can pinpoint the culprit behind the leak and get to work on fixing it. With my trusty toolbox and a dash of creativity, I’m ready to transform that drippy faucet into a charming, functional masterpiece.
O Ring Replacement Whimsy
Now that we’ve detected the leak, it’s time to get our hands on some tiny heroes – the O-rings! These small, circular wonders are often the culprits behind our faucet’s tears. To replace them, I like to think of it as a fun little treasure hunt, searching for the perfect fit. I slip on my vibrant Van Gogh socks, getting into the artistic vibe, and carefully remove the old O-ring. A quick inspection, and I’m ready to swap it with a shiny new one, making sure it’s snug and happy in its new home. With a few gentle tweaks, the faucet’s personality starts to shine through once more.
Tightening the Faucet Faucet: 5 Whimsical Tips to Stop the Drip
- Embrace the art of faucet forensics: before you start fixing, take a moment to observe the leak’s rhythm and pattern – is it a steady drip or an occasional splatter?
- Get your gloves on and prepare for a faucet autopsy: disassemble the faucet with care, and don’t be afraid to get a little messy – it’s all part of the DIY fun!
- O-ring odyssey: remember, the humble O-ring is often the culprit behind the leak, so make sure to inspect and replace it with a new one that’s just as charming as your favorite vintage find
- Soldering serenade: if you’re dealing with a pesky pinhole leak in a faucet’s pipe, try serenading it with a soldering iron – just kidding, but do use flux and solder to create a watertight seal that’ll make you sing
- Test the waters: once you’ve fixed the leak, turn on the faucet and let the water flow – if it’s still leaking, don’t worry, just go back to step one and try again, all while rocking your favorite pair of colorful socks (like my Picasso polka dots) for good luck
Fix to Fab: 3 Key Takeaways for a Leak-Free Faucet
Embracing the art of faucet revival means ditching the disposable mindset and uncovering the simple, hidden fixes that turn a drippy disaster into a charming, functional fixture
By mastering the whimsy of O-Ring replacement and the magic of leak detection, you’ll not only save water and money but also develop a keen eye for the potential in every worn, wonderful piece
With these steps, you’ll be well on your way to joining the sustainable DIY revolution, one creatively restored faucet at a time, proving that with a little imagination, even the most mundane fixtures can become unique, eco-friendly masterpieces
The Fixer's Philosophy
As we twist and turn the worn handles of a leaky faucet, we’re not just stemming the tide of wasted water, we’re uncovering a story of neglect and potential, reminding us that even in the most mundane of repairs lies a chance to breathe new life into the forgotten, to transform the ordinary into the extraordinary, one whimsical wrench turn at a time.
James O'Neill
From Leaks to Luxury: The Thrill of the Fix
As we wrap up our journey from a drippy disaster to a charming, one-of-a-kind faucet, let’s recap the magic we’ve uncovered along the way. From the initial leak detection to the whimsical world of O-Ring replacement, each step has been a testament to the power of DIY ingenuity and the thrill of giving new life to something old. By embracing the art of upcycling and repair, we not only save resources but also infuse our living spaces with personalized charm and character.
So, the next time you encounter a leaky faucet, remember that it’s not just a problem to be solved, but an opportunity to unleash your inner craftsman and turn a mundane fix into a work of art. Let the satisfaction of creating something with your own hands and the knowledge that you’re contributing to a more sustainable future be your guiding forces. With every project, you’re not just fixing a leak; you’re breathing new life into your home and into the world around you.
Frequently Asked Questions
What are the most common causes of a leaky faucet and how can I identify them?
The sneaky culprits behind a leaky faucet are often worn-out O-rings, misaligned gaskets, or mineral buildup. To identify them, simply turn off the water supply, disassemble the faucet, and inspect each part for signs of wear or corrosion – it’s like being a DIY detective, uncovering the clues to fix the leak and bring your faucet back to its former glory!
Can I replace the O-ring myself or do I need to call a professional plumber?
Replacing the O-ring yourself is totally doable. With a few basic tools and some patience, you can swap it out and save on plumber fees. Just make sure to turn off the water supply before you start, and don’t hesitate to reach out if you get stuck – but I’ve got faith in you, you DIY rockstar!
Are there any special tools or materials I'll need to fix a leaky faucet, or can I use basic household items?
Don’t worry, friend! You won’t need a treasure trove of special tools. Basic household items like an adjustable wrench, pliers, and Teflon tape will do the trick. If you’re feeling fancy, a faucet repair kit can come in handy. I like to think of it as upcycling my toolbox, just like I do with vintage furniture – giving old things new life!