I still remember the day I decided to tackle the mysterious world of plumbing in my own home, and let me tell you, it was a wild ride. I was in the middle of upcycling an old vintage sink, and I needed to figure out how to connect it to the plumbing system without causing a flood. As I delved into the world of pipes and faucets, I realized that having a guide to basic plumbing is essential for any DIY enthusiast. It’s astonishing how many people are intimidated by the idea of fixing a leaky faucet or unclogging a drain, but trust me, with the right guidance, it’s easier than giving an old dresser a fresh coat of paint.
As you read through this article, I promise to share with you my hands-on experience and provide you with practical advice on how to master the basics of plumbing. You’ll learn how to identify common issues, choose the right tools, and fix those pesky leaks without calling in a professional. My goal is to empower you with the knowledge and confidence to take on any plumbing project that comes your way, and to make sustainable living a fun and accessible reality for everyone. So, let’s dive in and get our hands dirty, shall we?
Table of Contents
Guide Overview: What You'll Need
Total Time: 2 hours 30 minutes
Estimated Cost: $50 – $100
Difficulty Level: Intermediate
Tools Required
- Adjustable Wrench (for gripping and twisting pipes)
- Basin Wrench (for reaching and turning faucet nuts)
- Channel-Type Pliers (for gripping small objects)
- Pipe Wrench (for gripping and twisting pipes)
- Teflon Tape (for sealing pipe threads)
Supplies & Materials
- Copper Pipe (for water supply lines, 1/2 inch or 3/4 inch diameter)
- PVC Pipe (for drain lines, 1 1/2 inches or 2 inches diameter)
- Pipe Fittings (e.g., elbows, tees, couplers)
- Water Shut-Off Valves (for controlling water supply)
- Drain Trap (for preventing sewer gases from entering the home)
Step-by-Step Instructions
- 1. First, let’s start with the basics: understanding your plumbing system. It’s essential to know the layout of your pipes, including the location of the main water shut-off valve, which is usually found near the water meter or where the water line enters your home. This valve can save you from a flooded disaster, so make sure you know how to turn it off in case of an emergency.
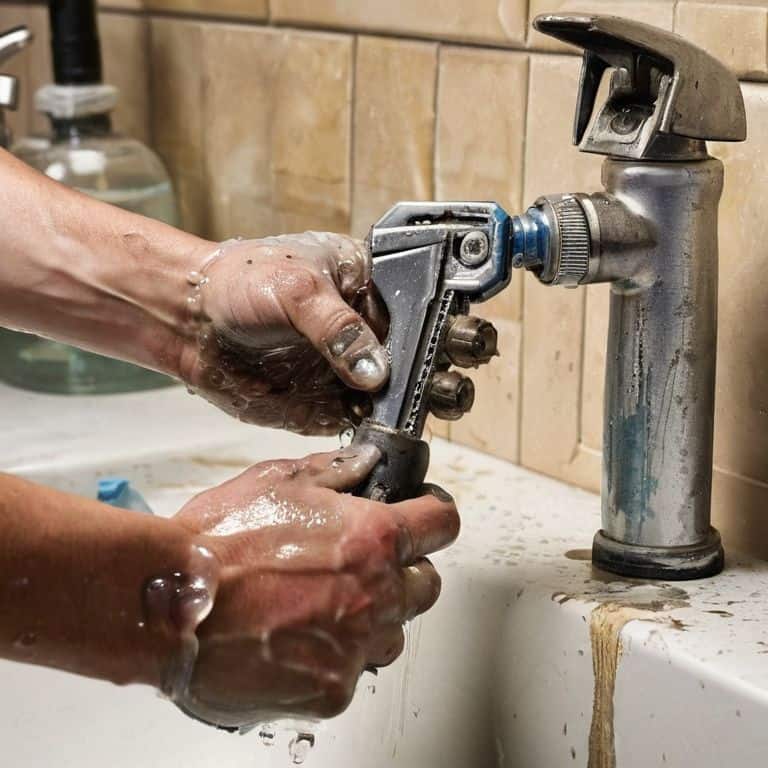
- 2. Next, we need to gather our tools. You’ll need a few essentials like an adjustable wrench, a basin wrench, and some Teflon tape. Don’t worry if you’re not familiar with these tools; I’ll guide you through each step, and by the end of this journey, you’ll be a pro at fixing those leaky faucets and clogged drains.
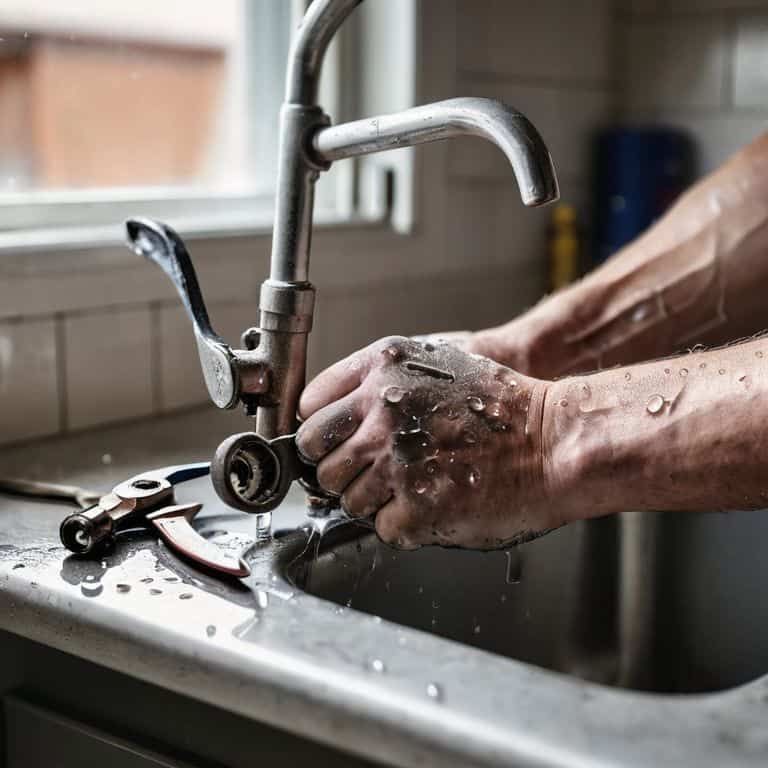
- 3. Now, let’s move on to fixing leaky faucets. The first step is to turn off the water supply to the faucet. This is usually done by locating the shut-off valves under the sink and turning them clockwise. Once you’ve turned off the water supply, open the faucet to drain the water from the pipes.
- 4. With the water supply turned off, it’s time to disassemble the faucet. This might seem daunting, but trust me, it’s easier than you think. You’ll need to remove any visible screws or clips that hold the faucet’s handle in place. Once you’ve removed the handle, you’ll have access to the inner workings of the faucet, where you can replace the worn-out O-rings or gaskets that are causing the leak.
- 5. Moving on to clogged drains, the first step is to use a plunger to try and dislodge any blockages. Make sure the plunger is properly seated over the drain, and then give it a few good plunges. If this doesn’t work, don’t worry; we have a few more tricks up our sleeve.
- 6. If plunging doesn’t work, it’s time to use a drain snake. A drain snake, also known as an auger, is a long, flexible rod that can be inserted into the drain to break up any stubborn blockages. Feed the snake into the drain, rotating it as you push it further into the pipe. Once you feel resistance, it’s likely you’ve reached the clog, and you can start pulling it back out, bringing the blockage with it.
- 7. Finally, let’s talk about preventing future clogs. One of the best ways to do this is by using a drain screen or filter to catch any hair or debris before it goes down the drain. You can also use baking soda and vinegar to clean your drains and pipes, which will help break down any grease or grime that might be building up. Simply pour some baking soda down the drain, followed by a cup of vinegar, and let it sit for a few hours before rinsing with hot water.
A Guide to Basic Plumbing
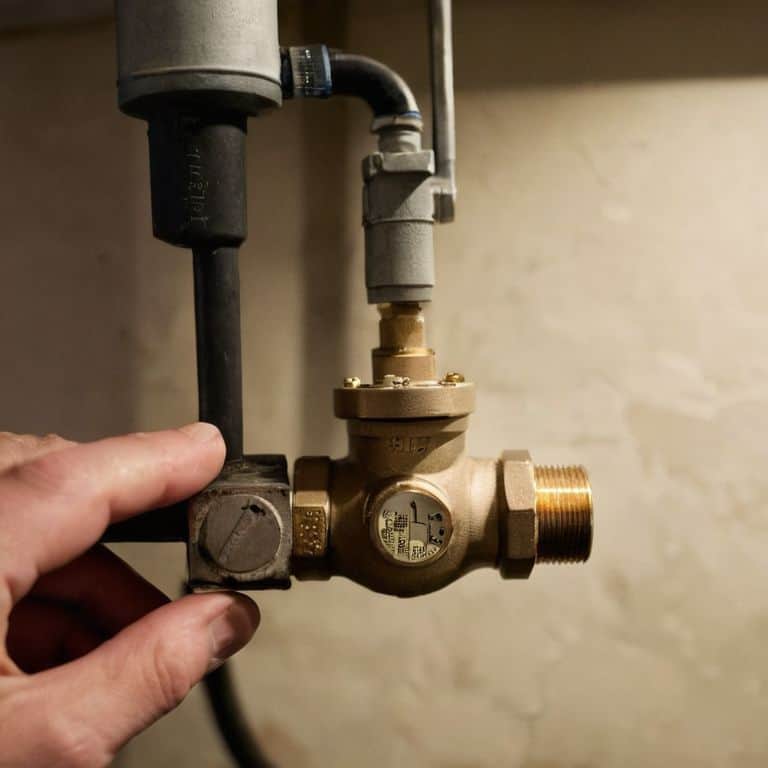
As I always say, plumbing for beginners can be a daunting task, but with the right mindset and tools, it can be a breeze. One of the most common plumbing mistakes people make is not turning off the main water supply before starting a project. This can lead to a huge mess and even damage to your home. To avoid this, make sure to locate the main shut-off valve and turn it clockwise to shut off the water supply.
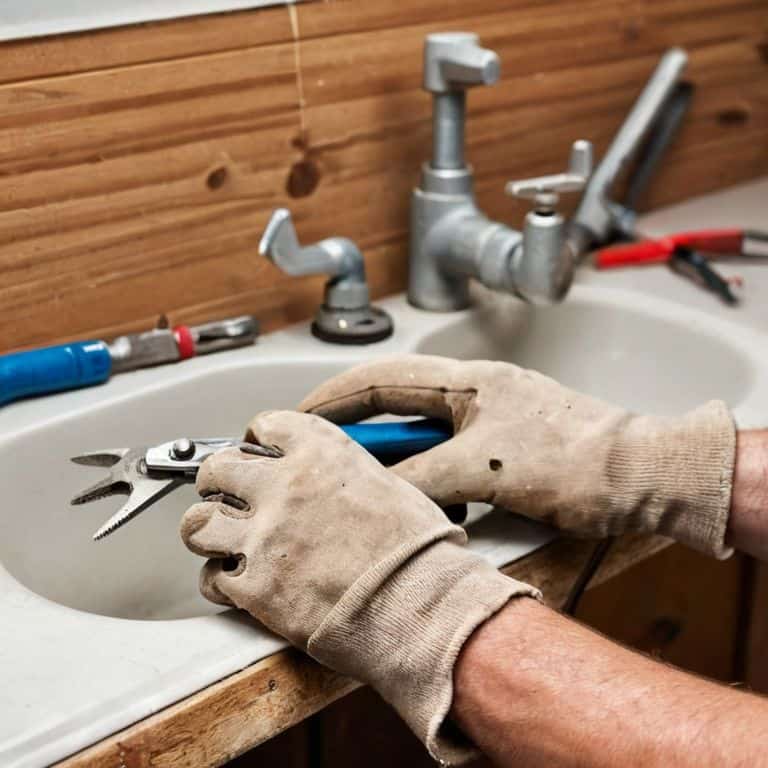
When it comes to basic plumbing tools, having a well-stocked toolkit is essential. A basic plumbing tools list should include a pipe wrench, pliers, and a drain snake. These tools will help you navigate even the most tricky plumbing issues, like how to fix a leaky faucet. Remember, plumbing safety precautions are just as important as having the right tools. Always wear protective gloves and safety glasses when working with sharp objects or power tools.
In my experience, intro to pvc pipe fitting can be a bit tricky, but with practice, you’ll become a pro in no time. Just remember to follow the manufacturer’s instructions and take your time when cutting and fitting the pipes. With patience and dedication, you’ll be able to tackle even the most complex plumbing projects, and you’ll be well on your way to becoming a plumbing master.
Mastering Basic Tools and Plumbing Safety
As I always say, the right tools can make all the difference in any DIY adventure, and plumbing is no exception. My trusty toolbox is always by my side, filled with essentials like adjustable wrenches, pliers, and pipe cutters. When it comes to plumbing safety, I like to think of it as a dance – you need to know the steps to avoid any mishaps. Always turn off the main water supply before starting a project, and don’t be afraid to get a little creative with makeshift solutions, like using a bucket to catch any unexpected leaks.
I recall a project where I upcycled an old vintage sink, and let me tell you, it was a real challenge. But with the right tools and a bit of patience, I was able to breathe new life into that beautiful piece. Now, it’s a stunning centerpiece in my own home, and I couldn’t be prouder. By mastering these basic tools and safety tips, you’ll be well on your way to becoming a plumbing pro, and who knows, maybe you’ll even find yourself upcycling your own unique treasures.
Uncovering Common Plumbing Mistakes
As I always say, practice makes perfect, and I’ve learned from my fair share of plumbing mishaps. One common mistake is over-tightening fittings, which can lead to stripped threads or even pipe damage. Another error is using the wrong pipe materials or sizes, causing leaks or reduced water pressure. I recall a project where I accidentally mixed up the pipe sizes, resulting in a beautifully restored vintage sink, but with a rather lackluster water flow – a fun DIY fail that taught me a valuable lesson!
By being aware of these potential pitfalls, you can avoid them and ensure a successful plumbing project. Remember, it’s all about balancing rustic charm with modern functionality, and with a little patience and practice, you’ll be well on your way to becoming a plumbing pro, all while rocking your favorite pair of colorful socks – like my beloved Van Gogh pair!
Diving into the Depths: 5 Key Tips for a Leak-Free Life
- Always turn off the main water supply before starting any plumbing project to avoid unexpected floods and messy clean-ups
- Invest in a good quality pipe wrench, it’s your new best friend in the world of plumbing, and will make tightening and loosening pipes a breeze
- Don’t be afraid to get creative with pipe fittings – they come in all shapes and sizes, and can help you navigate even the most complicated plumbing puzzles
- Remember, plumbing tape is your secret weapon against leaks – use it generously, but not excessively, to ensure a watertight seal
- Keep a plumbing emergency kit on hand, complete with a plunger, drain snake, and other essentials, to help you tackle any unexpected clogs or mishaps that come your way
Key Takeaways to Plumbing Mastery
Always remember to turn off the main water supply before starting any plumbing project to avoid those pesky floods and water damage
Mastering the art of using a pipe wrench and pliers is essential, as these tools will be your best friends when tackling even the most basic plumbing tasks
Never underestimate the power of regular maintenance – checking your pipes and faucets regularly can save you from a world of trouble and costly repairs down the line
Plumbing Wisdom
The art of plumbing is not just about fixing leaks, but about uncovering the hidden rhythms of our homes, where every pipe and faucet tells a story of connection and community, waiting to be harmonized with a little creativity and a lot of heart.
James O'Neill
Embracing the Flow of DIY Plumbing
As we conclude this whimsical journey through the world of basic plumbing, let’s reflect on the key takeaways that will make you a master of pipes and fixtures. We’ve uncovered common plumbing mistakes, learned how to master basic tools, and delved into the essential step-by-step guides for fixing those pesky leaky faucets and clogged drains. With these skills, you’ll be well on your way to tackling any plumbing project that comes your way, all while embracing the satisfaction of creating something with your own hands.
So, as you put down your pliers and hang up your plumbing belt, remember that the true beauty of DIY lies not just in the end result, but in the journey itself. It’s about embracing the unknown, getting a little messy, and unleashing your inner plumber. With every project, you’ll not only be saving money and reducing waste, but also cultivating a sense of pride and self-sufficiency that’s hard to find in our increasingly disposable world. Happy plumbing, and I’ll see you in the next DIY adventure!
Frequently Asked Questions
What are some common signs that indicate I need to call a professional plumber instead of trying to fix the issue myself?
If you notice water damage, hear strange noises, or spot leaks that just won’t quit, it’s time to call in the pros! Don’t risk making things worse, my friend – some plumbing puzzles are best solved by the experts. Trust your instincts, and remember, it’s always better to be safe than soaked!
How can I prevent clogs and mineral buildup in my pipes to reduce the need for frequent plumbing repairs?
To prevent clogs and mineral buildup, I swear by regular pipe maintenance – think of it as giving your pipes a spa day! Use a mixture of baking soda and vinegar to naturally cleanse your drains, and consider installing a water filter to reduce mineral deposits. Trust me, your pipes will thank you!
Are there any eco-friendly plumbing solutions or fixtures that I can install to make my home more sustainable and water-efficient?
I’m all about embracing eco-friendly vibes, and plumbing is no exception. Consider installing low-flow faucets, dual-flush toilets, or greywater systems to significantly reduce water waste. I’ve even upcycled old pipes into quirky planters – talk about sustainable style! My colorful socks, featuring Van Gogh’s floral patterns, are totally inspiring my next eco-plumbing project.