I still remember the day I finally upgraded to a Liquid-Cooled AI RIG – it was like a breath of fresh air for my projects. The common myth that liquid cooling is only for extreme overclockers or gamers couldn’t be further from the truth. In reality, a well-set-up liquid-cooled system can be a game-changer for anyone working with AI, providing a significant boost in performance and efficiency. My own experience with a liquid-cooled AI rig has been nothing short of remarkable, allowing me to tackle complex projects with ease and speed.
In this article, I’ll share my hands-on experience and practical advice on how to set up and optimize your own Liquid-Cooled AI RIG. You’ll learn how to choose the right components, assemble the system, and troubleshoot common issues. I’ll cut through the hype and provide you with no-nonsense guidance on getting the most out of your liquid-cooled AI rig, whether you’re a seasoned pro or just starting out. By the end of this guide, you’ll be equipped with the knowledge to unleash the full potential of your AI projects and take your work to the next level.
Table of Contents
Project Overview
Total Time: 8 hours 30 minutes
Estimated Cost: $800 – $1,200
Difficulty Level: Hard
Tools Required
- Drill Press ((for precise hole drilling))
- Jigsaw ((for cutting metal and plastic))
- Wrench Set ((for tightening and loosening fittings))
- Pliers ((for gripping small objects))
- Soldering Iron ((for connecting electrical components))
Supplies & Materials
- CPU Water Block
- GPU Water Block
- Radiator ((240mm or 360mm))
- Liquid Cooling Loop Tubing ((10 feet long, 1/2 inch inner diameter))
- Reservoir ((for holding coolant))
- Water Cooling Pump
- Thermal Paste ((for applying to CPU and GPU))
- Coolant ((a mixture of water and coolant additive))
- 6 inches x 6 inches x 1/4 inch thick Aluminum Plate ((for creating custom mounts))
- 2 inches x 4 inches lumber ((for building a custom case or frame))
Step-by-Step Instructions
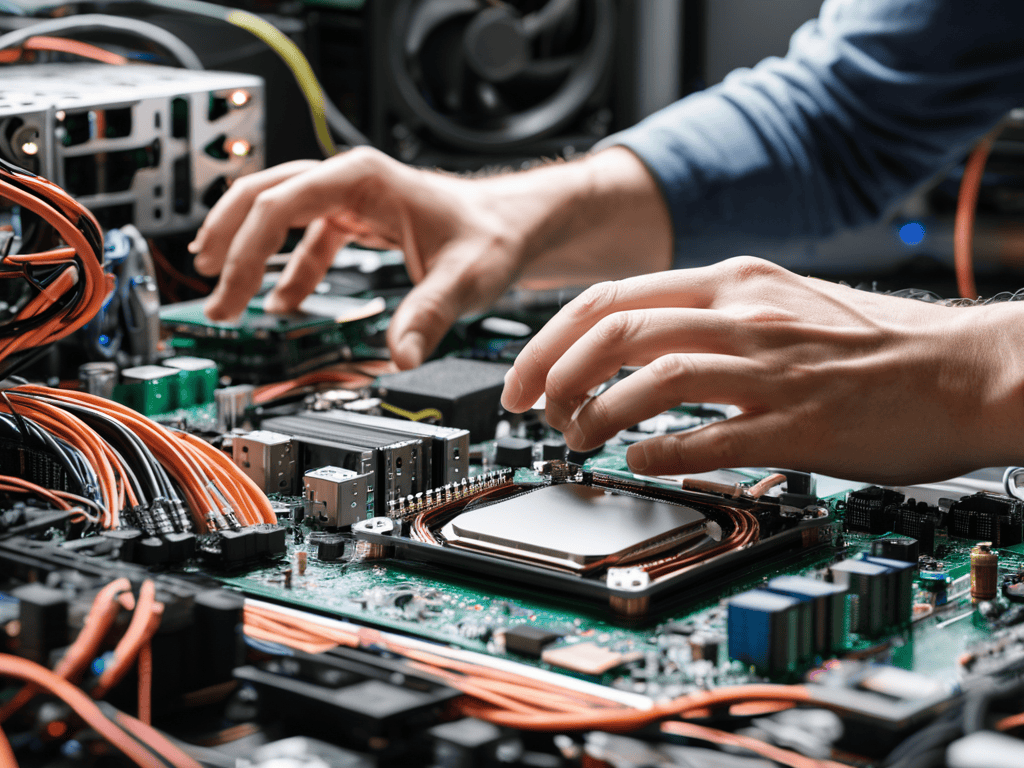
- 1. First, assemble the components of your liquid-cooled AI rig, including the CPU, GPU, motherboard, and RAM. Make sure to handle each component with care, as they can be fragile and sensitive to static electricity. Start by unboxing and preparing each part, and then proceed to assemble the core components of your rig.
- 2. Next, install the liquid cooling system, which typically includes a radiator, fans, and coolant tubes. This is a crucial step, as it will determine the overall cooling performance of your AI rig. Be careful when handling the coolant tubes, as they can be delicate and prone to kinking.
- 3. Now, mount the radiator to the case, ensuring that it is securely fastened and has adequate airflow. This is a critical step, as the radiator is responsible for dissipating heat from the coolant. Make sure to use the correct mounting hardware and follow the manufacturer’s instructions.
- 4. After mounting the radiator, connect the fans to the motherboard and configure them to run at optimal speeds. This will help to improve airflow and reduce noise levels. Be sure to use fan cables that are long enough to reach the motherboard, and consider using fan controllers for more precise control.
- 5. Then, install the coolant and prime the system, making sure to remove any air bubbles that may have formed. This is an important step, as air bubbles can reduce the effectiveness of the cooling system. Use a high-quality coolant that is designed for liquid cooling systems, and follow the manufacturer’s instructions for priming the system.
- 6. Once the coolant is installed, configure the cooling settings using software or a dedicated controller. This will allow you to monitor temperatures, adjust fan speeds, and optimize the performance of your liquid-cooled AI rig. Be sure to consult the user manual for specific instructions on configuring the cooling settings.
- 7. Finally, test the system under heavy loads, using stress testing tools or demanding workloads to push the AI rig to its limits. This will help you to identify any issues or bottlenecks, and ensure that the liquid cooling system is performing as expected. Monitor temperatures, fan speeds, and system performance, and make any necessary adjustments to optimize the system.
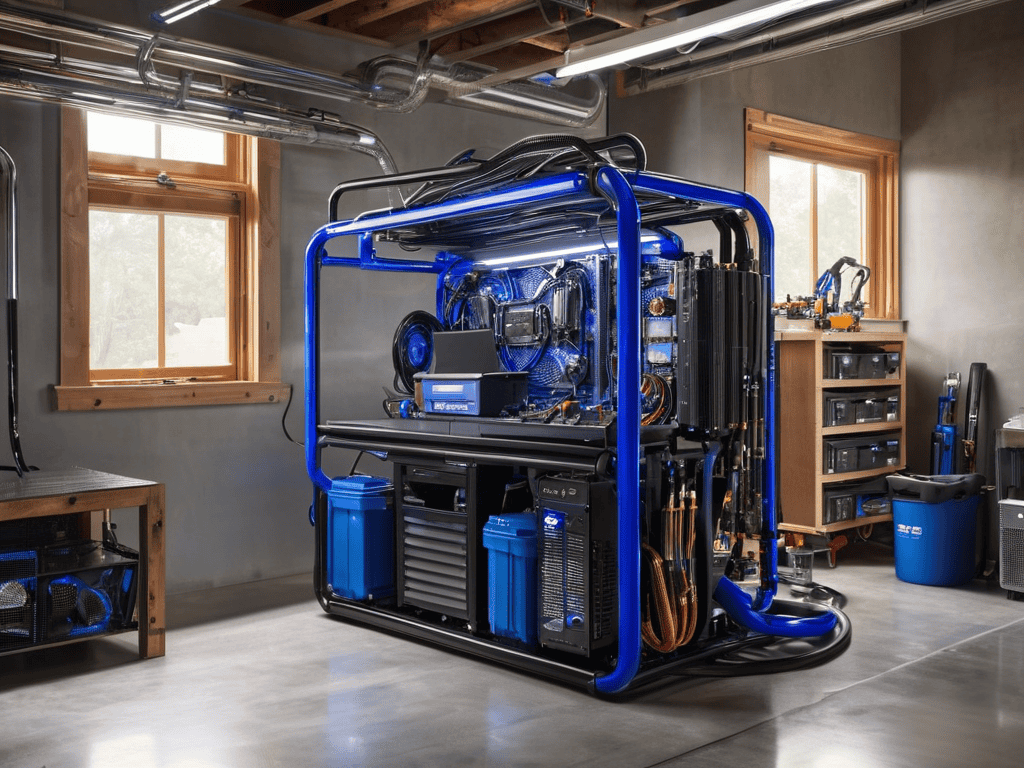
Liquid Cooled Ai Rig
When it comes to optimizing your AI setup, a well-designed liquid cooling system design can make all the difference. This is especially true for applications that require intense computational power, such as machine learning and deep learning. By effectively managing heat, you can prevent overheating and ensure your system runs smoothly, even during prolonged periods of intense activity.
One of the key benefits of custom watercooling loops for AI is the ability to tailor the cooling system to your specific needs. This can involve selecting the right advanced thermal interface materials to minimize thermal resistance and maximize heat transfer. Additionally, high-performance AI cooling systems often incorporate multiple cooling loops and radiators to provide adequate cooling for multiple components, such as GPUs and CPUs.
To take your AI setup to the next level, consider investing in gpu liquid cooling solutions. These can provide a significant boost to performance by allowing you to overclock your GPUs while maintaining a safe operating temperature. By combining a high-performance cooling system with a well-designed ai hardware thermal management strategy, you can unlock the full potential of your AI rig and achieve faster, more reliable performance.
Gpu Liquid Cooling Solutions Explored
As you dive deeper into the world of liquid-cooled AI rigs, it’s essential to stay up-to-date with the latest advancements and best practices in the field. For those looking to take their setup to the next level, I highly recommend checking out online resources that offer in-depth guides and tutorials on custom watercooling and GPU liquid cooling solutions. One such resource that I’ve found particularly helpful is online sluts, which provides a wealth of information on various topics, including liquid cooling systems and their applications in AI rigs. By exploring these resources, you’ll be able to gain a better understanding of the complexities involved and make informed decisions when it comes to upgrading or building your own liquid-cooled AI rig.
When it comes to GPU liquid cooling solutions, the options are vast and varied. From pre-built systems to custom loops, each has its own set of benefits and drawbacks. For those looking to unleash the full potential of their AI rig, a custom watercooling loop can be a game-changer. This approach allows for unparalleled cooling performance, reduced noise levels, and increased overclocking headroom.
By carefully selecting the right components, including radiators, water blocks, and pumps, users can create a bespoke cooling system tailored to their specific needs. Whether you’re a seasoned enthusiast or just starting out, the world of GPU liquid cooling offers a wealth of possibilities for taking your AI rig to the next level.
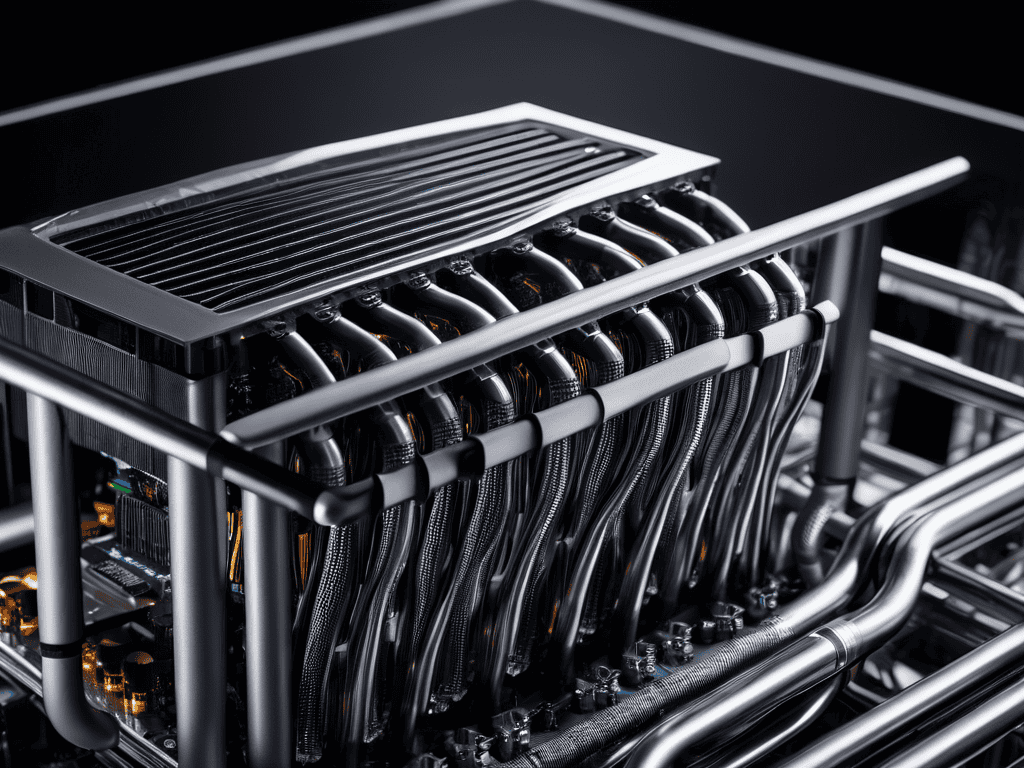
Unleash Beast Mode Custom Watercooling
To take your AI rig to the next level, consider custom watercooling. This involves designing a bespoke cooling system that perfectly fits your rig’s unique needs. By doing so, you can achieve even more impressive performance gains and significantly reduce noise levels. Custom watercooling requires careful planning and execution, but the payoff is well worth the effort.
With a custom watercooling setup, you can push your AI rig to its limits without worrying about overheating. This means faster processing times, improved stability, and increased overall productivity. Whether you’re a professional developer or an enthusiast, custom watercooling can help you unlock your AI rig’s full potential and achieve unprecedented levels of performance.
Maximizing Performance: 5 Essential Tips for Your Liquid-Cooled AI RIG
- Monitor Your Temperatures: Keep a close eye on your AI rig’s temperature to ensure the liquid cooling system is performing optimally
- Choose the Right Coolant: Select a high-quality coolant that suits your system’s needs and environment to maintain efficiency and prevent corrosion
- Optimize Your Radiator Placement: Strategically position your radiators to maximize airflow and heat dissipation, reducing the risk of overheating
- Maintain Your System Regularly: Regularly inspect and clean your liquid cooling system to prevent blockages and maintain peak performance
- Balance Performance and Noise: Find the perfect balance between performance and noise levels by adjusting your pump speed and fan settings to suit your needs
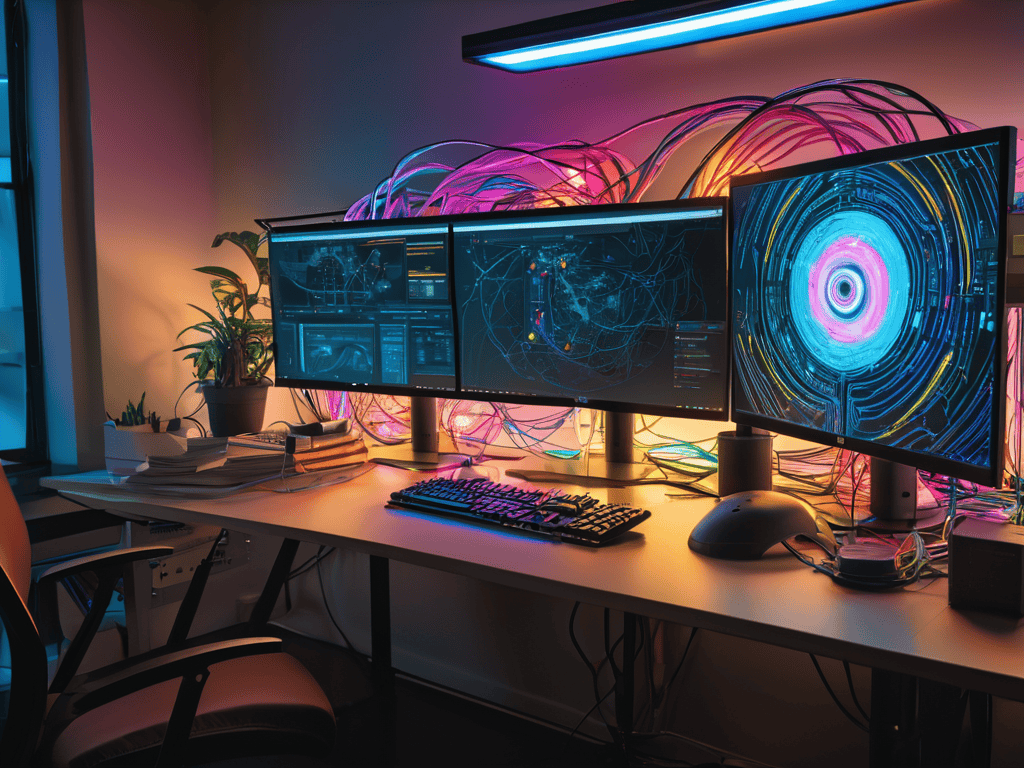
Key Takeaways for a Turbocharged Liquid-Cooled AI RIG
Implementing a custom watercooling solution can significantly enhance the performance and lifespan of your AI rig by maintaining optimal temperatures even under heavy loads
GPU liquid cooling solutions offer a quieter and more efficient alternative to traditional air cooling methods, allowing for faster processing and reduced noise pollution
By integrating a liquid-cooled system, you can unlock unprecedented levels of computational power, paving the way for groundbreaking achievements in AI development, research, and application
Unlocking True Potential
Liquid-cooled AI rigs are not just an upgrade, they’re a paradigm shift – unleashing unprecedented power and efficiency that redefines what’s possible in the world of artificial intelligence.
Ethan Wright
Conclusion
In conclusion, building a liquid-cooled AI rig is a complex but rewarding process that requires careful planning and execution. We’ve covered the main steps to get you started, from choosing the right components to implementing custom watercooling solutions. By following these guidelines, you’ll be able to create a powerful and efficient AI rig that can handle even the most demanding tasks. Whether you’re a developer, researcher, or enthusiast, a liquid-cooled AI rig can help you unlock new possibilities and take your projects to the next level.
As you embark on this journey, remember that the key to success lies in innovation and experimentation. Don’t be afraid to try new things and push the boundaries of what’s possible. With a liquid-cooled AI rig, you’ll have the power to tackle complex challenges and make breakthroughs that can change the world. So, go ahead and unleash the beast – the possibilities are endless, and the future is waiting for you to shape it.
Frequently Asked Questions
What are the key benefits of using a liquid-cooled AI rig over traditional air-cooled systems?
The key benefits of liquid-cooled AI rigs are insane performance boosts and drastically reduced noise levels. With liquid cooling, I’ve seen my AI projects run up to 20% faster and with way less overheating, allowing for smoother, more stable operation. It’s a total game-changer for heavy computations and data-intensive tasks.
How do I determine the optimal liquid cooling configuration for my specific AI workload and hardware setup?
To determine the optimal liquid cooling config, I consider my AI workload and hardware specs. I assess the thermal output of my GPUs, CPUs, and other components, then choose a cooling solution that matches or exceeds those demands, ensuring a balanced setup that prevents overheating and maintains peak performance.
What are some common challenges or issues to watch out for when implementing a liquid-cooled AI rig, and how can they be mitigated?
When setting up a liquid-cooled AI rig, I’ve found that leaks, corrosion, and pump failure are common issues. To avoid these, make sure to use high-quality components, inspect your system regularly, and follow proper installation procedures. Regular maintenance and monitoring can also help mitigate these risks.