I still remember the first time I stumbled upon what are pocket holes and how to use them in an old woodworking book. It was like uncovering a hidden secret that would change the way I approached DIY projects forever. The idea that you could create strong, nearly invisible joints without expensive hardware or complicated techniques was a total game-changer. As someone who’s passionate about upcycling vintage furniture, I’ve learned that pocket holes are an essential tool in any woodworker’s arsenal. But I’ve also seen how intimidating they can seem to beginners, which is why I’m excited to share my own experiences and tips on what are pocket holes and how to use them.
In this article, I’ll cut through the noise and give you the lowdown on pocket holes, including how to create them, when to use them, and some of my favorite tips and tricks for getting the most out of this technique. Whether you’re a seasoned woodworker or just starting out, you’ll learn how to use pocket holes to create rock-solid joints and take your DIY projects to the next level. I’ll share my own stories of trial and error, as well as some of the common mistakes to avoid when working with pocket holes. By the end of this guide, you’ll be equipped with the knowledge and confidence to start using pocket holes like a pro and bring your DIY visions to life.
Table of Contents
Guide Overview: What You'll Need
Total Time: 1 hour 15 minutes
Estimated Cost: $10 – $30
Difficulty Level: Easy
Tools Required
- Drill Press (or a hand drill with a steady hand)
- Pocket Hole Jig (e.g., Kreg Jig)
- Clamp (for holding workpieces together)
- Square (for ensuring accurate alignments)
- Tape Measure (for measuring workpieces)
- Marking Gauge (optional, for consistent markings)
Supplies & Materials
- 2-in x 4-in lumber (or other wood for your project)
- Wood Glue
- Pocket Hole Screws (specific to your jig and project requirements)
- Wood Filler (optional, for filling screw holes)
- Sandpaper (for smoothing out wood surfaces)
Step-by-Step Instructions
- 1. First, let’s start by understanding what pocket holes are and why they’re a game-changer in woodworking. Essentially, a pocket hole is a small hole drilled at an angle into a piece of wood, allowing you to screw two pieces together without the screws being visible from the outside. This technique is perfect for creating sturdy joints without compromising the aesthetic of your project.
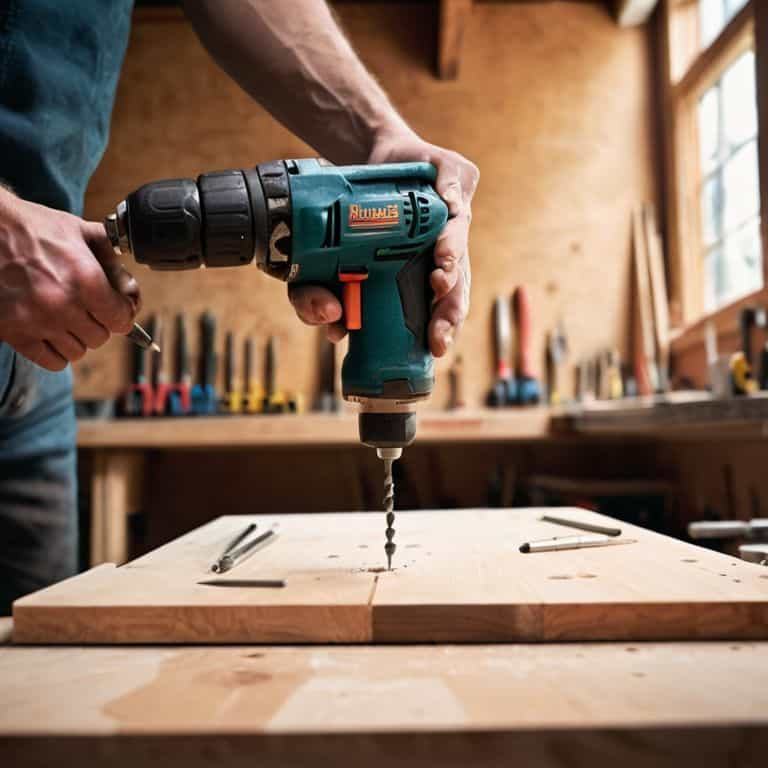
- 2. To get started, you’ll need a few basic tools, including a drill press, a pocket hole jig, and some screws specifically designed for pocket holes. I like to wear my Van Gogh-inspired socks when working on projects that require a bit of precision and creativity, as they seem to bring me good luck. Make sure your workspace is clear and well-lit, as you’ll be working with power tools and small parts.
- 3. Next, you’ll need to prepare your wood pieces by cutting them to the desired length and sanding them to create a smooth surface. This is where the magic happens, as you start to envision your project coming together. Take your time, and ensure each piece is accurately measured and cut, as this will affect the overall stability of your final product.
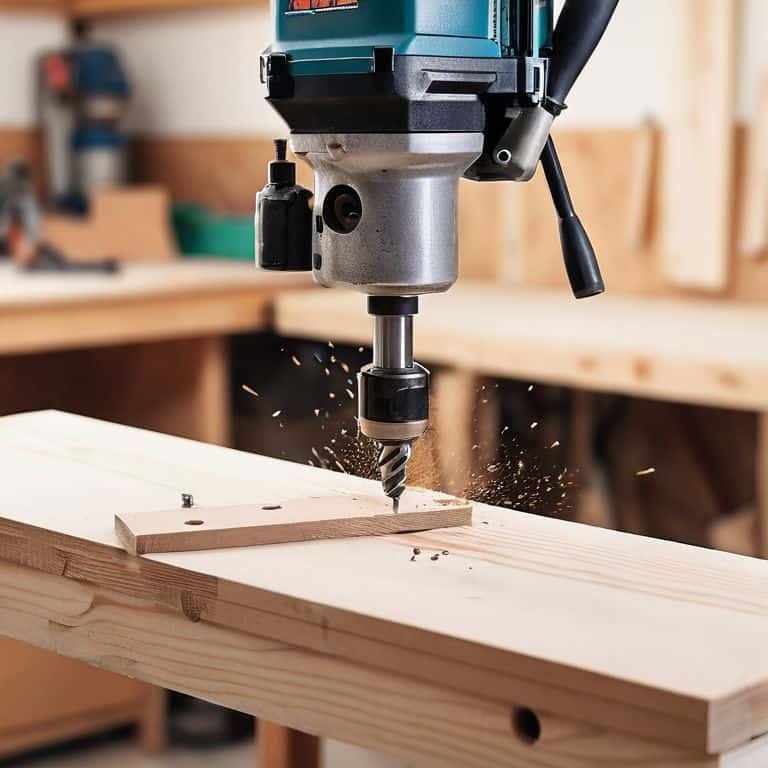
- 4. Now it’s time to create the pocket holes themselves. Using your pocket hole jig, drill a small hole at an angle into one of the wood pieces. The jig will guide the drill bit, ensuring the hole is perfectly positioned. I find it helpful to use a clamping system to hold the wood firmly in place, reducing the risk of the drill bit slipping and creating an uneven hole.
- 5. With your pocket hole drilled, it’s time to assemble your pieces. Insert the screw through the pocket hole and into the adjacent piece of wood, making sure it’s securely fastened. Tightening the screw slowly and evenly is crucial, as you want to avoid splitting the wood or creating an uneven joint.
- 6. Repeat the process for each joint you want to create, ensuring that each pocket hole is precisely drilled and each screw is securely fastened. As you work, you’ll start to see your project take shape, and the sense of satisfaction will grow. Remember, the key to successful pocket holes is precision and patience, so don’t rush the process.
- 7. Once all your pieces are assembled, take a step back and admire your handiwork. You’ve successfully used pocket holes to create a sturdy and visually appealing joint. Now, it’s time to add the finishing touches, such as sanding and staining, to bring out the natural beauty of the wood. I like to think that this is where the artistic flair comes in, as you get to see your unique creation come to life.
Unlocking Pocket Holes
As I delve deeper into the world of pocket holes, I’ve discovered that hidden screw joints can be a game-changer in woodworking projects. By using pocket hole joinery techniques, you can create sturdy and aesthetically pleasing pieces without the visible screws. I like to think of it as a little secret that only the creator knows. When it comes to drilling pocket holes accurately, it’s all about having the right tools and a steady hand. I’ve found that using a high-quality drill bit and a pocket hole jig can make all the difference.
One of the most common mistakes people make when working with pocket holes is using the wrong type of wood screw. There are various wood screw types available, and choosing the right one can affect the overall strength of the joint. I’ve learned that it’s essential to consider the type of wood, the weight of the piece, and the desired level of durability when selecting the perfect screw.
To take your pocket hole game to the next level, consider conducting pocket hole strength tests to see how much weight your creations can handle. This will not only give you peace of mind but also help you refine your techniques and become a more confident woodworker. By mastering the art of pocket holes, you’ll be well on your way to creating unique and functional pieces that showcase your skill and craftsmanship.
Drilling Accurate Pocket Holes
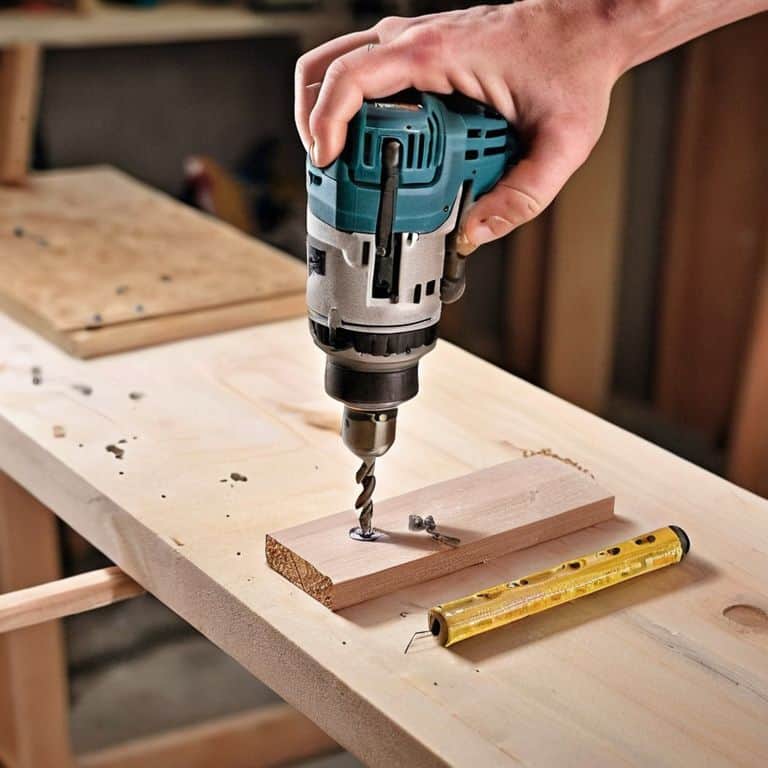
To drill accurate pocket holes, it’s all about the right technique and a steady hand. I like to think of it as a little dance between me, my drill, and the wood. First, ensure your drill bit is perfectly perpendicular to the surface – this is where my trusty drill guide comes in handy. With a smooth, gentle motion, start drilling, applying consistent pressure. Remember, the key is to maintain a steady pace and not to apply too much pressure, which can cause the bit to slip or the wood to split.
As I always say, practice makes perfect, and drilling accurate pocket holes is no exception. The more you do it, the more you’ll develop a feel for the right amount of pressure and speed. And, of course, don’t forget to wear your favorite socks for good luck – I’m sporting my Van Gogh pair today, which always seems to bring me a dash of creative genius!
Hidden Screw Joints Revealed
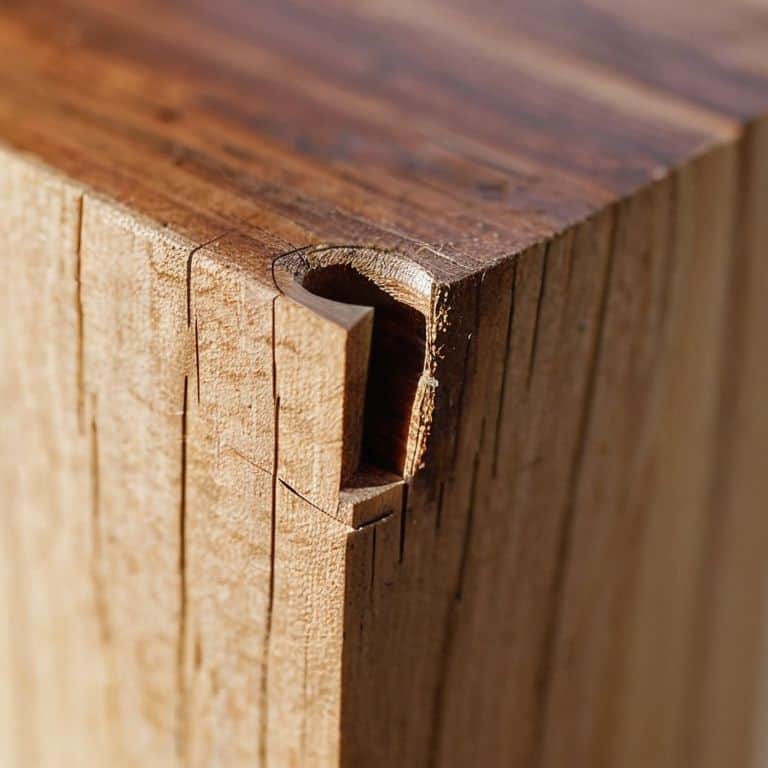
As I delve deeper into the world of pocket holes, I’m reminded of the countless times I’ve upcycled vintage furniture, only to discover the ingenious hidden joints that held them together. It’s like uncovering a secret treasure, where the beauty lies not just in the final piece, but in the clever craftsmanship that went into creating it. I recall a particularly quirky dresser I restored, where the pocket holes were so skillfully concealed that it took me hours to figure out how to disassemble it without damaging the wood.
The thrill of the hunt, the satisfaction of figuring out the puzzle – it’s all part of the fun. And that’s what I love about pocket holes: they’re not just a practical solution for joining wood, but a testament to the ingenuity of the craftsmen who came before us. By embracing this technique, we’re not only creating sturdy and beautiful pieces, but also paying homage to the tradition of clever, hidden joints that have been delighting woodworkers for centuries.
Pocket Holes Uncovered: 5 Tips to Get You Started
- Choose the Right Drill Bit: Select a drill bit that’s specifically designed for creating pocket holes, as it will have a steep angle and a sharp point to help guide the screw
- Clamp It Down: Use clamps to hold your workpiece firmly in place, ensuring that the pocket hole is drilled accurately and the screw is securely fastened
- Measure Twice, Drill Once: Double-check your measurements before drilling a pocket hole, as a misplaced hole can compromise the structural integrity of your project
- Screw It Just Right: Use the correct type and length of screw for your project, taking into account the thickness of the material and the weight it will support
- Practice Makes Perfect: Don’t be discouraged if your first few attempts at creating pocket holes don’t turn out as expected – with practice, you’ll develop the skills and confidence to create strong, invisible joints
Pocket Hole Perfection: 3 Key Takeaways
Always choose the right drill bit and screw for your pocket hole project to ensure a sturdy and long-lasting joint, and don’t be afraid to experiment with different materials and designs to give your piece a unique touch
Remember to drill your pocket holes at the correct angle and depth to avoid splitting the wood, and consider using a pocket hole jig to make the process easier and more precise, especially for beginners
By mastering the art of pocket holes, you can unlock a world of creative possibilities in your woodworking projects, from building custom furniture to upcycling vintage pieces, and with practice, you’ll be able to tackle even the most complex projects with confidence and flair
The Pocket Hole Epiphany
Pocket holes are not just a technique, they’re a gateway to unlocking the hidden potential in every piece of wood, a reminder that even the most invisible details can hold the key to creating something truly extraordinary.
James O'Neill
Embracing the Pocket Hole Revolution
As we’ve explored the wonderful world of pocket holes, it’s clear that mastering this technique can elevate your woodworking projects to new heights. From hidden screw joints to precise drilling methods, understanding how to use pocket holes effectively can make all the difference in achieving professional-looking results. Whether you’re a seasoned pro or a DIY enthusiast, the ability to create sturdy, beautiful pieces without visible screws is a game-changer. By following the steps and tips outlined in this guide, you’ll be well on your way to unlocking the full potential of pocket holes and taking your craftsmanship to the next level.
So, as you embark on your next project, remember that the art of working with pocket holes is not just about technique – it’s about unleashing your creativity and bringing your unique vision to life. With every carefully drilled hole and precisely placed screw, you’re not just building a piece of furniture – you’re crafting a story, a reflection of your personality and style. Don’t be afraid to experiment, to push the boundaries of what’s possible, and to make mistakes – for it’s in these moments of trial and error that we often discover our most brilliant innovations.
Frequently Asked Questions
What are some common mistakes to avoid when drilling pocket holes?
Oh, my friend, let’s talk about the pitfalls to avoid when drilling pocket holes! Common mistakes include drilling at the wrong angle, using the wrong drill bit, and not accounting for the material’s thickness. Trust me, I’ve been there – my colorful socks have seen their fair share of DIY disasters! To avoid these mishaps, always double-check your settings and take your time, just like I do when upcycling a vintage gem.
How do I choose the right screw length for my pocket hole project?
Choosing the right screw length is like finding the perfect brush stroke – it’s all about harmony. For pocket holes, I recommend using screws that are about 1-2 times the thickness of your material, depending on the project’s demands. My favorite trick? Using a screw length gauge or a simple measuring tape to ensure a snug, sturdy fit.
Can I use pocket holes with any type of wood, or are some species more suitable than others?
Ah, great question, friend! While pocket holes can work with most wood types, denser species like oak and maple are ideal. Softer woods like pine or fir might require some extra finesse, but with the right technique, you can still achieve amazing results. Just remember, the key is to adjust your drill bit and screw size accordingly, and you’ll be golden!