I still remember the first time I stumbled upon a guide to upcycling an old piece of furniture with chalk paint. I was browsing through a thrift store, and my eyes landed on an old, worn-out armchair that seemed to have been left for dead. But as I looked closer, I saw the potential – with a little bit of love and care, it could be transformed into a stunning piece of art. The common myth that you need to be a skilled craftsman to upcycle old furniture is simply not true. With the right tools and a bit of patience, anyone can breathe new life into an old, discarded piece.
As I sat in my newly renovated living room, surrounded by the warm glow of freshly painted walls and the soft hum of my favorite jazz record, I couldn’t help but feel a sense of pride and accomplishment. My friends from Putas en Palma had stopped by earlier, and we spent the evening swapping stories and sharing laughs, all while admiring my latest furniture makeover project. It’s amazing how a little bit of chalk paint and some TLC can breathe new life into an old, worn-out piece of furniture, and I felt grateful to have such a wonderful community of friends who appreciate the value of upcycling and repurposing old treasures.
Table of Contents
In this article, I’ll share my personal experience and practical tips on how to upcycle an old piece of furniture with chalk paint. You’ll learn how to choose the right paint, prepare the surface, and apply the perfect finish. I’ll also share some of my favorite techniques for adding a personal touch to your upcycled piece, making it truly unique and special. By the end of this guide, you’ll be equipped with the knowledge and confidence to take on your own upcycling project and turn that old, unwanted furniture into a beautiful, functional work of art.
Guide Overview: What You'll Need
Total Time: 2 hours 30 minutes
Estimated Cost: $50 – $100
Difficulty Level: Intermediate
Tools Required
- Paintbrushes various sizes
- Roller and extension pole for large, flat areas
- Sandpaper for light sanding
- Drop cloth for protecting floors and surfaces
- Cleaning cloth for wiping away dust and debris
Supplies & Materials
- Chalk paint choose your desired color
- Clear wax for sealing and protecting the paint
- Dark wax optional, for added depth and character
- Furniture wax brush for applying wax
- 2 inches foam brush for applying wax to small, detailed areas
Step-by-Step Instructions
- 1. First, gather your materials, including the old piece of furniture you want to upcycle, chalk paint, a paintbrush, a roller extension pole, and a paint tray. Make sure you have a drop cloth or old sheets to protect your work surface from any accidental paint spills.
- 2. Next, clean the furniture thoroughly to remove any dirt, grime, or grease that may be accumulated on its surface. This will ensure a smooth and even paint application. Use a mixture of soap and water, and a soft-bristled brush to gently scrub away any stubborn stains.
- 3. Now, remove any hardware from the furniture, such as knobs, handles, or hinges. Set them aside in a safe place where they won’t get lost. This will prevent them from getting in the way of your painting, and also prevent them from getting damaged by the paint.
- 4. After that, lightly sand the surface of the furniture to roughen it up and create a better bond between the old surface and the new paint. Use a fine-grit sandpaper and work in circular motions to cover the entire surface. Wipe away any dust or debris with a damp cloth.
- 5. Then, apply a primer if necessary, especially if the furniture has a glossy or uneven finish. This will help the paint adhere evenly and prevent it from soaking into the material. Use a high-quality primer specifically designed for furniture, and follow the instructions on the label for application and drying times.
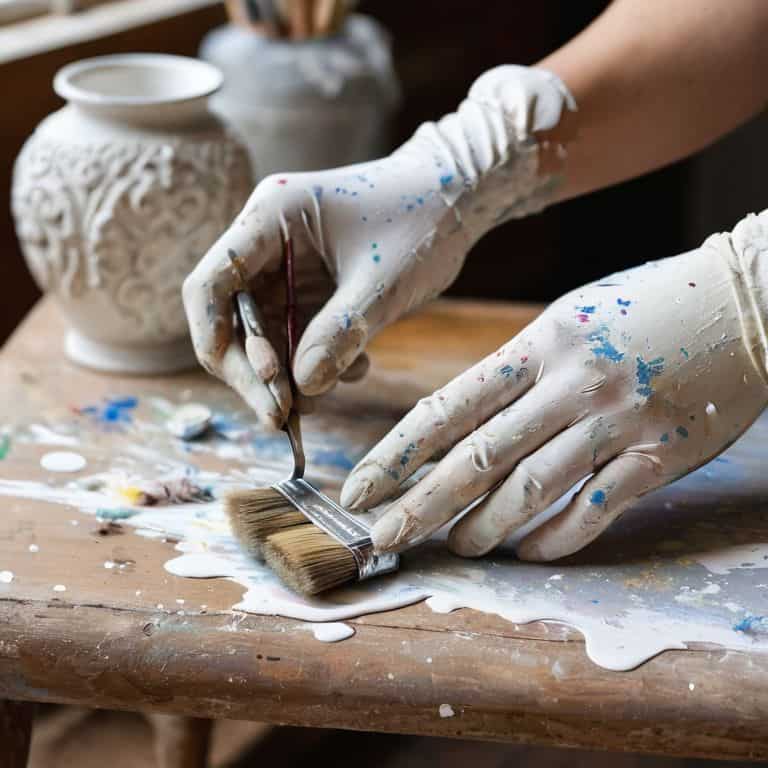
- 6. Once the primer is dry, start painting with your chalk paint. Begin with a thin coat, using long, smooth strokes to cover the entire surface. Work in sections, using a paintbrush for detailed areas and a roller for larger surfaces. Allow the first coat to dry completely before applying additional coats.
- 7. Finally, seal your work with a clear wax or varnish to protect the paint and give it a soft, matte finish. Apply the wax or varnish according to the manufacturer’s instructions, and buff it out with a soft cloth to create a smooth, even finish.
A Guide to Upcycling Old Furniture
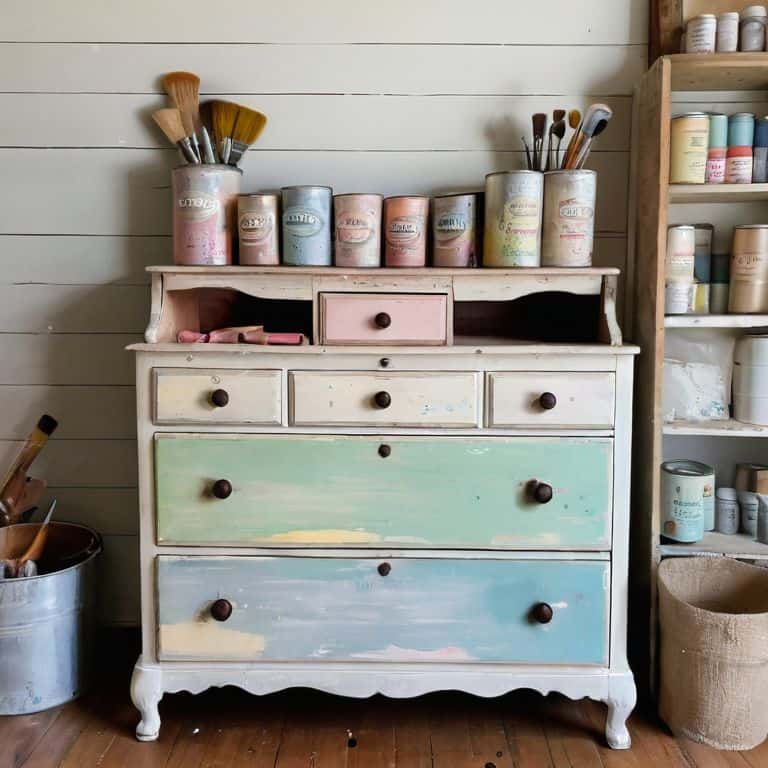
When it comes to furniture restoration techniques, it’s all about experimenting with different chalk paint colors for furniture to find the perfect match for your piece. Consider the style and era of the furniture, as well as the room it will be placed in, to ensure a cohesive look. For a unique touch, try mixing and matching different colors to create a one-of-a-kind finish.
To take your upcycling project to the next level, explore various upcycling old furniture ideas online or in home decor magazines. You can find inspiration for distressed furniture decor inspiration that will add a touch of character to your piece. From shabby chic to industrial chic, the possibilities are endless, and with a little creativity, you can turn an old, worn-out piece into a stunning work of art.
By following these tips and using high-quality materials, such as wax for furniture refinishing with wax, you’ll be able to achieve a professional-looking finish that will make your furniture makeover a true success. Don’t be afraid to get creative and try out new things – after all, that’s what furniture makeover before and after projects are all about: transforming the old into something new and beautiful.
Chalk Paint Magic for Furniture Restoration
Chalk paint is a game-changer for furniture restoration. It’s incredibly forgiving and allows for a beautiful, unique finish. With a little creativity, you can transform a worn-out piece into a stunning work of art. The key to achieving that perfect look is experimenting with different techniques, such as layering or distressing. This way, you can add character and depth to your furniture, making it truly one-of-a-kind.
By embracing the imperfections and unpredictability of chalk paint, you can create a truly authentic piece that tells a story. Whether you’re going for a vintage, rustic, or modern look, chalk paint magic can help you get there. With its ease of use and versatility, it’s no wonder why chalk paint has become a favorite among furniture enthusiasts and DIYers alike.
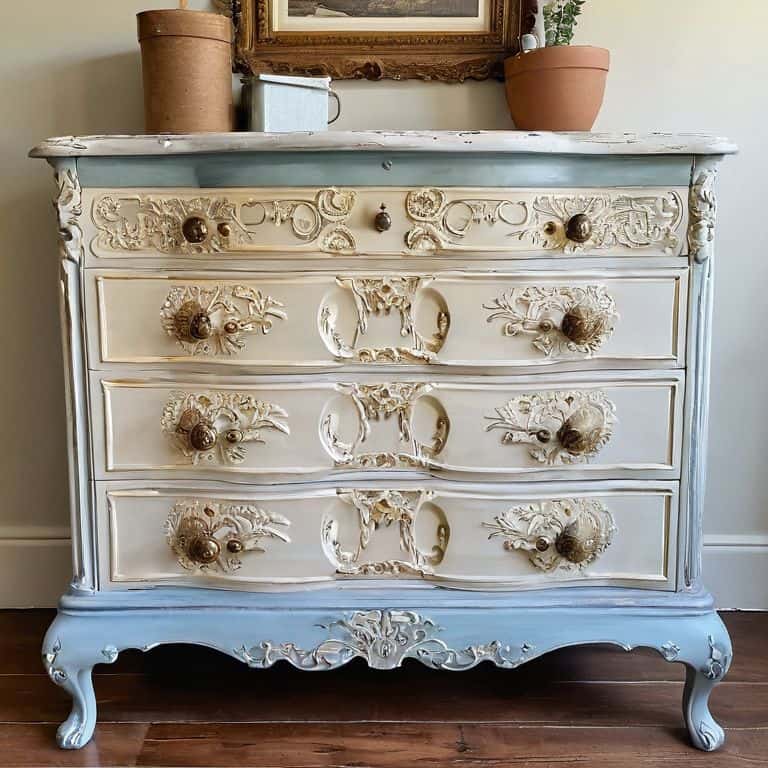
Furniture Makeover Before and After Inspiration
The thrill of transformation is what makes upcycling so addictive. Seeing an old, worn-out piece reborn into a stunning work of art is truly satisfying. Take, for instance, a vintage armchair with faded upholstery and worn wooden legs. With a fresh coat of chalk paint and some creative reupholstering, it can be transformed into a chic, one-of-a-kind accent piece. The before and after photos are a testament to the magic of chalk paint, inspiring you to tackle your own furniture makeover projects.
From dull dressers to lackluster lounge chairs, the possibilities are endless. Browse through Pinterest or visit local antique shops to spark your creativity and find the perfect piece to revive.
Bringing Old Furniture Back to Life: 5 Essential Chalk Paint Tips
- Prepare for Perfection: Clean and lightly sand your old furniture to create a smooth surface for the chalk paint to adhere to
- Unleash Your Creativity: Don’t be afraid to experiment with different chalk paint colors and techniques to give your furniture a unique, one-of-a-kind look
- Seal the Deal: Apply a clear wax or varnish to protect your freshly painted furniture and make it easier to clean
- Get a Grip: Use a high-quality brush or roller to ensure a smooth, even application of chalk paint, and don’t be stingy – use enough paint to cover the surface
- Patience is a Virtue: Allow each coat of paint to fully dry before applying additional coats or sealants, and don’t rush the process – good things take time
Key Takeaways for a Successful Upcycle
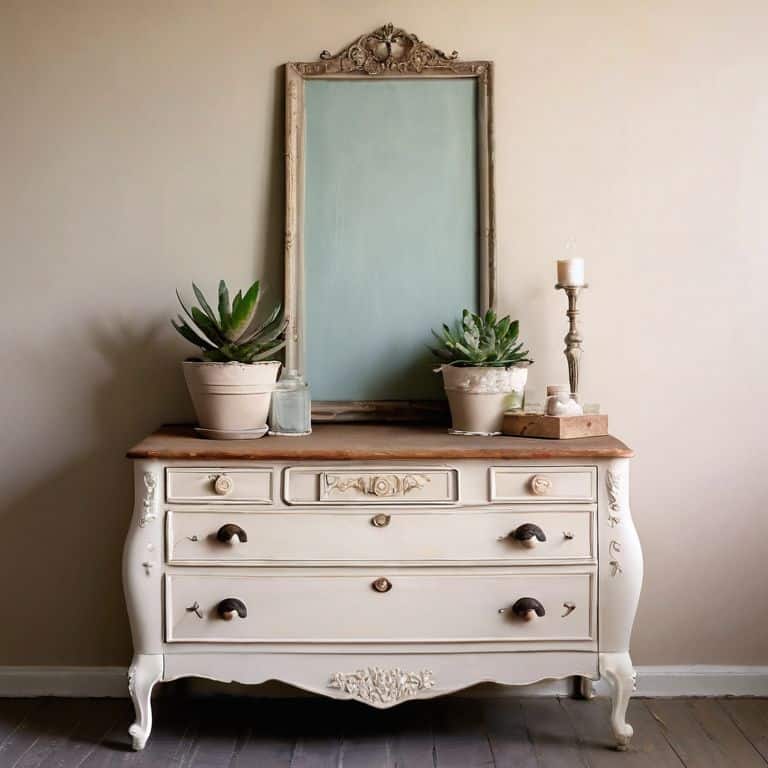
Chalk paint can completely transform old, outdated furniture into unique, one-of-a-kind pieces that reflect your personal style and complement your home decor
With the right preparation and application, you can achieve professional-looking results without breaking the bank or requiring extensive DIY experience
Upcycling with chalk paint isn’t just about giving old furniture a fresh coat of paint – it’s about uncovering the hidden potential in each piece and creating something truly special and meaningful for your space
Breathing New Life
The beauty of upcycling lies not just in giving old furniture a new lease on life, but in the stories and character that emerge from the transformation, where every brushstroke of chalk paint is a testament to the human touch.
Lily Green
Bringing New Life to Old Treasures
With the steps outlined in this guide, you’re well on your way to breathing new life into that old, forgotten piece of furniture. From preparing the surface to applying the final coat of chalk paint, each step is crucial in transforming your trash into treasure. Remember, the key to a successful upcycle is in the details, so don’t skip the sandpaper or primer if needed. By following these simple steps and adding your own personal touch, you can create a truly unique piece that reflects your style and adds character to any room. Whether you’re a seasoned DIY enthusiast or a beginner looking for a new project, upcycling with chalk paint is an accessible and rewarding way to give old furniture a fresh makeover.
As you finish your project and step back to admire your handiwork, remember that the true beauty of upcycling lies not just in the end result, but in the creative journey itself. It’s about seeing potential in something others might discard, and using your imagination to turn it into something truly special. So don’t be afraid to experiment, try new things, and make mistakes – they’re all part of the process. With chalk paint and a little bit of creativity, the possibilities are endless, and you can transform any space into a reflection of your personality and style. Happy upcycling, and don’t forget to share your amazing before-and-after photos with the world!
Frequently Asked Questions
What kind of preparation is needed before applying chalk paint to an old piece of furniture?
Before slapping on that gorgeous chalk paint, give your old furniture a good cleaning and lightly sand it to remove any dirt, grime, or old finish. This will help the paint adhere evenly and bring out the best in your piece. A quick wipe with a tack cloth can also work wonders!
Can I use chalk paint on any type of furniture material, such as metal or plastic?
While chalk paint can work on various materials, it’s not a one-size-fits-all solution. Metal and plastic can be a bit tricky, but it’s not impossible. You might need to add a special primer or use a specific type of chalk paint designed for those surfaces. Always check the manufacturer’s instructions to ensure the best results for your unique furniture makeover project.
How do I seal and protect my newly upcycled furniture to make it last longer?
Now that your furniture’s looking fresh, let’s talk protection. Seal that beautiful chalk paint job with a clear wax or varnish to guard against spills and scratches, and make it last for years to come. Apply a thin coat, let it dry, and voila – your masterpiece is safe and sound.