I still remember the first time I attempted to install vinyl plank flooring in my own home – it was a disaster. I had heard the myth that it’s a nightmare to work with, but I was determined to prove it wrong. As I delved into the world of a guide to installing vinyl plank flooring, I realized that most of the frustration stems from a lack of clear, straightforward advice. The truth is, with the right mindset and a few simple tricks, anyone can achieve a stunning, professional-looking finish.
In this article, I promise to share my honest, no-hype experience with installing vinyl plank flooring, cutting through the noise and providing you with practical, easy-to-follow tips. You’ll learn how to prepare your space, choose the perfect planks, and avoid common pitfalls that can leave your project looking less than perfect. By the end of this journey, you’ll be equipped with the confidence to tackle your own vinyl plank flooring project, and I’m excited to be your guide every step of the way.
Table of Contents
- Guide Overview: What You'll Need
- Step-by-Step Instructions
- Vinyl Vibes a Guide to Installing Vinyl Plank Flooring
- Measuring Up Where Math Meets Vinyl Plank Flooring Patterns
- Preparing Subfloors With Rustic Flair for Lvp
- Plank Perfect: 5 Tips to Nail Your Vinyl Flooring Installation
- Time to Wrap Up: 3 Key Takeaways for a Vinyl Plank Flooring Pro
- Flooring Wisdom
- Bringing It All Together: A Vinyl Plank Flooring Journey
- Frequently Asked Questions
Guide Overview: What You'll Need
Total Time: 8 hours to 2 days
Estimated Cost: $500 – $2000
Difficulty Level: Intermediate
Tools Required
- Tapping block for tapping planks into place
- Utility knife (with extra blades)
- Pull bar for pulling planks tight
- Measuring tape for measuring rooms and cutting planks
- Pencil and marker for marking cuts and layouts
- Miter saw or circular saw for cutting planks to size
- Knee kicker for securing planks
- Flooring roller for ensuring planks are securely locked
- Level for ensuring a level floor
- Pry bar for removing old flooring
Supplies & Materials
- Vinyl plank flooring choose your desired style and quantity
- Underlayment material such as foam or cork
- Transition strips for transitioning between rooms
- Baseboards for covering edges
- Quarter round molding for covering gaps between planks and walls
- Adhesive for securing underlayment material
- 6 inches wide plastic sheeting for protecting walls and furniture from dust and debris
- 2-in x 4-in lumber for creating a straight edge or supporting the weight of heavy objects
Step-by-Step Instructions
- 1. First, let’s get started by preparing the subfloor, which is essential for a successful installation. This involves ensuring the floor is level, clean, and dry. I like to think of it as laying the foundation for a beautiful work of art, much like the intricate details found in the artwork on my favorite pair of socks, featuring the iconic style of Van Gogh.
- 2. Next, we need to measure the room and calculate the number of vinyl planks required. This step is crucial to avoid any mistakes or waste. I find that using a trustworthy tape measure and a calculator can make all the difference in getting the measurements just right, allowing me to focus on the fun part – creating a unique and eclectic space that reflects my personality.
- 3. Now, it’s time to lay the underlayment, which provides a smooth and stable surface for the vinyl planks. I recommend using a high-quality underlayment material that is designed specifically for vinyl flooring, as it will help to reduce noise and prevent moisture damage. This step is all about creating a solid foundation for the flooring, much like the sturdy base of a vintage armchair I recently upcycled.
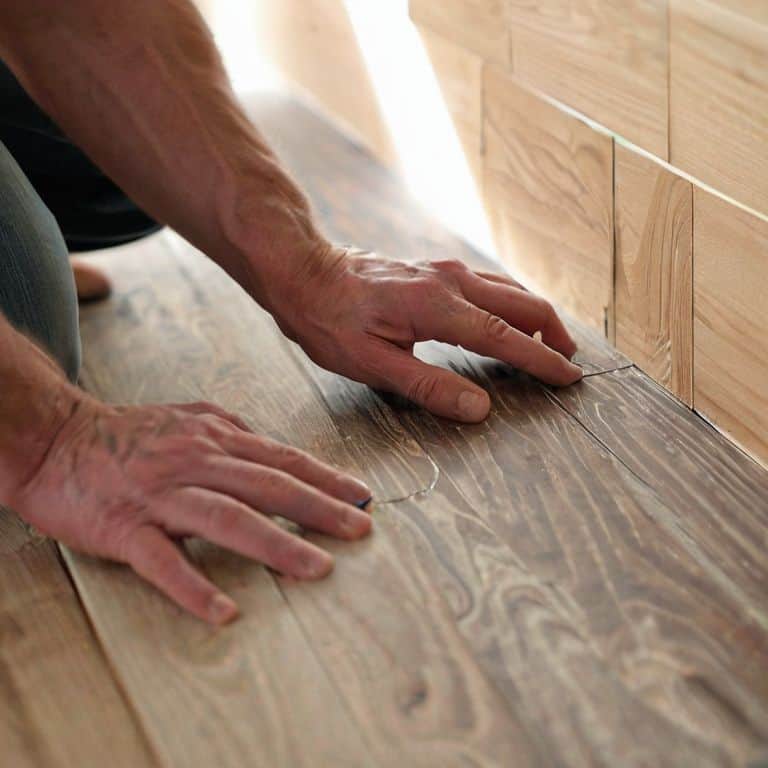
- 4. With the underlayment in place, we can start installing the vinyl planks. Begin by laying the first plank along the longest wall in the room, using a chalk line to guide your installation. Make sure to leave a small gap between the plank and the wall to allow for expansion and contraction. I like to think of this step as the starting point for a beautiful mosaic, where each plank fits together to create a unique and eye-catching pattern.
- 5. As we continue to install the vinyl planks, it’s essential to stagger the joints to create a strong and stable floor. This involves offsetting the joints between each row of planks, much like the intricate patterns found in the artwork of M.C. Escher, which inspire my own creative approach to DIY projects. By staggering the joints, we can help to prevent the floor from shifting or buckling over time.
- 6. Once we’ve installed all the vinyl planks, it’s time to add the finishing touches. This includes installing baseboards and moldings to cover the gaps between the floor and the walls. I recommend using a high-quality adhesive to secure the baseboards in place, ensuring a smooth and seamless finish that complements the overall aesthetic of the room.
- 7. Finally, let’s not forget to inspect and test the floor to ensure it’s even, stable, and free from any defects. This involves walking on the floor, checking for any creaks or unevenness, and making any necessary adjustments. By taking the time to thoroughly inspect the floor, we can ensure a long-lasting and durable finish that will withstand the test of time, much like the timeless charm of a beautifully restored vintage piece of furniture.
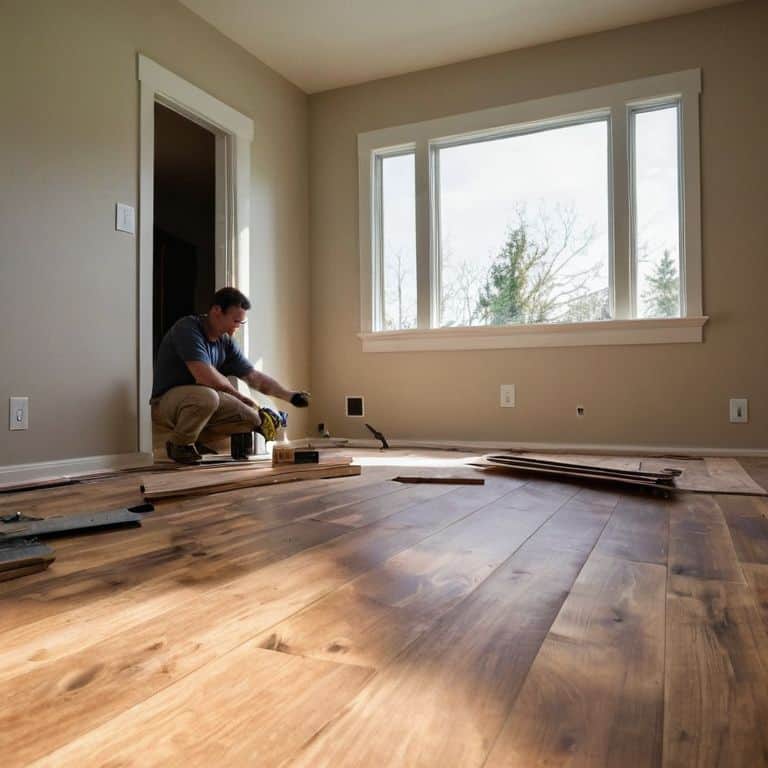
Vinyl Vibes a Guide to Installing Vinyl Plank Flooring
As I always say, the devil’s in the details, and when it comes to preparing subfloor for lvp, it’s crucial to get it just right. I like to think of it as laying the foundation for a masterpiece – you want a smooth, even surface to showcase your vinyl plank flooring. One of my favorite tips is to use a self-leveling compound to ensure a perfectly even base. And, of course, I’m rocking my favorite Pollock-inspired socks to get those creative juices flowing.
When it comes to vinyl plank flooring patterns, the possibilities are endless. From classic straight lays to more intricate herringbone designs, the choice is yours. I love experimenting with different patterns to add a touch of personality to each space. For a more rustic look, consider a random pattern to give your floors a unique, organic feel. And don’t forget to measure carefully – measuring for vinyl plank flooring is an art in itself, but with a little practice, you’ll be a pro in no time.
As you’re installing your vinyl plank flooring, keep an eye out for common vinyl plank installation mistakes. One of the most frequent errors is not leaving enough expansion space around the perimeter of the room. Trust me, you don’t want to deal with the headache of buckled floors down the line. By taking your time and being meticulous, you’ll be enjoying your beautiful new floors in no time – and I’ll be here, sporting my Van Gogh socks, cheering you on every step of the way.
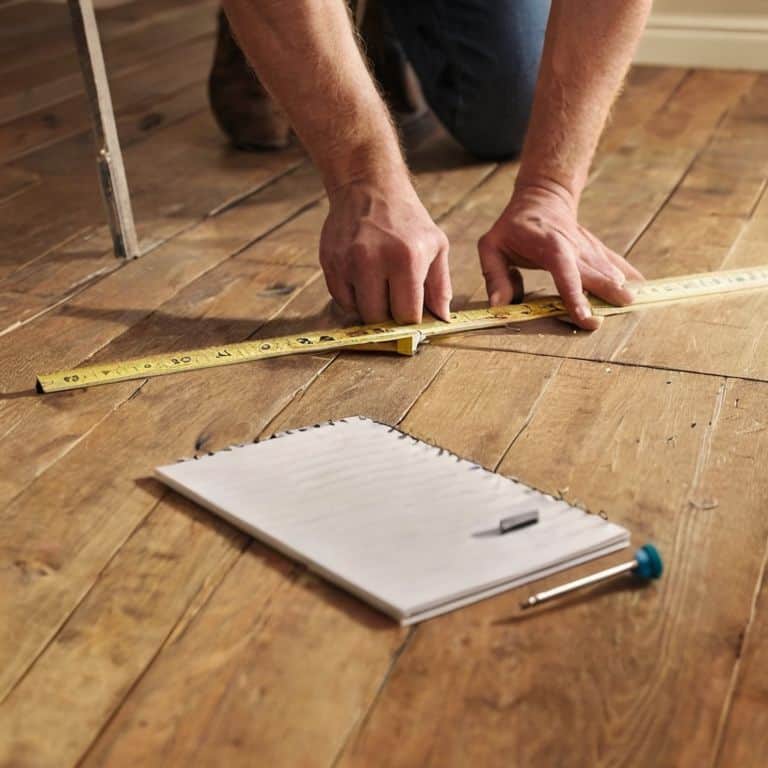
Measuring Up Where Math Meets Vinyl Plank Flooring Patterns
Now that we’ve got our subfloors ready, it’s time to get mathematical and measure up for our vinyl plank flooring. I like to think of this step as the secret ingredient in my grandma’s famous recipe – it’s all about precision and a dash of patience. To start, measure the length and width of your room, taking note of any obstacles like heating vents or doorways. Don’t worry, it’s not as daunting as it sounds – just remember to double-check your calculations, and you’ll be well on your way to creating a beautiful, one-of-a-kind space that’s full of character. With my trusty tape measure in hand and my favorite Van Gogh socks on my feet, I’m ready to tackle this project and make it a masterpiece.
Preparing Subfloors With Rustic Flair for Lvp
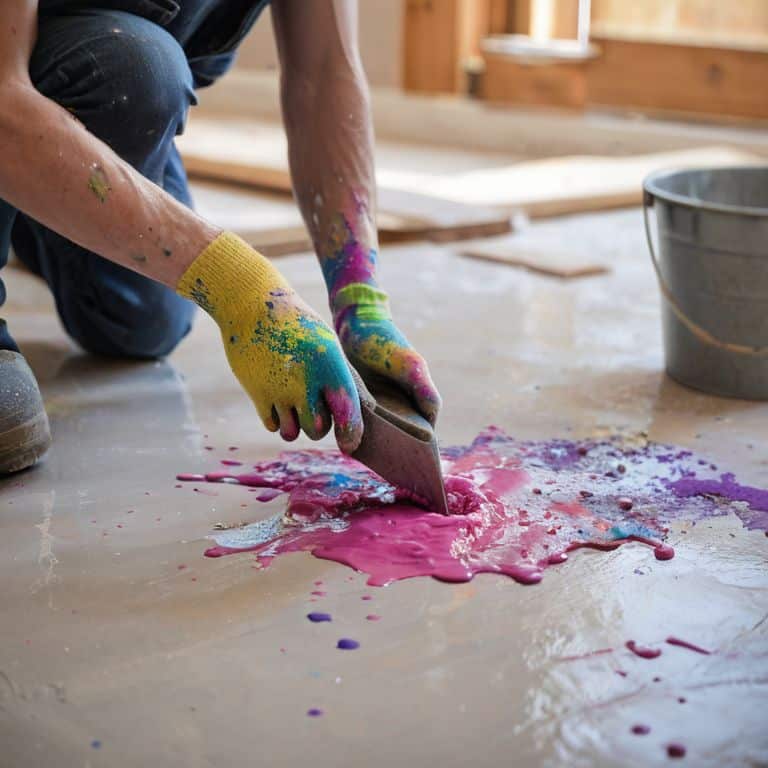
Preparing subfloors is where the magic begins. I like to think of it as uncovering a hidden canvas, waiting for my vintage touch. To ensure a smooth installation, I check for any unevenness or old adhesives that might be lurking beneath. A good sweep and a dash of rustic charm – courtesy of my trusty broom and a pair of Picasso socks – get me in the right mindset. With the subfloor clean, I inspect for any cracks or damage, making repairs as needed to create a sturdy foundation for my vinyl plank flooring. It’s all about blending old with new, just like my upcycled furniture pieces.
Plank Perfect: 5 Tips to Nail Your Vinyl Flooring Installation
- Measure Twice, Cut Once: Double-check your subfloor measurements to ensure a seamless fit, just like a perfectly tailored pair of pants
- Subfloor Symphony: Make sure your subfloor is level, clean, and dry to prevent any future issues, kind of like preparing a canvas for a masterpiece
- Pattern Palooza: Choose a vinyl plank pattern that complements your room’s unique character, and don’t be afraid to get creative and try out new designs
- Underlayment Utopia: Select the right underlayment material to provide a comfortable, quiet, and durable floor, it’s like finding the perfect pair of socks to match your favorite artist-inspired ones
- Seamless Sealing: Apply the recommended amount of adhesive and use a roller to ensure a strong bond between planks, resulting in a floor that’s as solid as a vintage wooden beam
Time to Wrap Up: 3 Key Takeaways for a Vinyl Plank Flooring Pro
I’ve learned that preparing the subfloor is where the magic begins – ensuring it’s clean, dry, and level is crucial for a successful installation that will make your new vinyl plank flooring shine like a work of art
Measuring your space correctly and choosing the right pattern for your vinyl plank flooring can make all the difference in achieving a look that’s uniquely yours, whether you’re going for a rustic charm or a contemporary flair
Remember, the fun is in the details – don’t be afraid to add your personal touch to the project, whether it’s through a bold color choice or a quirky pattern, and always keep in mind the satisfaction of creating something with your own hands that’s not only beautiful but also sustainable
Flooring Wisdom
As we lay the foundations of our homes with vinyl plank flooring, remember that every plank is a brushstroke of character, every cut a testament to patience, and every finished floor a masterpiece of love and labor, where the beauty of rustic meets the elegance of modern.
James O'Neill
Bringing It All Together: A Vinyl Plank Flooring Journey
As we wrap up this whimsical adventure in installing vinyl plank flooring, let’s take a moment to reflect on the journey. We’ve covered the essential steps, from preparing subfloors with rustic flair to measuring up and laying down those beautiful planks. It’s been a wild ride, full of math, measuring, and maybe a few mistakes along the way. But the most important thing to remember is that it’s all about having fun and being creative with the process. Don’t be afraid to experiment, try new things, and make those planks shine like a vintage gem.
Now, as you stand back to admire your handiwork, remember that the power of transformation is in your hands. You’ve taken a space and made it truly unique, with a story to tell and a personality to match. So, go ahead and slip on your favorite pair of colorful socks (I’m currently rocking my Van Gogh-inspired pair), pour yourself a cup of coffee, and bask in the glory of your sustainably stylish new floor. You’ve not only created something beautiful, but you’ve also done your part for the planet – and that’s something to be incredibly proud of.
Frequently Asked Questions
What are the most common mistakes to avoid when installing vinyl plank flooring to ensure a professional-looking finish?
Ah, my friend, let’s dive into the top mistakes to avoid for a professional-looking finish! Common faux pas include incorrect subfloor prep, inadequate acclimation, and poor plank alignment. Don’t forget to check for uneven surfaces and expansion gaps – trust me, your floors (and my favorite Picasso socks) will thank you!
How do I choose the right pattern and layout for my vinyl plank flooring to match my room's unique character?
Ah, the fun part! Choosing the right pattern and layout is all about embracing your space’s personality. Consider the room’s flow, furniture, and natural light. Do you want a bold, geometric vibe or a more subtle, organic look? Let your unique style shine through, just like my funky Picasso socks inspire my upcycling projects!
Can I install vinyl plank flooring over existing flooring, or does it require a completely clean slate?
The million-dollar question, my friend! While it’s possible to install vinyl plank flooring over existing flooring, it’s crucial to ensure the subfloor is level, stable, and free of any old adhesives. I like to think of it as giving your floor a fresh canvas, just like I do when I’m upcycling a vintage piece – a little prep work can make all the difference!