I still remember the day I decided to tackle my first how to build shelves project – I was a novice DIY enthusiast with a passion for upcycling vintage furniture. As I dove into the world of woodworking, I was surprised to find that many online guides made the process seem daunting and overly complicated. The truth is, building shelves can be a fun and rewarding experience, and I’m excited to share my journey with you. I’ve learned that with the right mindset and a few simple tools, anyone can create unique and functional storage solutions that add a touch of whimsy to their home.
In this article, I’ll cut through the noise and provide you with practical advice on how to build shelves that reflect your personal style. You’ll learn how to transform old wooden planks into stunning shelves that will make your friends green with envy. From selecting the perfect materials to adding a dash of eclectic charm, I’ll guide you through the process with honesty and humor. By the end of this guide, you’ll be equipped with the confidence and skills to tackle your own shelving project and uncover the hidden treasures in your home. So, let’s get started and turn those old planks into amazing shelves that will make your space truly special!
Table of Contents
Guide Overview: What You'll Need
Total Time: 2 hours 30 minutes
Estimated Cost: $50 – $100
Difficulty Level: Intermediate
Tools Required
- Circular Saw (for cutting lumber)
- Drill (with screwdriver and drill bits)
- Tape Measure (for measuring spaces and lumber)
- Level (to ensure shelves are straight)
- Hammer (for tapping shelves into place)
- Screwdriver (for driving screws)
- Wrench (for tightening bolts)
- Utility Knife (with extra blades)
Supplies & Materials
- 2-in x 4-in lumber (for shelf frames)
- 3/4-in plywood (for shelf boards)
- Wood Screws (for assembling shelves)
- Wood Glue (for reinforcing joints)
- Sandpaper (for smoothing out wood surfaces)
- Paint or Stain (optional, for finishing shelves)
- Wall Anchors (for securing shelves to walls)
Step-by-Step Instructions
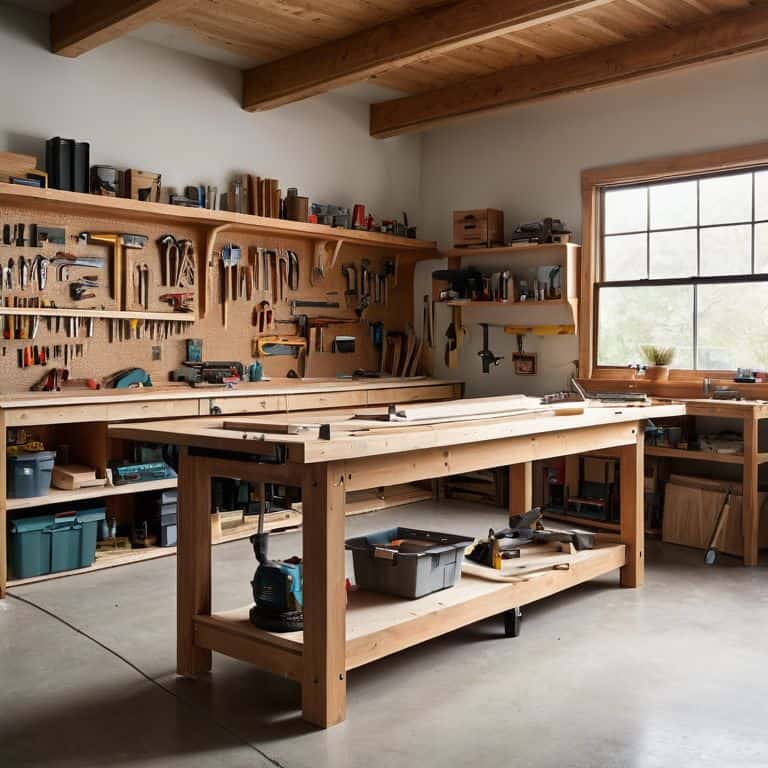
- 1. First, let’s gather our materials, which include the old wooden planks we’re going to upcycle, a drill press, a saw, sandpaper, and some sturdy brackets to hold our shelves in place. I like to think of this step as the treasure hunt part of our project, where we get to uncover the hidden potential in those discarded planks.
- 2. Next, we need to clean and prepare our wooden planks. This involves removing any old nails, screws, or debris that might be stuck in them. I use a combination of a hammer, pliers, and some good old-fashioned elbow grease to get the job done. Remember, the key here is to be gentle yet firm, as we want to preserve the natural beauty of the wood.
- 3. Now it’s time to measure and cut our planks to the desired length. This is where our saw comes into play. I always double-check my measurements to ensure that my shelves will fit perfectly in their intended space. Don’t worry if your cuts aren’t perfect – a little imperfection can add character to our final product.
- 4. With our planks cut to size, we can move on to sanding them down. This step is all about smoothing out the rough edges and bringing out the natural grain of the wood. I use a variety of sandpaper grits, starting from coarse and moving to fine, to get that perfect finish. It’s amazing how a little sanding can transform the look and feel of our shelves.
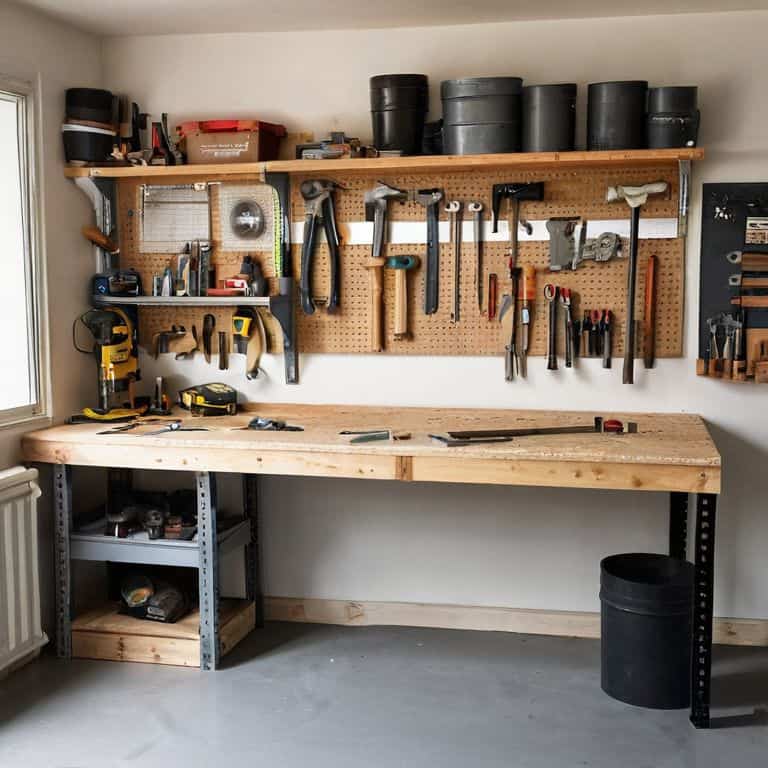
- 5. Once our planks are sanded and ready, it’s time to assemble our shelves. This involves attaching the brackets to the walls and then carefully placing our planks onto them. I like to use a level to ensure that my shelves are perfectly straight – there’s nothing worse than a wonky shelf to ruin the aesthetic of a room.
- 6. Now that our shelves are taking shape, we can think about adding a personal touch. For me, this might involve staining or painting the wood to match the theme of my room, or adding some decorative trim to give it a more polished look. The possibilities are endless, and this is where you can really let your creativity shine.
- 7. Finally, we get to install our shelves and fill them with all our favorite treasures. This is the most rewarding part of the process, as we get to see our hard work come to life. I love standing back and admiring my handiwork, knowing that I’ve created something truly unique and functional. And, of course, I make sure to wear my favorite pair of colorful socks to match the occasion – it’s all about the details, right?
Whimsy on Walls

As I always say, the fun doesn’t stop once you’ve assembled your shelves. Now it’s time to think about whimsical touches that can elevate your space. When it comes to easy shelf designs, I love experimenting with unique layouts and shapes to add visual interest. Consider grouping smaller shelves together to create a statement piece, or using decorative shelf brackets to add a pop of personality.
One of my favorite ways to add some personality to a room is through custom bookcase ideas. Think about what makes you unique and reflect that in your shelving choices. Do you have a collection of vintage cameras or antique books? Showcase them on a wall mounted shelf plan that’s specifically designed to highlight your treasures. This will not only add a touch of whimsy to your walls but also create a conversation starter.
When it comes to wooden shelf construction tips, don’t be afraid to think outside the box. Consider using reclaimed wood or mixing different textures to create a one-of-a-kind look. For example, you could pair a rustic wooden shelf with some modern metal decorative shelf brackets for a striking contrast. Remember, the goal is to create a space that reflects your personality, so don’t be afraid to get creative and try out new things – like turning an old wooden plank into a diy shelving unit for your garage.
Decorative Shelf Brackets to Delight
Now that we’ve explored the world of easy shelf designs, let’s talk about the icing on the cake – or should I say, the brackets that hold it all together? I’m obsessed with decorative shelf brackets that add a touch of personality to our whimsical walls. From vintage-inspired metalwork to playful wooden cutouts, these brackets can elevate our shelves from mere storage to stunning works of art. I recently found a pair of brackets shaped like tiny guitars, which perfectly complemented my music-themed upcycled shelf project. It’s all about finding the right blend of form and function to make our shelves truly unique.
Easy Shelf Designs for Dreamers
As we dive into the realm of “Easy Shelf Designs for Dreamers”, I’m reminded of my favorite vintage find – a distressed wooden ladder that now proudly holds my favorite art books. For those who dare to dream, shelves don’t have to be mundane. Consider repurposing an old door, a wooden crate, or even a reclaimed pallet to create a one-of-a-kind shelving unit. My current project, paired with my vibrant Van Gogh socks, is all about transforming a retro sideboard into a floating shelf masterpiece.
With a little creativity, you can turn any wall into a whimsical wonderland. Don’t be afraid to mix and match different textures, colors, and shapes to create a look that’s uniquely yours. Whether you’re a free-spirited artist or a curious collector, your shelves should reflect your personality and style. So go ahead, get creative, and let your shelves tell a story!
Shelf Care: 5 Tips to Turn Your Storage into a Masterpiece
- Measure Twice, Cut Once: The Golden Rule of Shelf Building
- Choose Your Wood Wisely: A Guide to Selecting the Perfect Planks for Your Project
- Screw It: The Importance of Proper Hardware in Shelf Construction
- Level Up: Ensuring Your Shelves are Straight and True
- Add a Dash of Whimsy: Incorporating Unique Details to Make Your Shelves Truly One-of-a-Kind
Shelf Life: 3 Key Takeaways to Treasure
Upcycling old wooden planks into shelves not only reduces waste but also infuses your space with a unique blend of history and modern charm, making it a perfect project for those who love sustainable living and eclectic decor.
By mixing and matching different materials and decorative shelf brackets, you can create one-of-a-kind storage masterpieces that reflect your personality and add a touch of whimsy to any room, from the living room to the kitchen.
Whether you’re a seasoned DIY enthusiast or a beginner looking to dip your toes into the world of upcycling, building shelves from reclaimed wood and adding your personal touch through paint, hardware, or other embellishments can be a fun and rewarding experience that yields functional and beautiful results.
Shelving Wisdom
The art of building shelves isn’t just about holding things up, it’s about holding onto stories, and giving old pieces a new chapter to stand on, proudly telling the tale of where they’ve been and where they’re going.
James O'Neill
Shelving the Future: A World of Endless Possibilities

As we conclude our whimsical journey of building shelves, let’s take a moment to reflect on the key takeaways. We’ve covered the essential steps to transform old wooden planks into amazing shelves, explored the realm of Whimsy on Walls, and discovered how easy shelf designs and decorative shelf brackets can elevate our storage masterpieces. By embracing the art of upcycling and getting creative with our DIY projects, we not only reduce waste but also infuse our living spaces with a unique, eclectic charm that tells a story of its own.
So, as you put down your tools and step back to admire your handiwork, remember that the true magic lies not in the shelves themselves, but in the potential they hold. Every item we upcycle, every piece of furniture we restore, is a testament to the power of imagination and the impact we can have on our environment. Let’s continue to inspire each other to see the world as a treasure trove of possibilities, where every discarded item is an opportunity to create something truly remarkable.
Frequently Asked Questions
What type of wood is best for building shelves that will hold heavy objects?
For heavy-duty shelves, I swear by sturdy woods like oak, maple, or pine – they’re the superheroes of the lumber world! These dense woods can handle the weight, and with a bit of TLC, they’ll become the trusted sidekicks for your storage needs.
How do I ensure my shelves are level and securely attached to the wall?
To keep your shelves from tilting like a wonky work of art, use a trusty level and sturdy wall anchors. I like to think of it as giving my shelves a snug hug from behind – it keeps everything straight and secure, and lets me focus on the fun part: decorating with my favorite vintage finds!
Can I use recycled or reclaimed wood to build shelves, and if so, what are some tips for preparing it for use?
Absolutely, my friend! Recycled or reclaimed wood is a fantastic option for building shelves. To prep it, simply clean the wood thoroughly, remove any nails or debris, and sand it down to smooth out any rough edges. Then, let your creativity shine and get ready to turn that old wood into a stunning, one-of-a-kind shelf!