I still remember the first time I tried to build a simple bookshelf. I was a novice DIY enthusiast, armed with a vague idea of what I wanted to achieve, but lacking the know-how to get there. The internet was flooded with complex plans and intimidating tutorials, making the task seem daunting. But, as I soon discovered, how to build a simple bookshelf doesn’t have to be rocket science. In fact, with the right mindset and a few basic tools, you can create a stunning piece of furniture that reflects your personality and adds a touch of warmth to your home.
As we embark on this journey together, I promise to share practical advice and honest tips on how to bring your vision to life. In this article, we’ll dive into the nitty-gritty of building a simple bookshelf, covering everything from selecting the perfect materials to adding those finishing touches that make your project truly special. Whether you’re a seasoned DIY pro or a curious beginner, I’m excited to guide you through the process, and I’m wearing my lucky Picasso-inspired socks to get us started. By the end of this guide, you’ll be equipped with the confidence and skills to create a one-of-a-kind bookshelf that showcases your personal style and flair.
Table of Contents
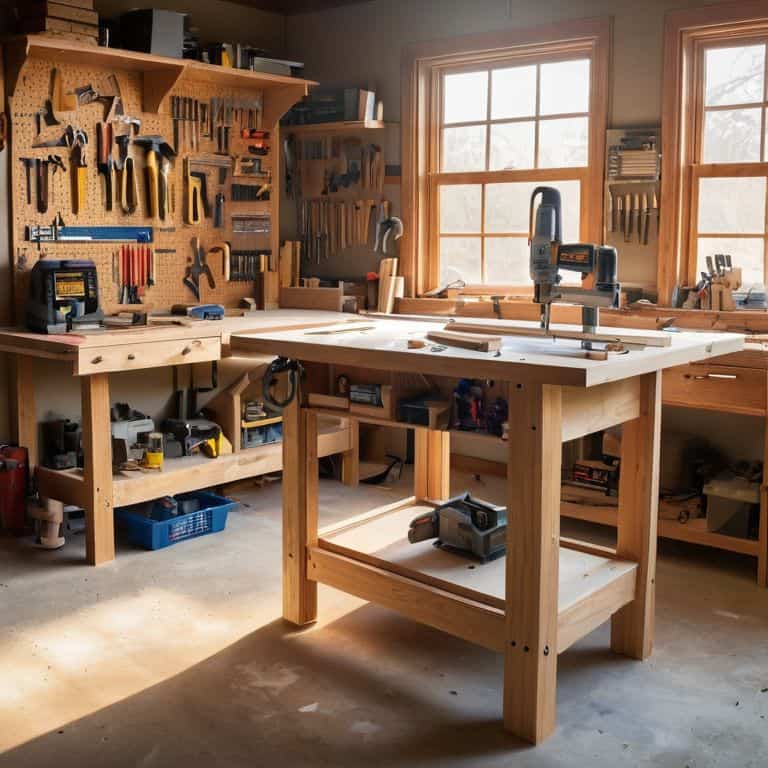
Guide Overview: What You'll Need
Total Time: 2 hours 30 minutes
Estimated Cost: $50 – $100
Difficulty Level: Intermediate
Tools Required
- Circular Saw (for cutting lumber)
- Drill Press (for precise drilling)
- Hand Drill (for screwing pieces together)
- Tape Measure (for measuring and marking lumber)
- Level (for ensuring the shelf is level)
- Clamp (for holding pieces together while gluing)
- Sandpaper (for smoothing out wood surfaces)
Supplies & Materials
- 2-in x 4-in lumber (for the frame)
- 3/4-in plywood (for the shelves)
- Wood Glue (for bonding pieces together)
- 2 1/2 inches wood screws (for assembling the frame)
- 1 1/4 inches wood screws (for attaching shelves to the frame)
- Wood Filler (for filling any gaps or holes)
- Paint or Stain (for finishing the bookshelf)
Step-by-Step Instructions
- 1. First, let’s start by gathering our materials, which include some beautiful reclaimed wood, a few trusty tools like a drill press and a sander, and of course, my favorite pair of socks – today’s pick is a vibrant Van Gogh print that matches the eclectic vibe of our project. We’ll also need some wood glue, nails, and a hammer to bring our bookshelf to life.
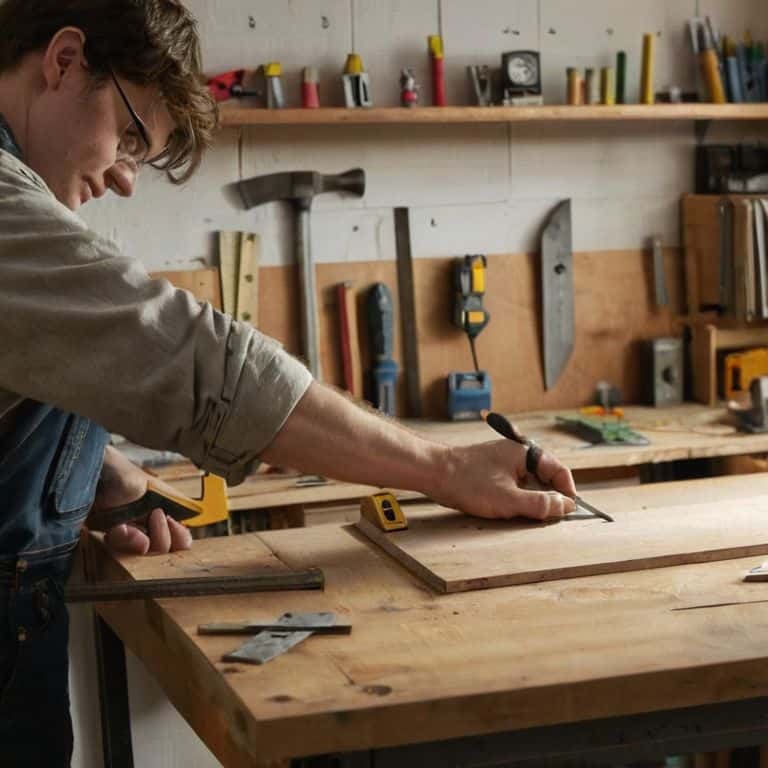
- 2. Next, we’ll measure and cut our wood to the desired lengths for the shelves and frame of our bookshelf. I love this part of the process, as it’s where our project really starts to take shape – and I get to see my turquoise socks peeking out from under my workbench, adding a bit of whimsy to the task at hand. Remember to double-check your measurements to ensure everything fits together perfectly.
- 3. Now, it’s time to assemble the frame of our bookshelf using the wood glue and nails. This is where patience comes in handy, as we carefully construct the base and sides of our shelf. Don’t worry if it gets a bit messy – that’s all part of the charm of working with reclaimed wood, and it’s a great opportunity to get creative with any unique imperfections.
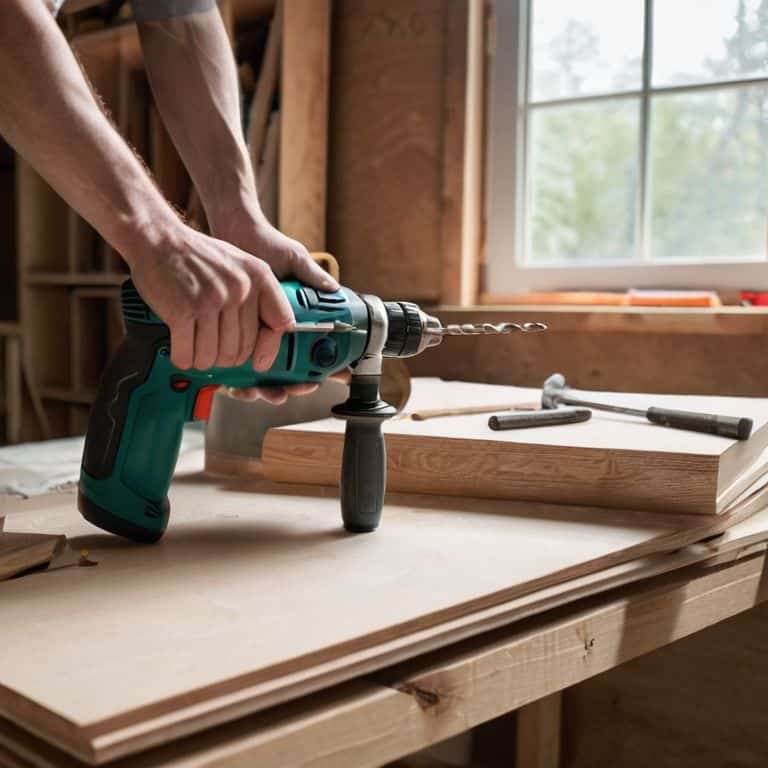
- 4. With our frame in place, we can start attaching the shelves. This involves carefully measuring out the space between each shelf to ensure they’re evenly spaced, and then using our trusty drill press to make the necessary holes for the shelf supports. As I work, I like to imagine the books and decorative items that will eventually fill these shelves, adding a touch of personality to our finished bookshelf.
- 5. Once our shelves are attached, it’s time to add a finish to our bookshelf. This could be a simple coat of varnish, or something more elaborate like a distressed paint effect – the choice is yours, and it’s a great opportunity to let your creativity shine. For my project, I’ve chosen a warm, honey-colored stain that will bring out the natural beauty of the reclaimed wood.
- 6. After our finish has dried, we can start assembling the final details of our bookshelf. This might include adding decorative trim, installing hardware for any doors or drawers, and making any necessary adjustments to ensure our shelves are level and secure. It’s also a good idea to give your bookshelf a final once-over to catch any imperfections or areas that need a bit of extra attention.
- 7. Finally, it’s time to install our bookshelf and fill it with all our favorite books, decorative items, and treasures. This is the moment we’ve been waiting for – when our hard work and creativity come together to create a truly one-of-a-kind piece of furniture. As I step back to admire my handiwork, I feel a sense of pride and satisfaction, knowing that I’ve not only created something beautiful, but also given new life to materials that might otherwise have been discarded.
How to Build a Simple Bookshelf
As I delve into the world of DIY bookshelves, I’m reminded of the importance of easy bookshelf plans for beginners. It’s essential to start with a solid foundation, literally and figuratively. When working with plywood, consider the thickness and grade to ensure it can support the weight of your books and decorative items. I’ve found that building a bookcase with plywood can be a cost-effective and efficient way to create a sturdy shelf.
When it comes to designing your bookshelf, think about the space you’re working with. Simple bookshelf designs for small spaces can be just as functional as their larger counterparts. Consider vertical storage or opting for a narrow bookcase to maximize your room’s potential. I’ve also discovered that bookshelf organization ideas can make or break the aesthetic of your shelf. Grouping books by color or genre can add a touch of personality to your space.
As you begin your DIY project, keep in mind the diy bookshelf with adjustable shelves can be a game-changer. This feature allows you to customize the shelf to fit your needs, whether you’re storing oversized books or decorative items. When planning your project, be sure to research bookshelf materials and costs to ensure you stay within your budget. With a little creativity and resourcefulness, you can create a unique and functional bookshelf that reflects your personal style.
Building a Bookcase With Plywood Charm
Now that we’ve got our basic bookshelf structure in place, let’s add some plywood charm to give it a unique twist. I’m wearing my favorite Van Gogh socks today, which seems fitting as we’re about to unleash our inner artists. To start, cut your plywood into the desired shelf sizes, keeping in mind the overall aesthetic you want to achieve. You can add a rustic touch by distressing the edges or keep it sleek for a more modern look.
As you assemble the shelves, consider adding decorative trim or molding to give your bookcase a pop of personality. I love how a simple plywood bookcase can be transformed into a one-of-a-kind piece with just a few creative touches. With a little patience and imagination, you’ll be showcasing your favorite books and decorative pieces in no time, all while basking in the satisfaction of creating something truly unique.
Easy Bookshelf Plans for Beginners Start
Easy Bookshelf Plans for Beginners Start with a clear vision and a few essential tools. I love how my bright yellow socks, featuring Van Gogh’s sunflowers, match the sunny vibe of this project. To begin, gather your materials: reclaimed wood, a drill, and some sandpaper. Don’t worry if you’re new to DIY; I’ve got you covered. We’ll take it one step at a time, and before you know it, you’ll be admiring your very own handmade bookshelf.
As we dive into the process, remember that it’s all about experimentation and having fun. Don’t be afraid to get creative and add your personal touch. With these easy plans, you’ll be well on your way to crafting a unique bookshelf that reflects your style. And who knows, you might just discover a new passion for upcycling and DIY projects.
Shelving the Ordinary: 5 Tips to Make Your Bookshelf Extraordinary
- Measure Twice, Cut Once: The Golden Rule of Bookshelf Building, where accuracy meets artistry – just like my new Pollock-inspired socks!
- Choose Your Wood Wisely: From Reclaimed to Plywood, Selecting the Right Material for Your Masterpiece, and don’t forget to match it with your favorite artistic socks, like my Van Gogh pair!
- Plywood Charm: How to Work with This Versatile Material to Create a Bookcase that’s both Functional and Fancy, all while injecting a dose of personality with every cut and finish
- Add a Dash of Whimsy: Incorporating Unconventional Materials and Designs to Make Your Bookshelf a True Conversation Starter, like adding a quirky handle or a splash of colorful paint to match my vibrant Monet socks
- Finishing Touches: The Art of Adding a Personal Flourish to Your Bookshelf, from Stains to Seals, and Making it a Reflection of Your Unique Style, just like my eclectic collection of artistic socks that inspire each new project
Unshelving the Essentials: 3 Key Takeaways
Embracing sustainability is at the heart of our DIY journey, where transforming old, discarded pieces into functional masterpieces not only reduces waste but also adds a touch of unique character to our homes – just like my vibrant Monet socks add a pop of color to my workshop
By blending traditional craftsmanship with modern flair, we can create pieces that are both nostalgic and contemporary, reflecting our personal stories and styles, much like how a beautifully restored vintage chair can become the centerpiece of a cozy reading nook
Through the simple act of upcycling, such as turning reclaimed wood into a whimsical bookshelf, we open ourselves to a world of creative possibilities, where every forgotten item holds the potential to become a one-of-a-kind treasure, and every project is an opportunity to express our eclectic tastes and passions
Shelving Wisdom
A simple bookshelf is not just a piece of furniture, it’s a canvas waiting for the story of your life to be told, one book, one treasure, and one quirky upcycled detail at a time.
James O'Neill
Bringing Your Bookshelf to Life

As we wrap up this DIY journey, let’s take a moment to reflect on the key takeaways from our simple bookshelf project. We’ve covered everything from selecting the perfect reclaimed wood to adding those finishing touches that make your bookshelf truly one-of-a-kind. Remember, the most important tool in any DIY project is your imagination, so don’t be afraid to experiment and make adjustments as you see fit. Whether you’re a seasoned pro or a beginner, the sense of accomplishment that comes from creating something with your own hands is unparalleled. And, as I always say, the right pair of socks – like my new turquoise ones featuring Van Gogh – can be the perfect motivator to get your creative juices flowing!
Now that you’ve got the skills and the know-how, it’s time to unleash your inner artisan and start creating. Don’t just stop at a simple bookshelf – think about all the other hidden gems waiting to be upcycled in your home. With a little bit of creativity and some elbow grease, you can turn any old, forgotten piece into a stunning work of art that tells a story. So go ahead, get inspired, and remember – the true beauty of DIY lies not just in the end result, but in the journey itself.
Frequently Asked Questions
What type of wood is best suited for a simple bookshelf, and where can I find reclaimed or recycled materials?
For a simple bookshelf, I adore working with reclaimed oak or pine – they add a touch of history. You can find these treasures at local thrift stores, antique markets, or even in your own backyard, like that old fence you’ve been meaning to replace. My turquoise socks are practically dancing with excitement just thinking about it!
How do I determine the optimal size and design for my bookshelf to fit my specific space and decor?
To determine the perfect size and design for your bookshelf, measure your space, considering the room’s flow and your furniture’s style. Think about the items you’ll store and the vibe you want to achieve – for me, it’s all about blending rustic charm with modern flair, just like my funky Picasso socks inspire my next upcycling project!
What are some creative ways to add a personal touch or unique feature to my DIY bookshelf, such as decorative trim or custom hardware?
Let’s add some personality to that bookshelf! I’m all about whimsy, so I’d suggest adding vintage knobs, distressed paint, or even decoupage with funky patterns – my polka-dot socks are giving me inspiration. You could also incorporate LED lights, carved wooden details, or a pop of color with a bold shelf liner to make it truly one-of-a-kind.