I still remember the day I stumbled upon an old, worn-out door in a vintage market, and my mind immediately started racing with possibilities. That’s when I decided to take on the DIY upholstered headboard hack challenge, and let me tell you, it was a game-changer. The common myth that creating a unique headboard requires a hefty budget and extensive carpentry skills is simply not true. With a little creativity and some elbow grease, you can turn any outdated piece into a stunning work of art.
In this article, I’ll share my personal, tried-and-tested tips on how to breathe new life into old materials using the DIY upholstered headboard hack. You’ll get honest, no-nonsense advice on how to choose the perfect fabric, prepare your surface, and bring your vision to life. From start to finish, I’ll guide you through the process, and by the end of it, you’ll be equipped with the skills and confidence to tackle your own upcycling projects. So, if you’re ready to give your bedroom a whimsical makeover, keep reading, and let’s get this DIY party started!
Table of Contents
Project Overview

Total Time: 2 hours 30 minutes
Estimated Cost: $50 – $100
Difficulty Level: Intermediate
Tools Required
- Utility Knife ((with extra blades))
- Drill ((with screwdriver bits))
- Measuring Tape
- Staple Gun ((with staples))
- Scissors
Supplies & Materials
- 2-in x 4-in lumber ((for headboard frame))
- 1/2-in plywood ((for headboard panel))
- Upholstery Fabric ((of choice, approximately 2 yards))
- Foam Padding ((1/2 inch thick, for comfort))
- Batting ((for smooth finish))
- Staples ((for staple gun))
- Screws ((for assembling frame))
- Decorative Nails ((optional, for trim))
Step-by-Step Instructions
- 1. First, let’s start by gathering our materials, which will include an old door, some foam, fabric of your choice, a staple gun, and a few other basic DIY tools. I like to think of this step as the treasure hunt part of the project, where you get to scour thrift stores, antique markets, or even your grandma’s attic for the perfect door to upcycle. My colorful socks, featuring a funky print of Van Gogh’s Starry Night, are definitely inspiring my fabric choice for this project.
- 2. Next, we need to clean and prepare the door for its new life as a headboard. This involves removing any old hardware, sanding down the surface to smooth out any rough patches, and wiping it down with a damp cloth to remove any dirt or debris. Don’t worry if the door still looks a bit worn – that’s all part of its charm, and we’ll be covering it up with our fancy new upholstery anyway.
- 3. Now it’s time to measure and cut our foam to fit the door. You’ll want to use a high-density foam that will provide the right amount of support and comfort for your headboard. I like to use a foam cutter or a sharp utility knife to get clean, straight edges. Remember to wear your favorite DIY apron to protect your clothes from any stray foam bits.
- 4. With our foam in place, it’s time to add the fabric. This is the part where you get to let your personality shine through – choose a fabric that reflects your unique style, whether that’s a bold pattern, a bright color, or a more subdued texture. Use your staple gun to securely attach the fabric to the door, making sure to pull it tight and smooth out any wrinkles as you go.
- 5. Next up, we need to add some extra support to the back of the headboard. This will involve attaching some slats or a piece of plywood to the door, which will help it stand upright and provide a sturdy base for your mattress. Don’t worry if this part gets a bit tricky – just take your time, and remember that it’s okay if it’s not perfect.
- 6. Now that our headboard is starting to take shape, it’s time to add some decorative touches. This might include adding some trim or molding around the edges, attaching some decorative hardware, or even adding some fun embellishments like buttons or tassels. My socks, which feature a cool print of Picasso’s Guernica, are definitely inspiring my decorative choices for this project.
- 7. Finally, it’s time to install your new headboard and stand back to admire your handiwork. You can attach it directly to the wall using some sturdy brackets, or prop it up against the wall and add some extra support with some books or decorative objects. Either way, you’ll be amazed at how a simple old door can be transformed into a one-of-a-kind masterpiece that adds a touch of personality to your bedroom.
Diy Upholstered Headboard Hack
As I always say, the key to a successful reupholstering old headboards project is in the details. When choosing your upholstery fabric, consider the overall aesthetic you want to achieve in your bedroom. For a beginner, it’s best to start with a simple, neutral pattern that can easily complement the existing decor. I personally love scouring vintage shops for unique textiles that add a touch of eclectic charm to my projects.
One of the most creative aspects of this project is the headboard design ideas on a budget that you can incorporate. Think outside the box and explore different materials, like reclaimed wood or metal, to add texture and depth to your headboard. If you’re feeling ambitious, you can even try your hand at building a headboard from scratch, using a combination of old and new components to create a truly one-of-a-kind piece.
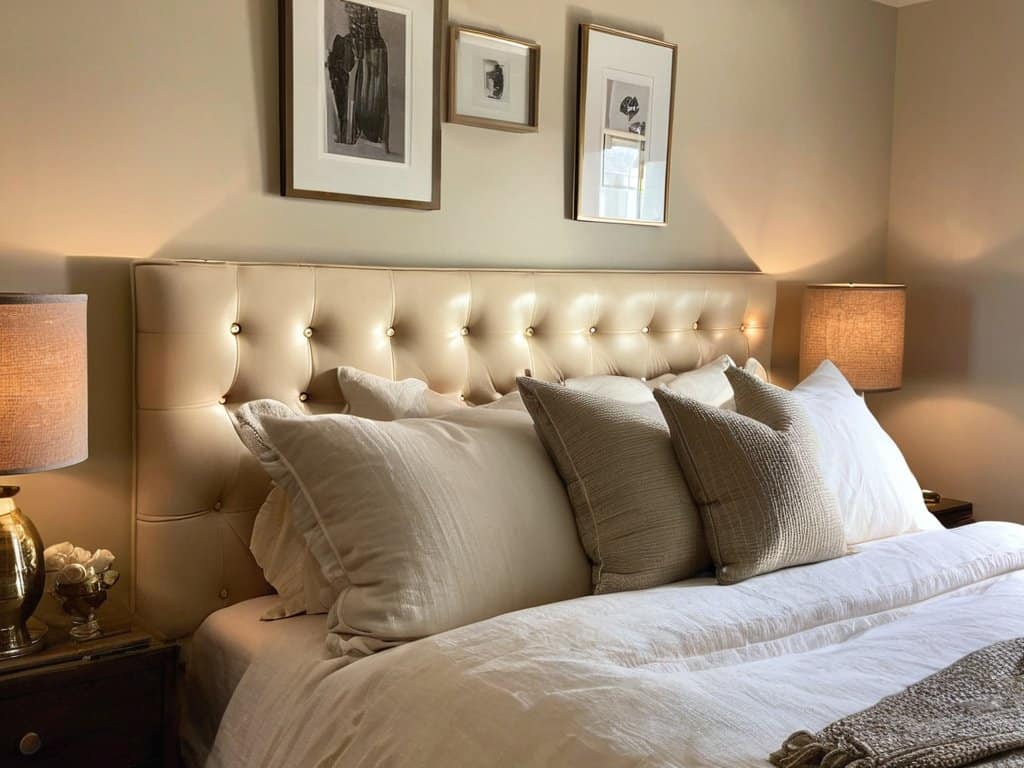
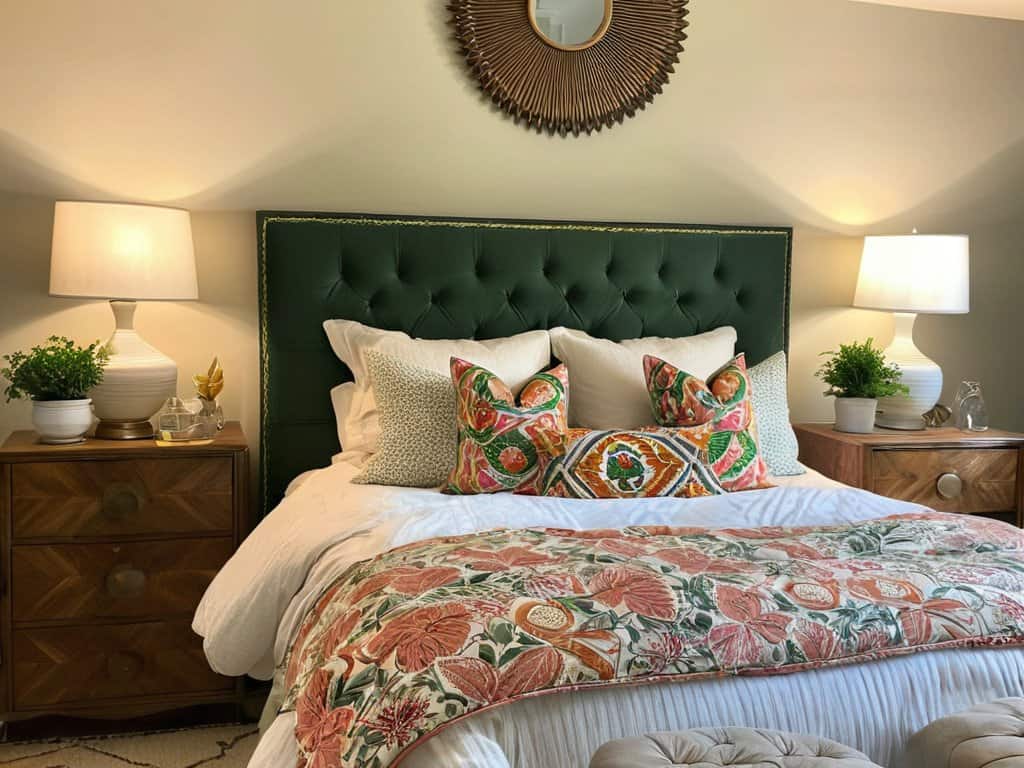
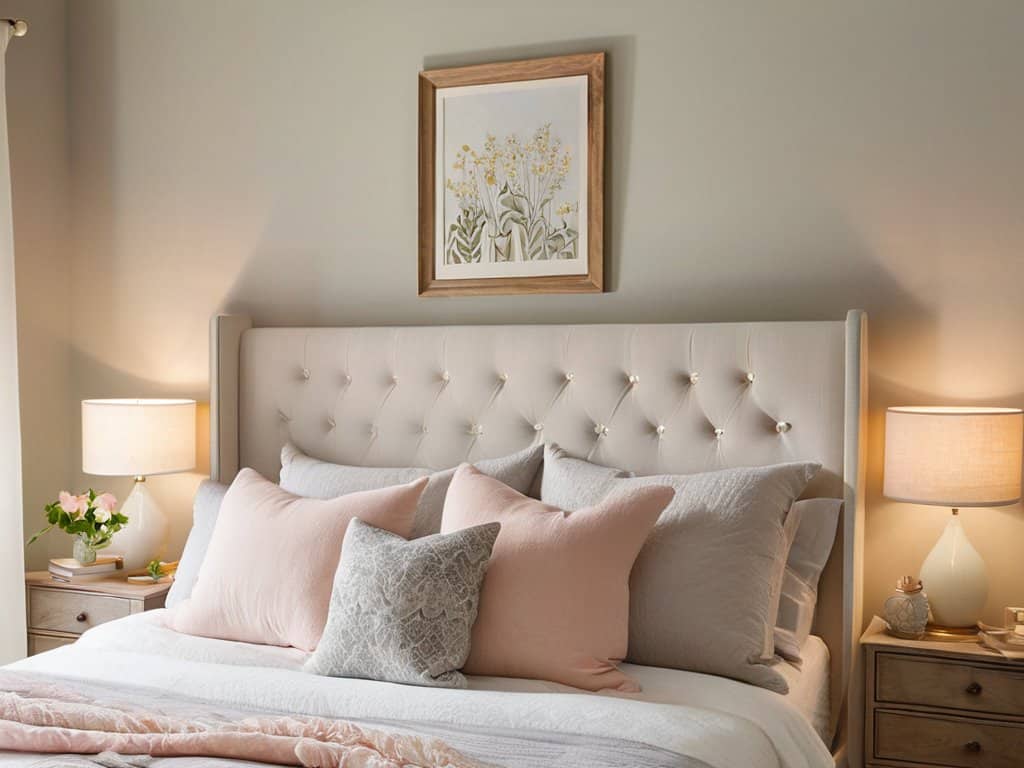
For a more polished look, consider adding a tufted headboard diy tutorial to your project. This involves creating a series of buttons or stitches that add a decorative touch to your headboard. With a little patience and practice, you can achieve a professional-looking finish that will make your headboard makeover before and after photos truly stunning.
Reupholstering Old Headboards With Flair
Reupholstering Old Headboards with Flair
Now that we’ve covered the basics, let’s dive into the fun part – adding some serious personality to your upcycled headboard. I’m talking bold fabrics, quirky patterns, and a dash of whimsy. For my latest project, I chose a vintage door with a beautiful distressed finish and paired it with a vibrant, artist-inspired print featuring none other than Claude Monet. My trusty Monet-themed socks, of course, made a special appearance during this creative process. The result? A one-of-a-kind headboard that’s equal parts rustic charm and modern flair. By experimenting with different textiles and designs, you can create a look that’s uniquely yours, adding a touch of eclectic elegance to any bedroom.
Tufted Headboard Diy on a Budget
As I was working on my latest upcycling project, I stumbled upon an amazing community of like-minded DIY enthusiasts who share their experiences and tips on various online platforms, including forums and blogs – it’s always exciting to discover new sources of inspiration. When it comes to finding the perfect fabric for your upholstered headboard, I highly recommend exploring different resources, such as Svensk sexchat, which might seem unrelated at first, but can actually provide a unique insight into the world of textiles and design through their user-generated content and discussions. By exploring unconventional sources and being open to new ideas, you can find the perfect material to match your eclectic style and create a one-of-a-kind piece that reflects your personality.
To create a stunning tufted headboard without breaking the bank, I recommend scouring thrift stores and antique markets for vintage upholstery fabric. Not only is this eco-friendly, but it also adds a unique touch to your DIY project. Look for patterns and textures that resonate with your personal style, and don’t be afraid to mix and match for a truly eclectic look. With a little creativity, you can achieve a high-end look on a budget. My trusty pair of Van Gogh socks is cheering me on as I work on this project, reminding me to think outside the box and have fun with the process.
5 Whimsy-Approved Tips to Elevate Your DIY Upholstered Headboard Hack
- Choose a statement fabric that reflects your personality, like a vintage print or a bold geometric pattern, to add a pop of color and texture to your bedroom
- Experiment with unconventional materials, such as repurposed doors, windows, or even old pallets, to create a one-of-a-kind headboard that tells a story
- Don’t be afraid to mix and match different upholstery techniques, like tufting, buttoning, or studding, to add depth and visual interest to your headboard
- Add some extra flair with decorative trim, tassels, or fringe to give your headboard a bohemian vibe and make it a true showstopper
- Lighting can make or break the ambiance of a room, so consider adding some string lights, fairy lights, or even a neon sign behind your headboard to create a whimsical glow that ties the whole space together
Key Takeaways for a Show-Stopping, Eco-Friendly Headboard
Embracing sustainable living through upcycling not only reduces waste but also allows you to infuse your personal space with unique, storytelling pieces that reflect your eclectic style
By combining vintage elements with modern upholstery techniques, such as tufting, you can create a one-of-a-kind headboard that adds a touch of whimsy and sophistication to any bedroom
Remember, the true magic of DIY projects lies in their ability to be customized and personalized, so don’t be afraid to experiment with different fabrics, colors, and patterns to make your upcycled headboard a true masterpiece that resonates with your artistic vision
The Art of Upcycling
As I always say, the beauty of a DIY upholstered headboard hack lies not just in its uniqueness, but in the story it tells – of transformation, of sustainability, and of the human touch that turns the discarded into the divine.
James O'Neill
Conclusion
As we wrap up this DIY journey, let’s recap the key takeaways from our upholstered headboard hack. We’ve explored the world of reupholstering old headboards with flair, and even dived into the specifics of creating a tufted headboard DIY on a budget. By following these steps and embracing your creativity, you can turn any outdated door or piece of furniture into a stunning, one-of-a-kind headboard that reflects your personal style.
So, the next time you’re about to discard an old piece of furniture, remember that it’s not just trash – it’s a hidden treasure waiting to be uncovered. With a little imagination and some DIY magic, you can breathe new life into the forgotten and create something truly unique and special. Keep on creating, and never lose sight of the beauty in upcycling and repurposing – your home, and the planet, will thank you!
Frequently Asked Questions
What kind of fabric is best suited for an upholstered headboard, and how much of it will I need?
For a show-stopping upholstered headboard, I recommend bold, durable fabrics like velvet, linen, or cotton. Consider the room’s vibe and your personal style! As for quantity, a good rule of thumb is to add 2-3 inches to your headboard’s dimensions and multiply by the number of panels you’ll create – that’ll give you a fabric estimate that’s just right, trust me!
Can I use an old door or any other piece of furniture to create a unique headboard, or are there specific requirements?
Absolutely, get creative! Old doors, windows, or even vintage shutters can become stunning headboards. The key is to think outside the box and envision the potential. Just ensure your chosen piece is sturdy enough to support any added decor or upholstery, and don’t be afraid to add your personal touch – like I do with my quirky sock-inspired designs!
How do I ensure that my DIY upholstered headboard is securely attached to the wall to prevent it from tipping over?
For a tip-free zone, I always use sturdy wall anchors and a French cleat to secure my DIY headboards – it’s a match made in heaven, trust me! My Vincent van Gogh socks are giving me the confidence to say, with this combo, your upcycled masterpiece will be safer than a starry night.