I still remember the day I tried to how to properly anchor shelves to a wall in my first apartment, only to have them come crashing down in the middle of the night. It was a harsh lesson in the importance of doing things right, especially when it comes to securing the treasures that make our spaces truly special. As someone who’s passionate about upcycling vintage furniture, I’ve learned that it’s not just about giving old pieces new life, but also about creating a safe and beautiful space that reflects our personalities.
In this article, I’ll share my honest, no-hype advice on how to properly anchor shelves to a wall, so you can avoid the mistakes I made and give your favorite items the sturdy home they deserve. From choosing the right hardware to considering the weight and type of items you’ll be displaying, I’ll walk you through the process with the same care and attention to detail that I bring to my own DIY projects. By the end of this guide, you’ll be equipped with the knowledge and confidence to create a beautifully anchored shelving system that showcases your unique style and keeps your treasures safe and secure.
Table of Contents
Guide Overview: What You'll Need
Total Time: 1 hour 30 minutes
Estimated Cost: $20 – $40
Difficulty Level: Intermediate
Tools Required
- Drill (with screwdriver and drill bits)
- Level (to ensure shelf is straight)
- Stud finder (to locate wall studs)
- Measuring tape (for accurate measurements)
- Pencil (for marking wall and shelf)
- Screwdriver (for manual screw tightening)
Supplies & Materials
- Wall anchors (e.g., Molly bolts or toggle bolts)
- Screws (e.g., 2 inches or 3 inches long)
- Shelf brackets (if not already included with shelf)
- 2-in x 4-in lumber (for additional support, if needed)
- Wood screws (for attaching brackets to shelf)
Step-by-Step Instructions
- 1. To start, let’s gather our tools and materials, because, as any DIY enthusiast knows, having everything you need at your fingertips is key to a smooth and enjoyable project. This includes your vintage shelf, a drill, wall anchors, screws, a level, and a measuring tape. I like to wear my Van Gogh socks for inspiration when working with wood and bringing old pieces back to life.
- 2. Next, locate the wall studs behind your drywall, as these will provide the sturdiest support for your shelf. You can use a stud finder for this, or if you’re feeling old-school like me, you can knock gently on the wall to find the denser areas. My experience with upcycling vintage furniture has taught me the importance of secure anchoring for safety and durability.
- 3. Now, measure and mark the spot where you want to place your shelf, ensuring it’s level and evenly spaced from any surrounding features. Use your measuring tape and pencil to lightly mark the wall. This step is crucial, as it sets the stage for the entire installation. I find that putting on my Monet socks helps me get into a precise and meticulous mindset.
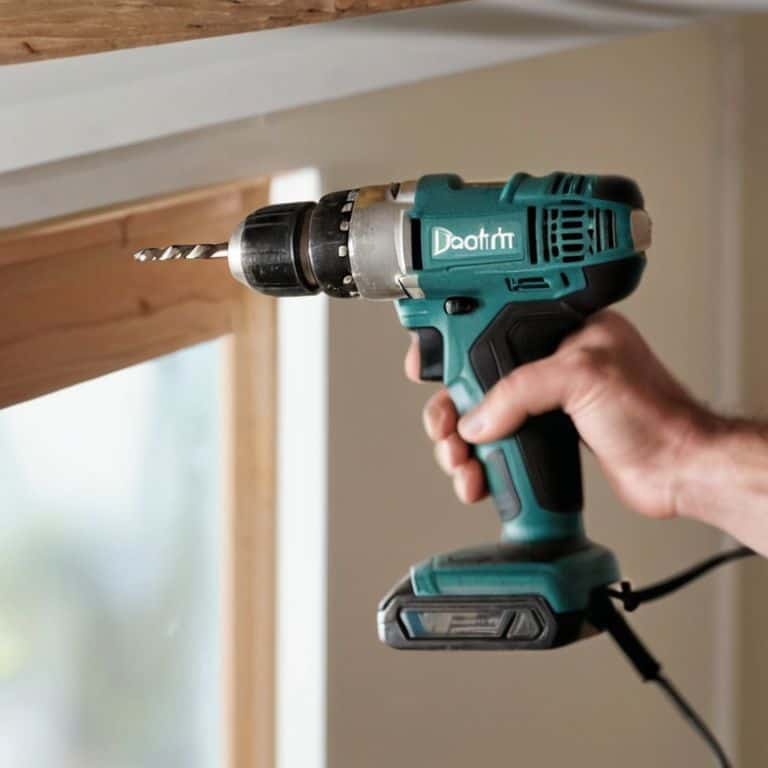
- 4. With your marks in place, it’s time to drill pilot holes into the wall at the designated spots. Make sure these holes are slightly smaller than the anchors you’re using to ensure a snug fit. I’ve learned from my DIY projects that using the right drill bits can make all the difference in the quality of the finish.
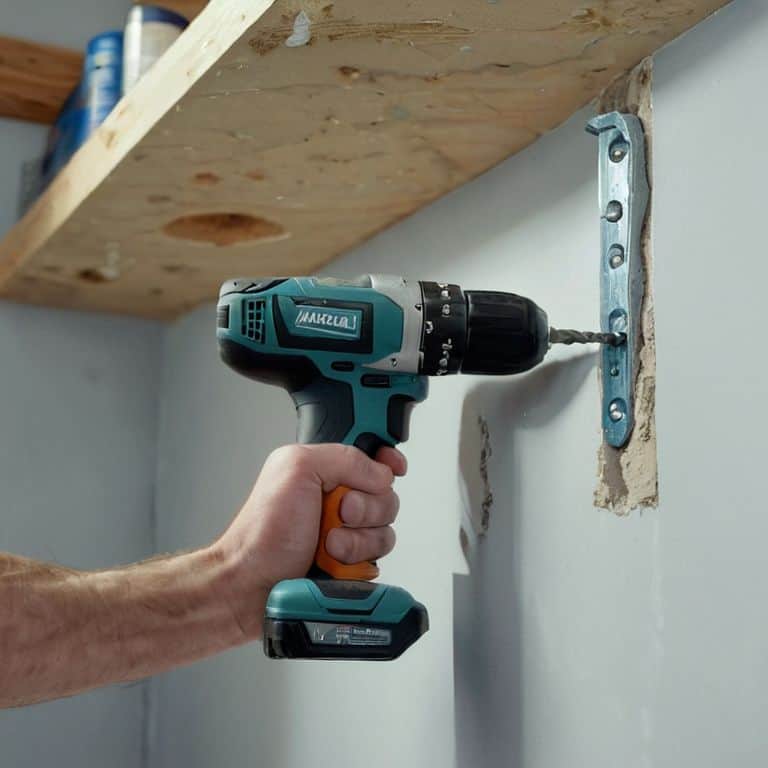
- 5. Insert your wall anchors into the pilot holes and screw them into place until they’re flush with the wall surface. This step requires a bit of elbow grease, but it’s worth it for the stability and peace of mind that comes with knowing your shelf is securely fastened.
- 6. Next, place your shelf over the anchors and screw it into place, making sure it’s level and secure. Double-check that all screws are tightened firmly but avoid overtightening, which could damage the wall or the shelf. My Picasso socks always seem to bring me good luck during this critical step.
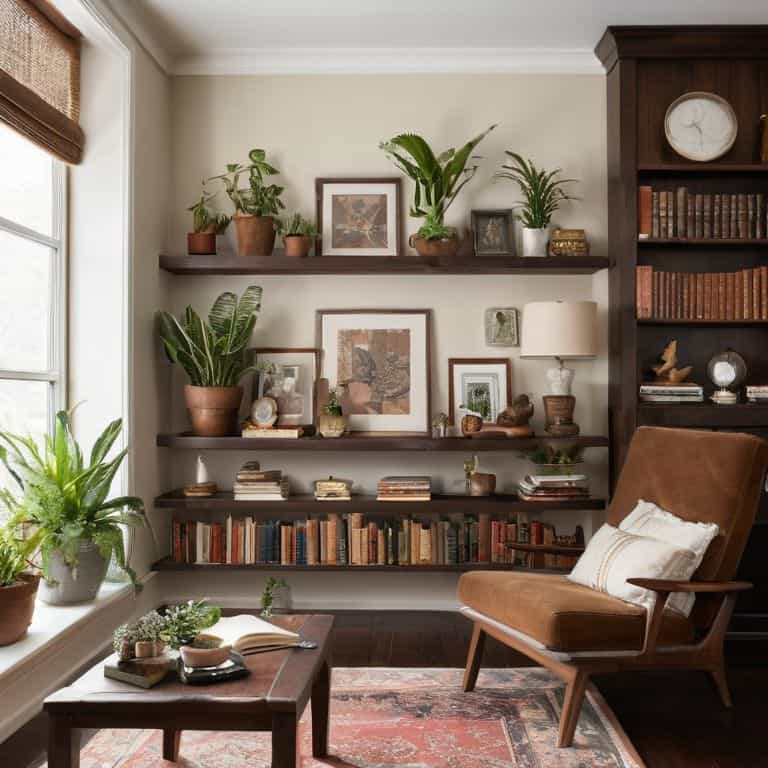
- 7. Finally, add your decorative touches and place your favorite items on the shelf. This is the moment when all your hard work comes together, and you get to enjoy the fruits of your labor. For me, there’s no better feeling than stepping back and admiring a job well done, knowing that I’ve not only created something beautiful but also given new life to an old, forgotten piece of furniture.
Shelving Secrets Revealed

As I delve into the world of shelving, I’ve discovered a few hidden gems that can make all the difference in your DIY project. One of these secrets is the importance of shelf weight distribution tips, which can ensure that your beautifully crafted shelves don’t end up sagging under the weight of your treasured possessions. By carefully planning the placement of your items, you can avoid putting too much strain on any one spot, thereby preventing potential damage to your shelves or walls.
When it comes to installing shelves, it’s essential to consider the type of wall you’re working with. For instance, drywall anchor installation mistakes can be costly and frustrating, which is why I always recommend taking the time to choose the right wall anchor types for your specific needs. Whether you’re dealing with drywall, plaster, or concrete, selecting the correct anchor will provide a sturdy foundation for your shelves and give you peace of mind.
In my experience, an adjustable shelf bracket system can be a game-changer, offering the flexibility to rearrange your shelves as needed. This is particularly useful when working with load bearing shelf design, as it allows you to redistribute weight and ensure that your shelves remain stable and secure. By incorporating these tips into your shelving project, you’ll be well on your way to creating a beautiful and functional space that showcases your unique style.
Hidden Bracket Magic
Now that we’ve uncovered some of the secrets to making your shelves stand out, let’s dive into the often-overlooked world of hidden brackets. These clever little devices can make all the difference in creating a seamless, floating appearance for your vintage finds. I like to think of them as the magic behind the curtain, holding everything together while remaining discreetly out of sight.
By using hidden brackets, you can add an extra layer of sophistication to your upcycled masterpieces. For instance, I recently used them to anchor a beautifully distressed wooden shelf to a brick wall, and the result was nothing short of enchanting. The brackets blended perfectly into the background, allowing the shelf’s rustic charm to take center stage. It’s these small details that can elevate your DIY projects from mere makeovers to true works of art.
Wall Anchor Wisdom
As I always say, the right wall anchor can make all the difference in turning a rickety relic into a sturdy showstopper. I’ve got a soft spot for vintage screws and brackets – there’s something undeniably charming about them. When choosing your wall anchors, consider the type of wall you’re working with – is it plaster, drywall, or perhaps brick? Each requires a unique approach to ensure your shelves stay put. I recall a project where I used antique brass brackets to add a touch of elegance to a reclaimed wood shelf, and it completely transformed the piece.
By selecting the right wall anchors, you’ll not only guarantee the stability of your shelves but also add a decorative touch that reflects your personal style. For my current project, I’m pairing distressed wooden shelves with sleek, modern anchors, creating a fascinating contrast that showcases the beauty of blending old with new.
Shelf Savvy: 5 Tips to Anchor Your Treasures with Ease
- Choose the Right Anchor for the Job: Selecting the perfect wall anchor is crucial, so consider the type of wall you have and the weight of the shelf and its contents – just like I do when I’m upcycling a vintage dresser!
- Measure Twice, Drill Once: Double-check your measurements to ensure your shelves are level and evenly spaced, because there’s nothing worse than a wonky shelf ruining the vibe of your carefully curated room
- Drill Pilot Holes with Precision: Before screwing in your anchors, drill pilot holes to avoid splitting the wood or damaging the wall – trust me, I’ve learned this one from experience with my quirky DIY projects
- Screw it in Securely: Use the right screws for the job and screw them in firmly, but avoid overtightening, which can damage the wall or strip the screws – a mistake I’ve made more than once in my upcycling adventures
- Test the Weight: Before loading up your shelf with all your favorite treasures, test its weight limit by placing a few heavy objects on it to ensure it’s securely anchored to the wall – because safety always comes first, especially when you’re dealing with one-of-a-kind vintage pieces
Shelving Smarts: 3 Key Takeaways
Always remember to measure twice and drill once to ensure your shelves are perfectly aligned and securely fastened to the wall, giving your treasured possessions a sturdy home
Choose the right wall anchors for the job, taking into account the weight and size of your shelves, as well as the type of wall you’re dealing with – whether it’s drywall, plaster, or concrete
Add a touch of personality to your shelving units with decorative brackets, vintage hardware, or a fresh coat of paint, turning a functional piece into a one-of-a-kind work of art that reflects your eclectic style
The Art of Secure Shelving
A shelf is not just a piece of furniture, it’s a guardian of memories, a keeper of treasures, and a teller of tales – so let’s anchor it with love, and a dash of whimsy, to keep those stories standing tall for generations to come!
James O'Neill
Securing the Past with a Touch of Whimsy
As we wrap up our whimsical journey of anchoring shelves to walls, let’s take a moment to reflect on the key takeaways. We’ve delved into the world of hidden bracket magic, where a simple yet ingenious design can make all the difference in securing your treasured possessions. We’ve also touched upon the importance of wall anchor wisdom, ensuring that our shelves are not only aesthetically pleasing but also safely anchored to withstand the test of time. By embracing these shelving secrets, you’ll be well on your way to creating a space that is both uniquely personal and sustainably stylish.
So, as you embark on your own DIY adventures, remember that the true beauty of upcycling and repurposing lies not just in the end result, but in the creative journey itself. Don’t be afraid to experiment, to try new things, and to see the potential in every forgotten item. With a dash of imagination and a pinch of whimsy, you can transform any space into a vibrant tapestry of stories, each one told through the carefully curated pieces that make your heart sing. Happy creating, and until next time, stay quirky and inspired!
Frequently Asked Questions
What type of wall anchors are best suited for heavy vintage shelves?
For heavy vintage shelves, I swear by sturdy wall anchors like toggle bolts or molly bolts – they’re the perfect blend of old-school reliability and modern practicality. Just like my favorite pair of Picasso socks, they add a dash of whimsy while keeping your treasures safely in place!
How do I determine the optimal spacing for wall anchors to ensure maximum stability?
To determine the optimal spacing for wall anchors, consider the weight and size of your shelves, as well as the type of wall you’re working with. A good rule of thumb is to space anchors about 12-16 inches apart, but for heavier loads or thicker shelves, you may want to decrease that distance to 8-10 inches for extra stability.
Can I use the same anchoring technique for floating shelves as I would for traditional shelves with visible brackets?
Not quite, my friend! While the principles are similar, floating shelves require a bit more finesse. You’ll want to use hidden brackets specifically designed for floating shelves, which distribute the weight evenly without visible supports. Think of it as a secret handshake between the shelf and the wall – it’s all about creating a sturdy, seamless bond.