I still remember the first time I attempted a guide to basic electrical work on my own – I was restoring a vintage lamp, and let’s just say it was a shocking experience. The common myth that you need to be an electrician to tackle basic electrical projects is simply not true. With the right guidance, anyone can learn to safely and effectively work with electricity. I’ve found that the key to success lies in understanding the fundamentals and being willing to get a little creative. As someone who’s passionate about upcycling vintage furniture, I’ve had my fair share of trial and error when it comes to a guide to basic electrical work.
As you read through this article, I promise to share my honest and practical advice on how to navigate the world of basic electrical work. You’ll learn how to identify potential hazards, safely wire your projects, and bring new life to old treasures. My goal is to empower you with the knowledge and confidence to take on your own electrical projects, whether you’re a seasoned DIY enthusiast or just starting out. So, let’s get sparked up and dive into the wonderful world of basic electrical work – I’ll show you how to make it safe, fun, and rewarding.
Table of Contents
Guide Overview: What You'll Need
Total Time: 4 hours 30 minutes
Estimated Cost: $50 – $100
Difficulty Level: Intermediate
Tools Required
- Voltage Tester (for safety)
- Pliers (needle-nose and slip-joint)
- Screwdriver Set (with flathead and Phillips tips)
- Wire Strippers (for 10-gauge to 18-gauge wires)
- Tape Measure (25 feet long)
Supplies & Materials
- 20-amp Circuit Breaker
- 14-gauge Copper Wire (by the foot)
- Electrical Outlet (15-amp, 125-volt)
- Switch Plates (with screws)
- 6 inches of Romex Cable (for connecting outlets)
Step-by-Step Instructions
- 1. First, let’s get started with the basics – safety always comes first. Before you begin any electrical work, make sure to turn off the power to the circuit you’ll be working on at the main electrical panel. This is a crucial step to avoid any accidental shocks or injuries.
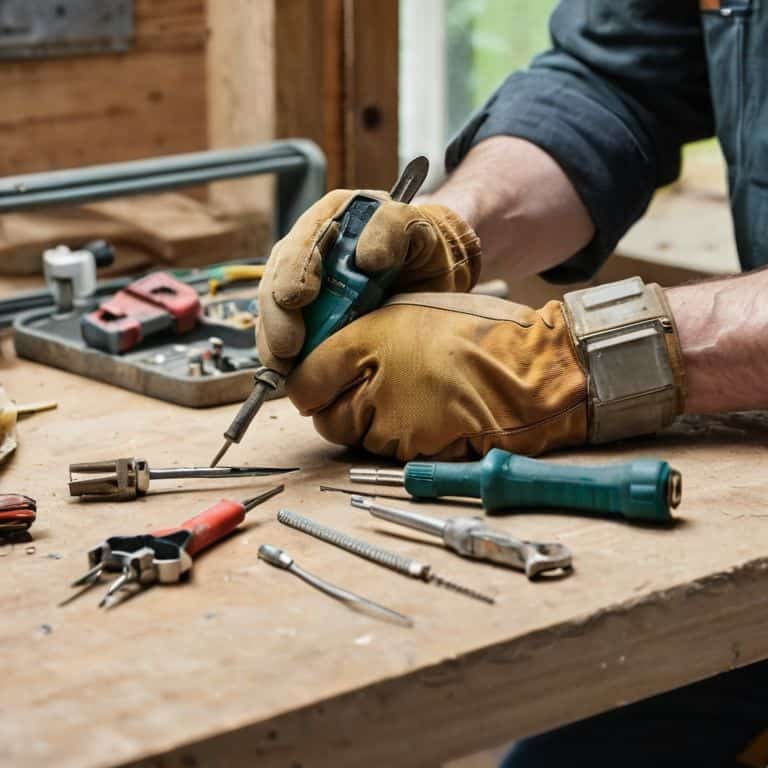
- 2. Next, gather all the necessary tools and materials for your project. This may include a voltage tester, wire strippers, pliers, and any specific components you need for your repair or installation, such as outlets, switches, or light fixtures. I like to keep my workspace organized, which is why I always wear my favorite pair of socks – the ones featuring Vincent van Gogh, which seem to bring me good luck and inspiration.
- 3. Now, let’s talk about wire identification. Understanding the different colors and types of wires is essential for any electrical work. Typically, black wires are hot, white wires are neutral, and copper wires are ground. However, it’s always a good idea to use a voltage tester to confirm the identity of each wire, especially if you’re working with older systems where the colors might not follow standard codes.
- 4. Once you’ve identified your wires, it’s time to strip and connect them. Use your wire strippers to remove the insulation from the ends of the wires, exposing the conductive core. Then, twist the exposed cores together to create a secure connection. Remember, the key to a good connection is making sure the wires are tightly twisted and not loose, which can lead to heat buildup and potentially cause a fire.
- 5. For projects involving outlets or switches, you’ll need to mount them securely. This usually involves screwing the device into a junction box or a wall plate. Make sure it’s level and firmly attached to avoid any wobbly installations that could compromise the electrical integrity of your system.
- 6. After you’ve completed your electrical work, it’s essential to test your circuits. Turn the power back on at the main panel and use your voltage tester to ensure that each outlet, switch, or light fixture is working as expected. This step is vital for safety, as it helps you identify any potential issues before they become major problems.
- 7. Finally, take a step back and admire your handiwork. You’ve not only learned a valuable skill but also contributed to making your home safer and more efficient. As someone who loves upcycling vintage furniture, I can appreciate the satisfaction of giving old, discarded items a new life, and the same principle applies to electrical work – you’re not just fixing something; you’re also preserving it for years to come.
A Guide to Basic Electrical Work
As I delve into the world of basic electrical work, I’m reminded of the importance of electrical safety protocols. It’s crucial to understand that safety always comes first, and having the right mindset is key to a successful DIY project. When working with electricity, it’s essential to be mindful of your surroundings and take necessary precautions to avoid any potential hazards. I like to think of it as wearing the right pair of socks for the job – in this case, my favorite vintage-inspired pair featuring a pattern of tiny light bulbs.
One of the most common mistakes people make when tackling DIY electrical projects is not having a clear understanding of basic wiring diagrams. It’s like trying to navigate a puzzle without a map – you might get lucky, but chances are you’ll end up frustrated and confused. To avoid this, I recommend taking some time to study and understand the basics of wiring diagrams. It’s amazing how much more confident you’ll feel when working on your project, and it’s a skill that will serve you well in the long run.
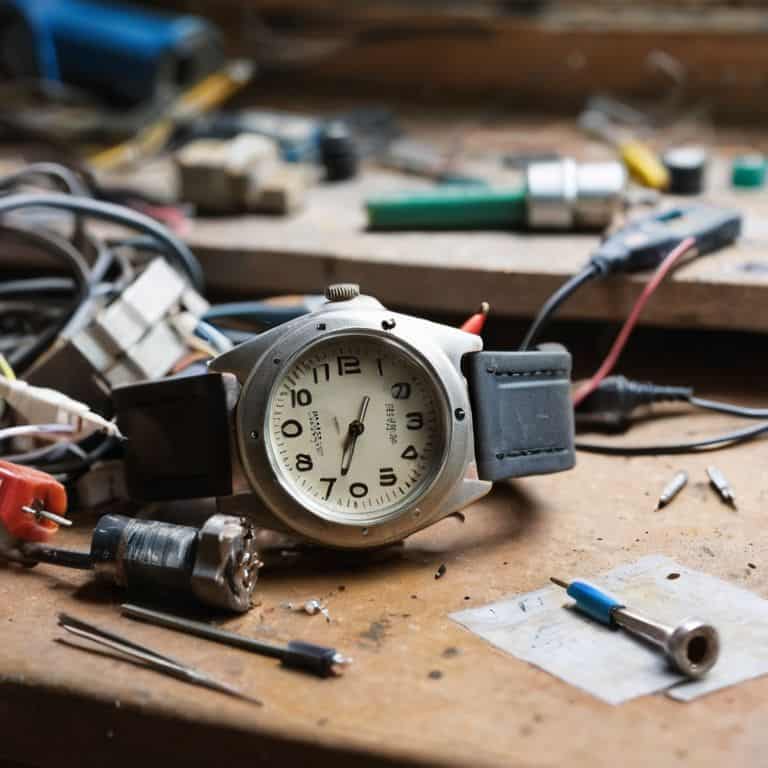
When it comes to DIY electrical project ideas, the possibilities are endless. From restoring old fixtures to installing new lighting systems, there are countless ways to breathe new life into your home’s electrical system. My personal favorite is upcycling vintage lamps – it’s a great way to add some unique character to a room while also reducing waste. By following some simple electrical tool kit essentials and taking the time to understand the basics, you can create something truly special and one-of-a-kind.
Electrifying Basics Safety Protocols Uncovered
Electrifying Basics: Safety Protocols Uncovered
As I always say, safety is the spark that sets creativity ablaze. When working with electricity, it’s crucial to don your thinking cap – and a pair of insulating gloves, of course! I like to think of safety protocols as the colorful stripes on my favorite Picasso socks – they add a pop of precaution to any project. Always switch off the main power supply before starting work, and verify that the circuit is dead using a voltage tester. It’s also essential to keep loose clothing and long hair tied back, avoiding any dangling jewelry that could conduct electricity.
By following these simple safety steps, you’ll be well on your way to becoming a master of electrifying revivals, just like the vintage lamp I upcycled last week using a stunning piece of antique fabric and a dash of creative wiring. Remember, safety is the foundation upon which your most fantastic creations are built, so let’s get sparked up and make it happen!
Wiring Wonders Essential Diy Project Ideas Revealed
Now that we’ve sparked some safety sense, let’s dive into the fun part – bringing old treasures back to life with some creative wiring ideas. I’m obsessed with upcycling vintage lamps, and with a few basic electrical tweaks, you can turn a thrift store find into a stunning statement piece. Imagine transforming a retro chandelier into a modern showstopper or creating a one-of-a-kind pendant light from an antique metal colander. The possibilities are endless, and with the right wiring know-how, you’ll be well on your way to crafting unique lighting fixtures that reflect your personal style.
Spark of Genius: 5 Essential Tips for Taming the Electrical Beast
- Always switch off the main power supply before starting any electrical work, and verify it’s dead using a non-contact voltage tester – safety first, my friends!
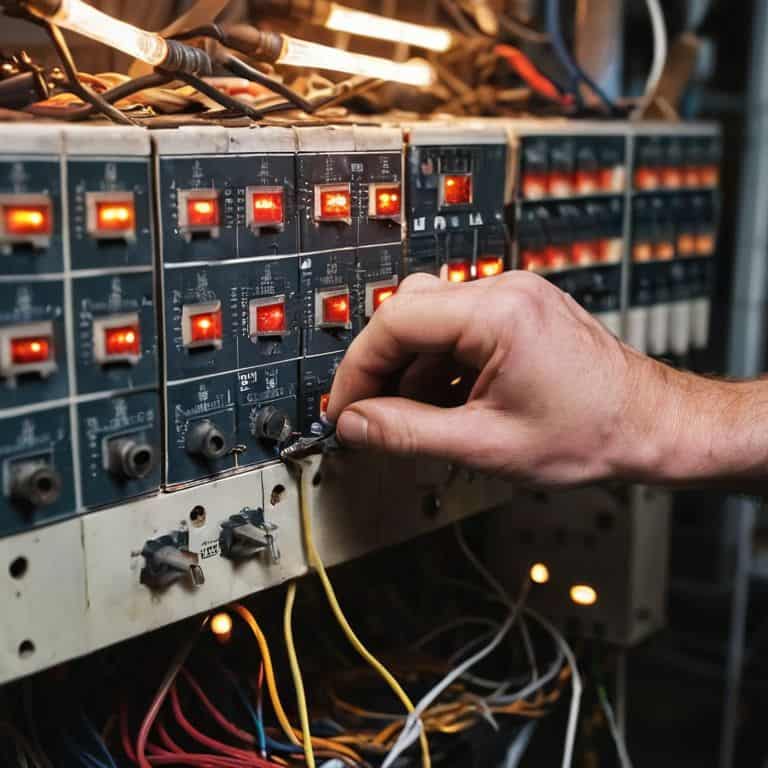
- Get familiar with your circuit breaker or fuse box, and know which switch controls which area of your home – it’s like being the conductor of your own electrical orchestra!
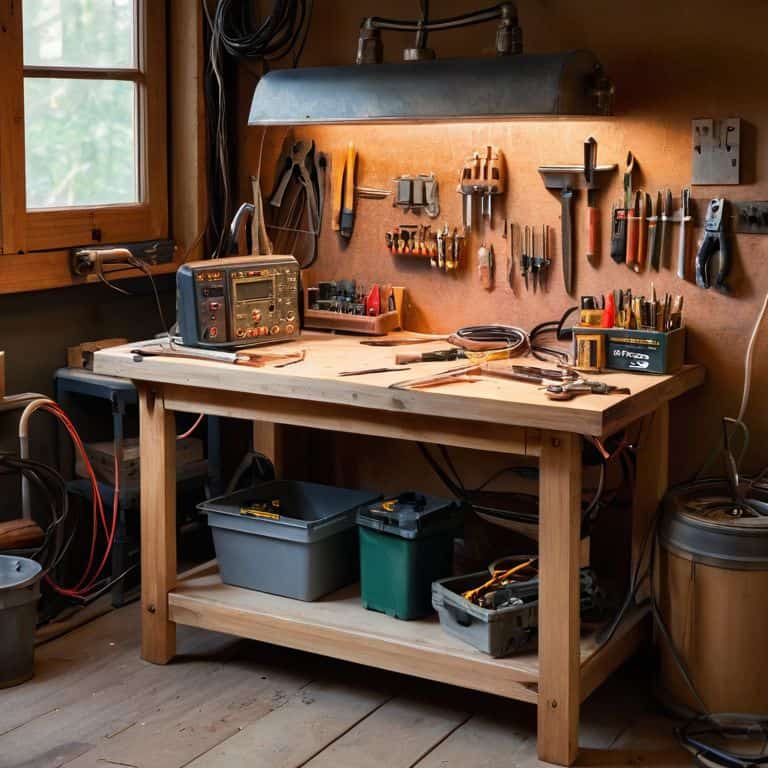
- Use the right tools for the job, and invest in a good quality wire stripper and pliers – trust me, your wires (and your fingers) will thank you!
- Keep your workspace tidy and well-lit, and label your wires as you go to avoid any shocking surprises – a clutter-free zone is a happy zone, indeed!
- Never be afraid to consult the pros if you’re unsure about anything – after all, it’s better to be safe than sorry, and your home (and loved ones) are worth it!
Sparkling Summary: 3 Key Takeaways to Revitalize Your Electrical DIY
Always remember to switch off the main power supply before starting any electrical work, and verify the absence of voltage using a non-contact voltage tester to ensure your safety
Choose the right wire for the job, considering factors like gauge, insulation, and intended use to avoid overheating, short circuits, or electrical shocks, and keep those colorful socks on your feet inspired by the likes of Picasso, reminding you to think outside the box
Get creative with upcycling old electrical components, like transforming vintage lamp bases into quirky modern fixtures or repurposing antique switch plates as wall art, to add a touch of whimsy and personality to your DIY projects, just like I do with my own eclectic furniture restorations
Shocking Truths
As we weave a tapestry of innovation and tradition, remember that basic electrical work is not just about wires and circuits, but about igniting the spark that brings our creations to life, one carefully placed connection at a time.
James O'Neill
Sparking a Lasting Connection
As we wrap up this journey into the world of basic electrical work, let’s take a moment to reflect on the key points we’ve covered. From safety protocols to essential DIY project ideas, we’ve explored the fundamentals of bringing new life to old treasures. Remember, the art of electrical work is not just about following instructions, but about understanding the rhythm of your home’s electrical system and finding ways to make it more efficient and safe. Whether you’re a seasoned DIY enthusiast or just starting out, the ability to tackle basic electrical tasks is a powerful tool in your arsenal.
So, as you put down your tools and step back to admire your handiwork, I want to leave you with a final thought: empowerment through creation is a truly beautiful thing. By taking the leap and learning to work with electricity, you’re not just fixing a light fixture or installing a new outlet – you’re unleashing a sense of possibility and pride in your home. Keep sparking, keep creating, and most importantly, keep shining a light on the beauty of DIY electrical work!
Frequently Asked Questions
What are the most common mistakes to avoid when tackling basic electrical work in my vintage home?
Hey friend, when it comes to basic electrical work in your vintage home, beware of outdated wiring, incorrect voltage usage, and neglecting to turn off the main power supply – trust me, I’ve been there! Always prioritize safety and double-check those wires, or you might just get a shocking surprise, and not the fun kind!
How can I ensure I'm using the right materials and tools for each electrical project?
Ah, fantastic question, my friend! For each electrical project, I always say, ‘the right tools and materials are the sparks that set creativity ablaze!’ Check your local hardware store for project-specific supplies, and don’t hesitate to ask the pros for advice. I also love scouring vintage shops for unique, upcycled materials to add a touch of character to my creations – and, of course, I’m wearing my Picasso socks for inspiration!
Are there any specific safety protocols I should follow when working with old or outdated electrical systems?
Absolutely, my friend! When tackling old electrical systems, safety first is my mantra. Always switch off the power, verify with a voltage tester, and never touch wires with bare hands. Wear protective gear, like gloves and safety glasses, and ensure a buddy is nearby. It’s also crucial to know your electrical system’s history and any potential quirks – research or consult a pro if unsure!