I still remember the first time I laid hands on an orbital sander – it was like a whirlwind of dust and delight had been unleashed in my workshop. I was attempting to restore an old, worn-out dresser, and a friend had recommended using one of these “magical” tools to smooth out the surface. As I embarked on this journey to discover what is an orbital sander and how to use it, I realized that there’s a lot of misinformation out there about these incredible devices. Many people think they’re only for heavy-duty, professional projects, but the truth is, they’re an essential tool for any DIY enthusiast looking to breathe new life into old furniture.
As we dive into the world of orbital sanding, I want to assure you that this guide is all about keeping it real and providing you with practical advice on how to use these tools effectively. You won’t find any fancy jargon or overcomplicated instructions here – just honest, no-hype guidance on how to get the most out of your orbital sander. By the end of this article, you’ll be well on your way to becoming an orbital sanding master, capable of transforming even the most worn-out pieces into stunning works of art. So, if you’re ready to unlock the secrets of what is an orbital sander and how to use it, let’s get started on this creative adventure together!
Table of Contents
Guide Overview: What You'll Need
Total Time: 1 hour 15 minutes
Estimated Cost: $50 – $100
Difficulty Level: Intermediate
Tools Required
- Orbital Sander (with various grit sandpaper)
- Dust Mask (for safety)
- Safety Glasses (for protection)
- Clamp (for holding wood in place)
- Vacuum Cleaner (for cleaning up dust)
Supplies & Materials
- Sandpaper (various grits: 120, 220, 320)
- Wood (e.g., 2-in x 4-in lumber or 1/4-in thick plywood)
- Wood Filler (optional)
Step-by-Step Instructions
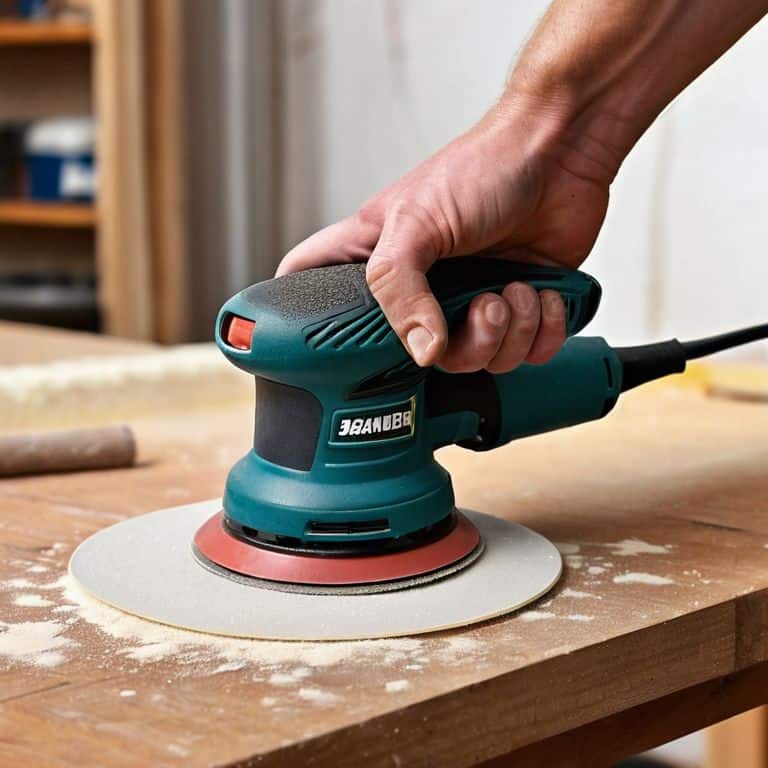
- 1. First, let’s get familiar with the orbital sander itself – it’s a powerful tool that uses a round sanding pad to smooth out surfaces in a circular motion, making it perfect for large, flat areas like tabletops or shelves. I love wearing my Van Gogh socks when working with wood, it’s like a little artistic inspiration for my projects.
- 2. Before you start sanding, make sure you’ve prepared your workspace – clear the area around your project of any dust, debris, or obstacles that could get in the way. I also like to put on some upbeat music to get me in the right mood for some creative chaos.
- 3. Next, choose the right sandpaper for your orbital sander – you’ll want to start with a coarse grit (about 80-100) to remove any old finish or imperfections, and then move to finer grits (120-150) for a smoother finish. Remember, the key to a beautiful finish is patience, so don’t rush this process.
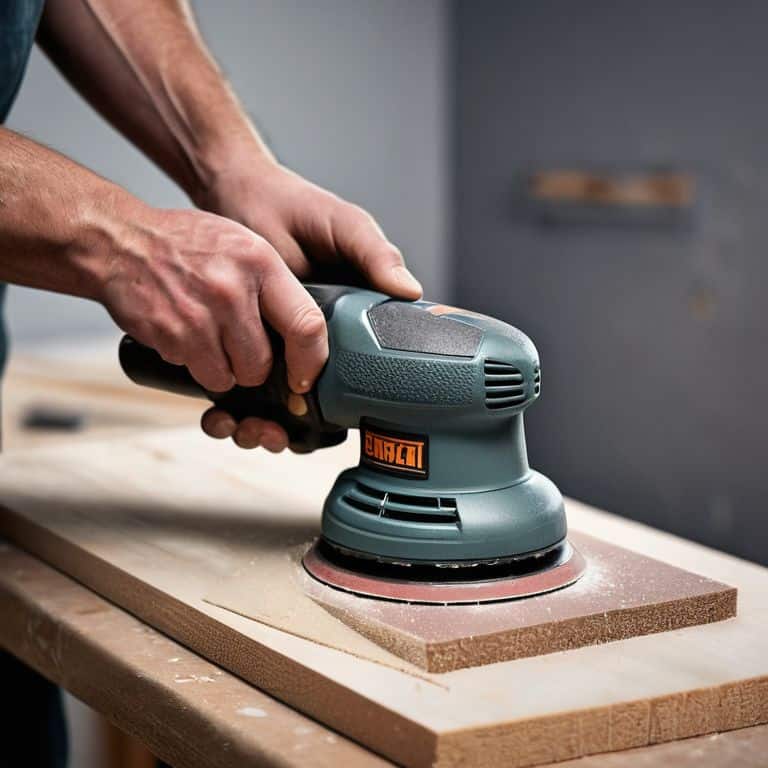
- 4. Now it’s time to plug in your orbital sander and get started – begin by sanding in the direction of the wood grain to avoid scratching the surface. Apply gentle to moderate pressure, depending on the material you’re working with, and let the sander do the work for you. Don’t forget to wear a dust mask to avoid inhaling all the wooden wonders you’re creating.
- 5. As you sand, keep an eye on the dust and debris building up – you’ll want to vacuum or blow it away periodically to keep your workspace clean and your sander running smoothly. I like to use a small brush to sweep away the dust, it’s like a little dance move in my sanding routine.
- 6. Once you’ve sanded your entire project with the coarse grit, switch to a finer grit and repeat the process – this will help you achieve a silky smooth finish. Remember to work in small sections, about 4×4 feet at a time, to maintain even coverage and avoid missing any spots. It’s all about the attention to detail.
- 7. After you’ve completed the sanding process, take a step back and admire your handiwork – you should see a beautifully smooth surface, ready for staining, painting, or sealing. Now, it’s time to add the final touches and make your project truly unique – whether it’s a pop of color or a subtle texture, the possibilities are endless.
What Is an Orbital Sander and How to Use It
As I delve into the world of orbital sanders, I often get asked about the orbital sander vs belt sander debate. While both tools have their own unique strengths, I find that orbital sanders are perfect for sanding wood for beginners. The key to achieving a smooth finish lies in choosing the right sandpaper, and I always recommend starting with a coarse grit and gradually moving to finer ones.
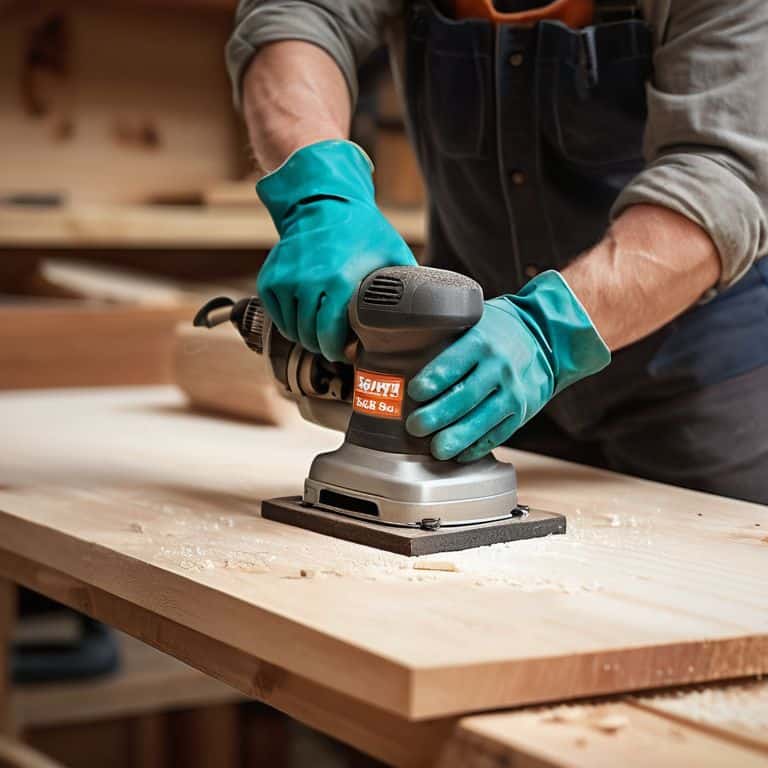
When it comes to sanding techniques for a smooth finish, it’s all about the motion. I like to think of it as dancing with the sander – gentle, sweeping motions that cover the entire surface. And, of course, orbital sander safety precautions are a must. Always wear protective gear, including gloves and safety glasses, to avoid any accidents.
To keep your orbital sander in top condition, I recommend regular orbital sander maintenance tips, such as cleaning the dust collector and checking the sandpaper for wear. By following these simple tips, you’ll be able to achieve professional-looking results and extend the life of your trusty orbital sander. With a little practice and patience, you’ll be sanding like a pro in no time, and I’ll be here, sporting my Picasso-inspired socks, cheering you on every step of the way.
Sanding Safety Precautions and Tips
When diving into the world of orbital sanding, safety always comes first. I like to think of it as preparing for a fun dance party – you gotta make sure the floor is clear and everyone’s wearing the right shoes! For me, that means donning my favorite pair of socks, the ones with Vincent van Gogh’s Starry Night, and getting ready to swirl some magic. In all seriousness, wear protective gear like gloves, safety glasses, and a dust mask to avoid any mishaps. Keep loose clothing and long hair tied back, and ensure the work area is well-ventilated and clear of debris.
As I always say, a little preparation goes a long way. Keep children and pets at a safe distance, and avoid wearing jewelry that could get caught in the sander. It’s also a good idea to read the manufacturer’s instructions and follow any specific guidelines for your orbital sander model. With these precautions in mind, you’ll be well on your way to sanding like a pro and creating unique, one-of-a-kind pieces that reflect your personal style.
Unleashing Orbital Sander Magic for Wood
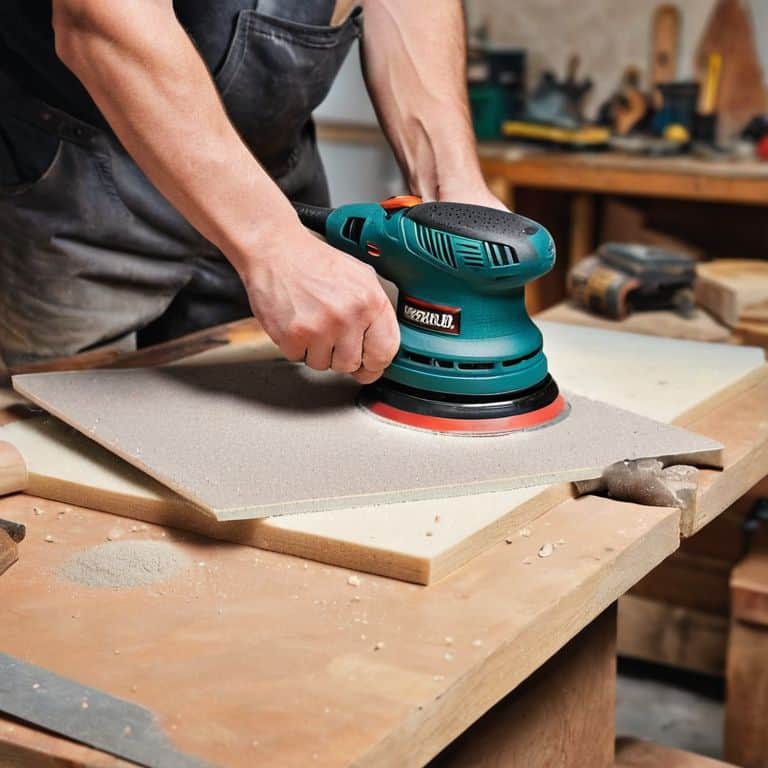
When it comes to wood, my orbital sander is the ultimate sidekick. I mean, have you ever tried to strip old varnish or smooth out rough wooden planks without one? It’s like trying to dance the tango with a partner who’s not feeling the rhythm. But with the right touch, an orbital sander can unveil the hidden beauty in any wooden piece. I recall this one project where I upcycled an old wooden door into a stunning coffee table – the sander was instrumental in bringing out the rich grain of the wood.
For wood, I always start with a coarse grit and work my way up to finer ones, feeling the wood transform beneath my hands. It’s almost therapeutic, watching the scratches and imperfections disappear, leaving behind a surface that’s both rustic and refined. And, of course, I make sure to wear my pair of Van Gogh socks for inspiration – there’s something about the swirling patterns that gets my creative juices flowing!
Orbital Sander Wisdom: 5 Tips to Get You Started
- Always choose the right grit for your sanding project, starting with coarse grits for heavy stripping and progressing to finer grits for a silky smooth finish
- Keep your orbital sander in top condition by regularly cleaning the dust collection system and checking for worn-out sanding pads
- Don’t be afraid to experiment with different sanding patterns – circular, back-and-forth, or even figure-eights – to achieve unique textures and effects
- Remember to work in a well-ventilated area, wearing a dust mask and safety goggles to protect yourself from flying debris and dust particles
- Practice makes perfect, so don’t be discouraged if your first few attempts at orbital sanding don’t yield the desired results – keep at it, and you’ll soon be a pro at uncovering the hidden beauty in old furniture
Key Takeaways for Orbital Sander Magic
Always prepare your workspace and wear protective gear before diving into an orbital sanding project to ensure safety and efficiency
Choose the right sandpaper grit for your orbital sander, progressing from coarse to fine for a smooth, professional finish
Experiment with different orbital sander techniques, such as circular motions and gentle pressure, to uncover the full potential of your tool and breathe new life into old furniture
The Orbital Sander Wisdom
An orbital sander is not just a tool, it’s a time machine that brings the past to life, one swirl of dust at a time – all you need is a dash of creativity and a whole lot of elbow grease!
James O'Neill
Embracing the Orbital Sander Revolution
As we’ve explored the wonderful world of orbital sanders, it’s clear that this tool is a game-changer for any DIY enthusiast or professional. From the initial introduction to the step-by-step guide, and through our discussions on sanding safety and unleashing orbital sander magic for wood, we’ve covered a lot of ground. The key takeaway is that with the right techniques and precautions, an orbital sander can help you achieve professional-grade finishes on your projects, whether you’re upcycling vintage furniture or working on a new piece from scratch. Remember, the art of sanding is all about patience and practice, so don’t be discouraged if it takes a little time to get the hang of it.
As you embark on your own orbital sander journey, I encourage you to think outside the box and explore the endless possibilities that this tool offers. Whether you’re a seasoned pro or a curious beginner, the thrill of transforming old, worn-out pieces into unique masterpieces is an incredibly rewarding experience. So, go ahead, get creative, and let the orbital sander become your trusted companion in the world of DIY and upcycling. With every project, you’ll not only be giving new life to discarded items, but you’ll also be contributing to a more sustainable future, one beautifully sanded piece at a time.
Frequently Asked Questions
What are the different types of orbital sanders available and which one is best for a beginner?
For a beginner, I recommend starting with a random orbital sander – they’re super versatile and forgiving. You can choose between pneumatic, electric, or cordless models, depending on your project needs and personal preference. I personally love my cordless one for its convenience and ease of use.
Can an orbital sander be used on surfaces other than wood, such as metal or plastic?
While orbital sanders are wood whisperers, they can also tame metal and plastic surfaces with the right attachments and settings. For metal, use a fine-grit sanding disc, and for plastic, opt for a soft-touch pad to avoid scratches. Just remember, the key is to match the tool to the task, and you’ll be sanding like a pro on any surface in no time!
How often should I replace the sanding pads on my orbital sander to ensure optimal performance?
Dude, your sanding pads are like your favorite socks – they’ve got a limited lifespan! Replace them every 3-5 projects or when you notice a significant drop in sanding efficiency. Trust me, fresh pads make all the difference in achieving that silky smooth finish. Now, if you’ll excuse me, I’ve got to match my orbital sander with a new pair of Pollock-inspired socks!