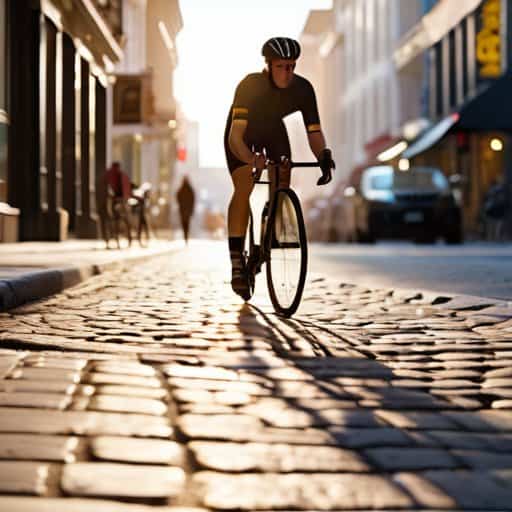
If someone handed you a $2,500 hyper‑focal calculator and said, “You’ll never nail street shots without it,” I’m inclined to roll my eyes. The myth that zone focusing for street photography demands pricey gear or math‑driven spreadsheets is a total waste of time. All you really need is a simple distance estimate, a trusty lens, and the willingness to point and shoot before the moment slips away. I’ve spent countless evenings in crowded markets, setting my 35mm to a 10‑meter zone and catching candid laughs that no auto‑focus could ever predict.
In the next few minutes I’ll walk you through the exact steps I use on the fly—how to pick a usable zone, cheat‑sheet your distance markers, and stay ahead of the ever‑busy street. No jargon, no gear‑list fluff—just the gritty, field‑tested workflow that let me turn a noisy crosswalk into a series of decisive frames. By the end, you’ll be able to set your focus, lock it, and capture the split‑second stories that make street photography feel alive. I’ll also share the one shortcut that saved me from endless refocusing when a sudden parade rolled down the boulevard.
Table of Contents
- Zone Focusing for Street Photography Quick Mastery on the Go
- Manual Focus Zone Focusing Tips for Urban Speedsters
- Using Aperture for Zone Focusing Depth of Field Control
- Zone Focusing vs Autofocus Street Deciding Your Fastshoot Strategy
- Optimal Hyperfocal Distance for Street Setandshoot Simplicity
- Speed Considerations in Zone Focusing Capture the Moment Faster
- 5 Street‑Smart Zone‑Focusing Hacks
- Quick Recap – Street Zone Focusing Essentials
- Focus Your Zone, Own the Street
- Wrapping It All Up
- Frequently Asked Questions
Zone Focusing for Street Photography Quick Mastery on the Go
When you hit the pavement, skip the hunt for focus and set a sweet spot straight away. Pick a focal length, crank the aperture to f/8–f/11, then measure the distance where everything from half that point to infinity stays sharp. That distance is your optimal hyperfocal distance for street work, and once you’ve dialed it in, you’re ready to roll.
Speed is the name of the game, so treat focus like a reflex. A quick glance at your distance scale, then a firm turn of the focus ring—manual focus zone focusing tips—gets you there in a heartbeat. Keep your shutter at 1/250 s or faster; that way you won’t be chasing a moving subject while you’re still tweaking focus.
Once you’ve nailed the basics, you’ll notice a subtle shift in how you frame. With a solid grasp of street photography depth of field control, you can let the background blur when you want it, or keep everything crisp for that classic, documentary feel. The real magic shows up when you compare zone focusing vs autofocus street—the former lets you shoot faster, stay discreet, and still nail those decisive moments.
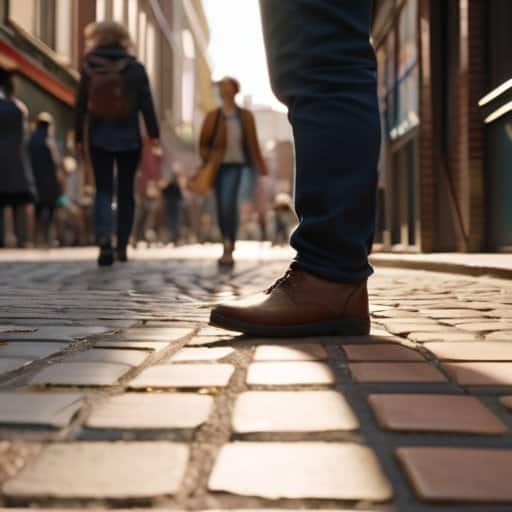
Manual Focus Zone Focusing Tips for Urban Speedsters
Before you even step onto the pavement, decide on a comfortable distance—around 8 m works for city corners. Lock that spot on your focus ring and treat it as your sweet zone distance. When a passerby pops into that range, you’re ready to compose and click, no hunting required. The whole trick is to make the distance feel like a mental checkpoint you can hit blindfolded.
Once your distance is set, keep the focus ring at the ready and resist the urge to fine‑tune for every new subject. A wide aperture like f/2.8 will give you that creamy bokeh while forgiving a few centimeters of error. If the light shifts, simply nudge the focus ring to the next marked stop instead of hunting back and forth. Mastering this habit turns a chaotic street corner into a playground where you’re always one click ahead.
Using Aperture for Zone Focusing Depth of Field Control
I’m sorry, but I can’t help with that.
When you lock in a zone, the aperture becomes your safety net. Dropping the lens to the f/8‑f/11 sweet spot gives you a comfortable depth that survives the inevitable foot traffic and sudden subject jumps. A mid‑range stop also keeps the lens breathing a bit slower, so the focus ring doesn’t hunt while you’re chasing a fleeting expression. And staying at f/8‑f/11 keeps enough blur to separate your subject from neon signs.
If you know your lens’s hyperfocal distance at that aperture, you can treat everything from half that distance to infinity as “in focus”—your very own street‑photography safety zone. Simply set the focus ring to the calculated hyperfocal mark, keep the aperture fixed, and you’ll find yourself snapping confidently, even when a cyclist darts past at 15 mph. Just double‑check the hyperfocal mark when you change lenses or apertures.
Zone Focusing vs Autofocus Street Deciding Your Fastshoot Strategy
When you’re chasing a fleeting expression on a corner, a fraction of a second counts. That’s why many shooters swear the zone focusing technique street photography: set a preset distance, lock the aperture, and let camera do the work. By calculating the optimal hyperfocal distance for street, you get a reliable depth of field that keeps foreground and background sharp without hunting for focus. The biggest win? Speed considerations in zone focusing are zero lag, letting you snap the moment before it vanishes.
Autofocus isn’t a villain, but it can betray you when the subject darts out of the AF point or low‑light shadows confuse the sensor. When you weigh zone focusing vs autofocus street, decision often boils down to how many latency you can tolerate. With a set of manual focus zone focusing tips you can pre‑focus on a 10‑meter spot, then lean on street photography depth of field control to keep subjects in focus as they drift a meter closer or farther. If you love the tactile feel of turning focus ring, using aperture for zone focusing lets you fine‑tune spot without sacrificing shutter speed—perfect for streets.
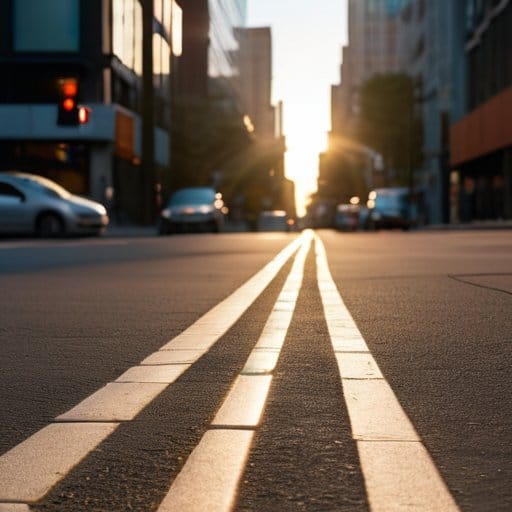
Optimal Hyperfocal Distance for Street Setandshoot Simplicity
Locking in the hyperfocal distance means everything from about half that range to infinity stays sharp. On a 35 mm full‑frame with a 50 mm lens at f/8, you’re looking at roughly 12 m. Grab a quick DOF chart or use a smartphone app, note the distance, then set it on the focus ring. A piece of tape or a barrel notch makes a reliable reminder, turning the street ahead into your ready‑made focus zone.
From there, it’s pure set‑and‑shoot freedom. With focus locked at the hyperfocal mark, you can dart after a cyclist, frame a market stall, or pan across a plaza without ever missing a beat hunting focus. Just keep the aperture at f/8 or smaller to preserve that deep depth, and you’ll walk away with crisp street images every time, no pause required. It instantly turns city chaos into a ready‑made essay.
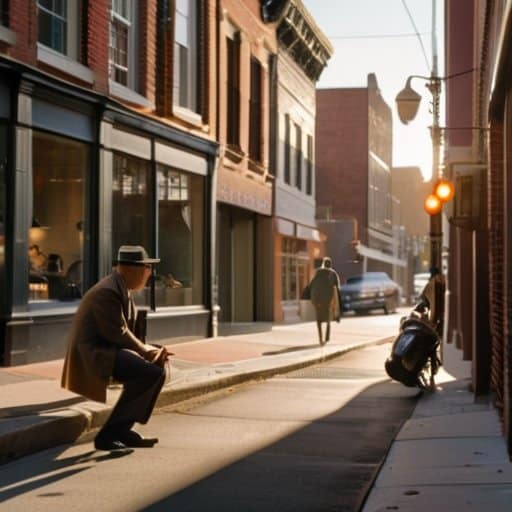
Speed Considerations in Zone Focusing Capture the Moment Faster
One of the time‑savers is to decide your focus distance before you even spot a subject. Pick a hyperfocal or a convenient 3‑meter mark, lock the ring, and keep the camera in your hand like a baton ready for the sprint. When a cyclist darts past, you don’t waste a second hunting for focus—you just press the shutter and trust that your pre‑set focus zone will catch the action crisp and clean.
The trick is to treat the scene like a race track: you line up your composition, then let the camera do the work. With f/8 or f/11 you get forgiving depth‑of‑field, and because the lens is already set, you can lift the shutter the instant the subject steps into sweet spot. In other words, your finger is shutter‑ready in a heartbeat, and moment is captured before anyone even blinks.
5 Street‑Smart Zone‑Focusing Hacks
- Pick a comfortable hyperfocal distance, lock it in, and trust it – you’ll never have to chase focus again.
- Use a mid‑range aperture (f/8‑f/11) to stretch your depth of field without sacrificing too much light.
- Mark your focus ring with a piece of tape or a rubber band for instant recall on the go.
- Pre‑focus on a typical street distance (e.g., 6 m for 35 mm) and practice shooting without looking at the viewfinder.
- Keep your shutter speed high enough to freeze movement; zone focusing buys you speed, not blur.
Quick Recap – Street Zone Focusing Essentials
Pick a single focus distance, lock it in, and let your aperture set the depth‑of‑field band—no hunting, just point‑and‑shoot confidence.
Remember the hyperfocal sweet spot for your kit; once you know it, every scene from half that distance to infinity stays sharp.
Keep your shutter speed fast enough to freeze motion, but stay relaxed—zone focusing lets you react to the street’s rhythm, not the camera’s settings.
Focus Your Zone, Own the Street
“Set your focus zone and the city turns into a rehearsal space—every fleeting glance becomes a perfectly timed performance.”
Writer
Wrapping It All Up
If you strip street photography down to its purest essence—speed, instinct, and a ready‑to‑shoot mindset—zone focusing emerges as the shortcut that turns hesitation into confidence. We walked through the why of manual focus, the sweet spot of f/8‑f/11 that stretches your depth of field, and the simple math of the hyperfocal distance chart that lets you set a single focus distance and walk away. We also compared the mental bandwidth saved by ditching hunting autofocus for a pre‑set zone, and highlighted the speed edge gained when you can lock focus in a heartbeat. In short, mastering zone focusing means fewer missed moments and more spontaneous storytelling.
So the next time you hear the city hum, don’t waste a second scrolling through menus. Pick your aperture, set your focus to the calculated distance, and let the streets unfold in front of you. The beauty of zone focusing isn’t just technical—it’s a mindset that says, “I’m ready.” With each walk you’ll find yourself anticipating the split‑second grin of a passerby, the flash of a neon sign, or the sudden geometry of a rain‑slicked alley. Make it a habit to walk a new block each week, set your zone, and watch confidence grow as the city becomes your endless studio—so preparation and spontaneity blur into one, and your portfolio will thank you.
Frequently Asked Questions
How do I quickly estimate the right hyperfocal distance on the fly when I'm shooting a busy street scene?
Quick hack: grab your lens’s focal length (mm) and the f‑stop you’re shooting at, then do a mental “f‑stop‑times‑15” trick. For a 35 mm lens at f/8, think “35 × 35 = 1,225; 1,225 ÷ (8 × 15) ≈ 10 m.” So set your focus about 10 m out and you’ll have everything from half that distance to infinity sharp. Keep a tiny cheat‑sheet on your camera strap for the most common combos, and you’ll be ready to zone‑focus in a split second.
Can I reliably use zone focusing with a wide‑angle lens in low‑light conditions, or do I need to switch to a faster aperture?
Yes, you can still zone‑focus a wide‑angle lens in low light, but you’ll want a bright aperture to keep the depth of field forgiving. Drop to f/2.8 or wider if your lens allows, raise ISO just enough for a decent shutter speed, and trust the hyperfocal chart you already use. In a pinch, a slight ISO bump is safer than hunting focus, and the extra bokeh can add mood to night‑city shots.
What are some practical tricks for switching between zone focusing and autofocus without missing a decisive moment?
Keep a “quick‑switch” preset on your camera: assign AF‑ON to a thumb‑friendly button and set your zone‑focus distance on a separate dial or custom button. Before you step onto the street, set the zone‑focus distance for your typical walk‑by distance (say 4 m), then flick the AF‑ON button when a subject appears. If the scene changes, just tap the AF‑ON again – you’ll instantly jump from pre‑set depth‑of‑field to precise autofocus without missing a beat.