I still remember the first time I tried to make a miter joint for a picture frame – it was a disaster. I had envisioned a beautiful, seamless joint, but what I got was a messy, uneven disaster. It wasn’t until I stumbled upon an old woodworking manual in a vintage market that I discovered the secret to a perfect miter joint. The common myth that you need expensive tools and years of experience to get it right is simply not true. With the right technique and a little patience, anyone can learn how to make a miter joint for a picture frame that’s both sturdy and stunning.
As I sit here, wearing my favorite Van Gogh-inspired socks, I’m excited to share my hard-earned knowledge with you. In this article, I’ll walk you through the step-by-step process of creating a flawless miter joint, from preparing your wood to finishing the frame. You’ll learn how to avoid common mistakes, choose the right materials, and add your own personal touch to make your picture frame truly unique. By the end of this guide, you’ll be equipped with the confidence and skills to tackle any framing project that comes your way, and you’ll be able to create beautiful, one-of-a-kind pieces that reflect your personal style.
Table of Contents
Guide Overview: What You'll Need
Total Time: 1 hour 15 minutes
Estimated Cost: $10 – $30
Difficulty Level: Intermediate
Tools Required
- Miter Saw (or a handheld coping saw)
- Clamp (bar clamp or pipe clamp)
- Tape Measure (for accurate measurements)
- Square (for ensuring precise corners)
- Sandpaper (for smoothing out the wood)
- Nail Gun (optional, for securing the joint)
- Wood Glue (for bonding the joint)
Supplies & Materials
- Wood (e.g., 2-in x 4-in lumber or 1-in x 4-in wood) depending on frame size
- Wood Filler (optional, for filling gaps)
- Nails or Pin Nails (if using a nail gun)
- Picture Frame Backing (e.g., cardboard, foam board)
Step-by-Step Instructions
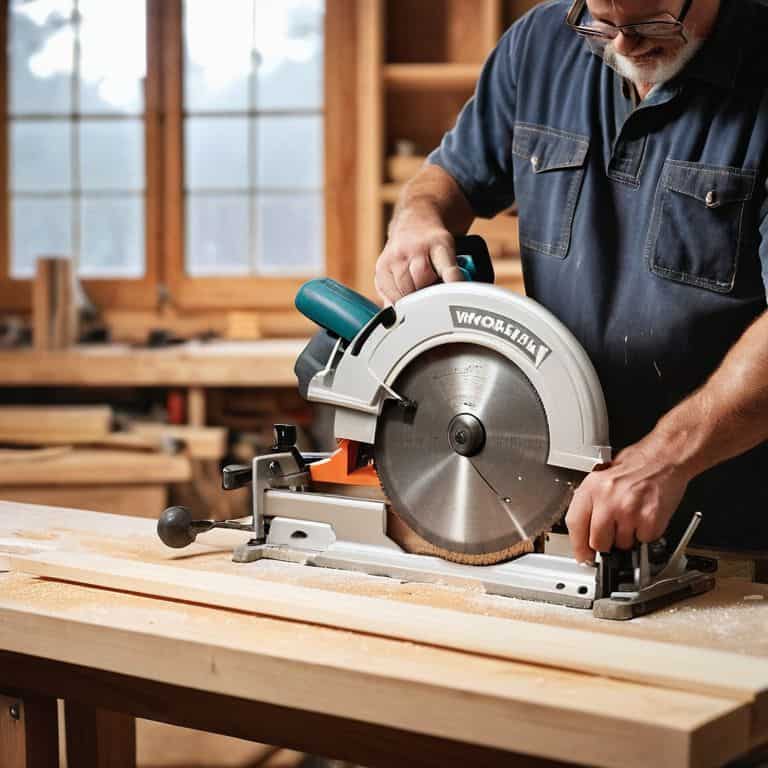
- 1. First, let’s get our tools ready – I always say that a good miter saw is essential for making precise cuts, and trust me, it’s worth the investment. When I’m working on a project, I like to wear my Van Gogh socks for inspiration – there’s something about his bold brushstrokes that gets my creative juices flowing.
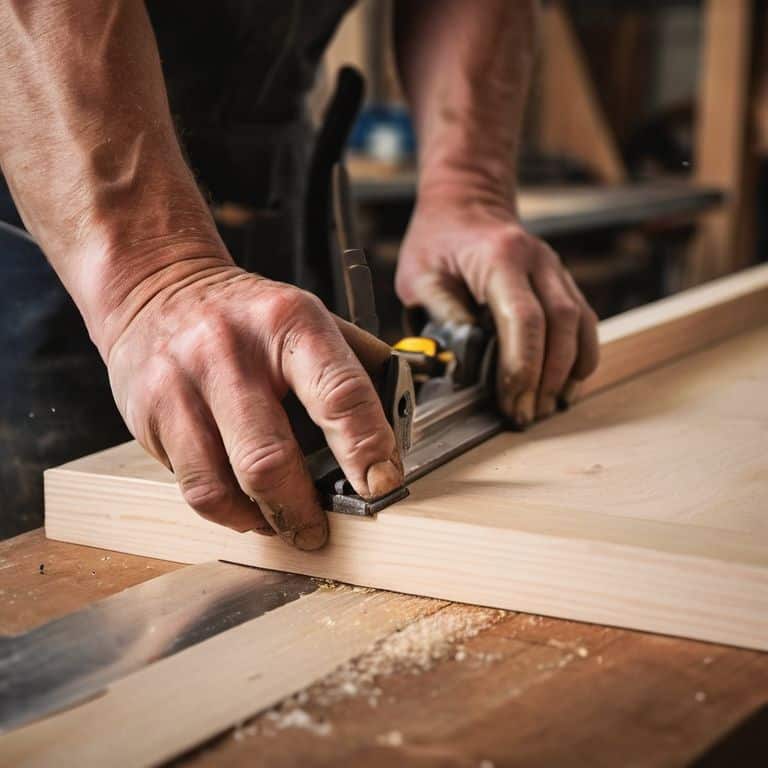
- 2. Next, we need to prepare our wood – for a standard picture frame, you’ll want to cut four pieces of wood to the same length, two for the sides and two for the top and bottom. I like to use reclaimed wood for my frames, it adds a touch of history to each piece, and it’s also a great way to reduce waste.
- 3. Now it’s time to set up our miter saw – this is where the magic happens, folks. Make sure your saw is set to a 45-degree angle, and double-check that it’s secure before making your first cut. I always take a deep breath before this part, it’s like the moment before you unveil a new piece of art.
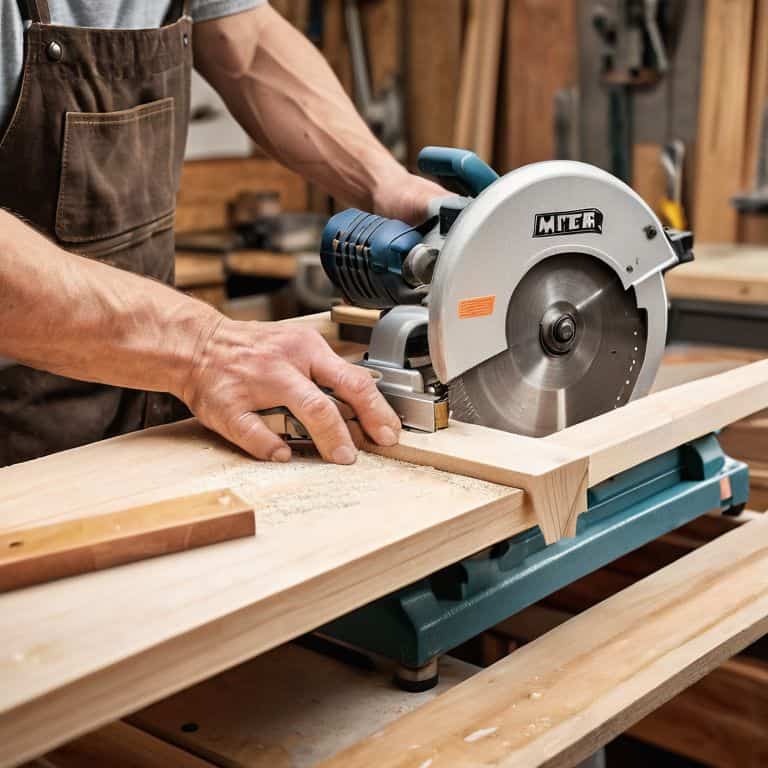
- 4. With our saw ready, let’s make our first cut – place one of your wood pieces on the saw and gently guide it through the blade. Remember to keep your hands steady and your eyes on the prize – you want a smooth cut for a professional finish. As I always say, the key to a great miter joint is in the cut.
- 5. Once you’ve made your first cut, repeat the process for the remaining three pieces of wood – it’s like a little dance, where each step builds on the last. Don’t forget to wear your favorite artist-inspired socks, like my Monet ones, to keep you in the creative zone.
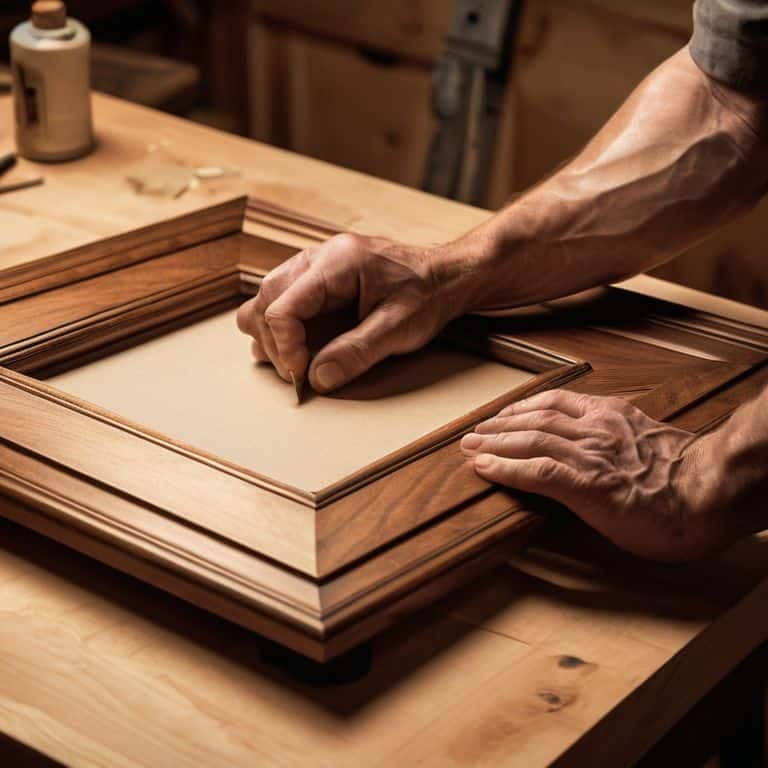
- 6. Now that we have all our pieces cut, it’s time to assemble our frame – apply a small amount of wood glue to the ends of two pieces and attach them together, forming a 90-degree angle. Use a clamp to hold them in place while the glue dries, and make sure it’s secure before moving on to the next step.
- 7. Finally, let’s add the finishing touches – once our glue is dry, we can add the final two pieces to our frame, and then it’s just a matter of adding our picture and hanging it on the wall. I love this part, it’s like seeing a work of art come to life, and it’s all thanks to that perfect miter joint.
Miter Mastery Unleashed
As I delve deeper into the world of miter joints, I’ve come to realize that mastering the 45 degree miter cut is an art form in itself. It’s all about finding that perfect balance between precision and creativity. When working with a miter saw, I like to think of it as a dance between the blade and the wood, where every move counts. To achieve this harmony, I recommend using a miter joint jig, which can be a total game-changer for beginners and seasoned craftsmen alike.
One of the most common mistakes I’ve seen people make when attempting a miter joint is rushing through the process. It’s essential to take your time and ensure that each cut is accurate and deliberate. Miter saw techniques can vary depending on the type of wood and the desired outcome, so it’s crucial to experiment and find what works best for you. By doing so, you’ll be able to create stunning picture frames that showcase your unique style and attention to detail.
In the end, it’s all about choosing the right picture frame joinery methods for your project. While a miter joint can add a touch of elegance to any frame, it’s not always the best option. Sometimes, a simple butt joint can be just as effective, depending on the design and materials used. By understanding the pros and cons of each technique, you’ll be able to make informed decisions and create truly one-of-a-kind pieces that reflect your personality and flair.
45 Degree Rebel Cuts
Now that we’ve unleashed our inner miter masters, it’s time to take it up a notch with the “45 Degree Rebel Cuts”. This is where things get really exciting, and we start to push the boundaries of what’s possible with our picture frames. I mean, who says you have to stick to traditional 45-degree angles? By experimenting with different degrees, you can add a whole new level of depth and visual interest to your frames.
As I always say, the key to pulling off these rebel cuts is all about confidence and a willingness to take risks. Don’t be afraid to get creative and try out new angles – it’s all part of the fun! And trust me, the end result is totally worth it. With a little practice, you’ll be crafting one-of-a-kind picture frames that are sure to turn heads. My colorful socks, featuring the likes of Picasso, are cheering me on as I make these bold cuts – and I hope they’re inspiring you to join the rebellion!
Joint Journey Miter vs Butt
As I delve into the world of joints, I often find myself pondering the age-old debate: miter vs butt. It’s a choice that can make or break the aesthetic of your piece. For me, miter joints bring a level of sophistication and seamless fusion, perfect for my quirky picture frame projects. On the other hand, butt joints offer a more rustic, straightforward approach that can add a touch of charming simplicity. I like to think of it as the difference between a elegant tango and a casual swing dance – both have their place, and it’s all about the vibe you’re going for.
In my experience, the key to deciding between these two joints lies in the overall design and theme of your project. If you’re aiming for a sleek, modern look, a miter joint might be the way to go. But if you’re feeling a more laid-back, vintage vibe, a butt joint could be just the ticket. And, of course, there’s always room for experimentation – after all, that’s what makes DIY so thrilling!
Miter Magic: 5 Tips to Frame Your Masterpiece
- Measure Twice, Cut Once: The Golden Rule of Miter Joints
- Choose Your Weapon: Selecting the Right Saw for the Job
- Cutting Edge: Mastering the 45-Degree Angle for Perfect Miters
- Clamp Down: Securing Your Frame for a Tight Bond
- Sand, Stain, Repeat: The Finishing Touches for a Professional Look
Miter Joint Mastery: 3 Key Takeaways
Embracing the art of miter joints can elevate your DIY projects from mundane to mesmerizing, allowing you to create unique, professional-grade picture frames that reflect your personal style
By mastering the 45-degree rebel cut and understanding the nuances between miter and butt joints, you’ll unlock a world of creative possibilities, from sleek, modern designs to whimsical, eclectic pieces that tell a story
With practice and patience, you can join the ranks of the miter joint masters, transforming discarded materials into one-of-a-kind treasures that not only reduce waste but also add a touch of personality to any room, all while sporting your favorite pair of inspirational socks
The Miter Joint Muse
As we craft each miter joint, we’re not just building a frame, we’re framing a story – one of patience, precision, and the rebellious spirit to turn the ordinary into the extraordinary.
James O'Neill
Framing Your Future
As we’ve explored the world of miter joints for picture frames, remember that it’s all about embracing the process and finding your own unique style. From the initial 45 Degree Rebel Cuts to understanding the nuances of Miter vs Butt joints, each step is an opportunity to refine your craft and add a personal touch to your projects. Don’t be afraid to experiment and make mistakes – they’re an integral part of the learning journey, and often lead to the most innovative solutions. By mastering the miter joint, you’re not just building a picture frame; you’re unlocking a skill that can be applied to a wide range of DIY endeavors.
So, as you put down your tools and step back to admire your handiwork, remember that the true beauty of DIY lies in its ability to transform the ordinary into the extraordinary. It’s about seeing the potential in every discarded piece and turning it into something that reflects your personality and style. Keep pushing the boundaries of what’s possible, and never lose sight of the whimsy and wonder that drives us to create. With every project, you’re not just making something – you’re making a statement about the kind of world you want to live in, one miter joint at a time.
Frequently Asked Questions
What type of wood is best suited for creating a miter joint for a picture frame?
For a picture frame miter joint, I recommend using woods with a stable grain pattern, like maple or cherry. These woods are less likely to warp or split, ensuring a snug and durable joint. Plus, they look amazing with a rustic or modern finish, don’t you think?
How do I ensure a tight and precise fit when assembling the miter joint?
Ah, my friend, the secret to a snug fit lies in precision cutting and a dash of patience! Double-check your 45-degree angles, and don’t be afraid to tweak as you go. A tight fit is all about the subtle dance between cut and assembly – and trust me, with practice, you’ll be a miter master in no time, rocking those joints like a pro!
Can I use a miter saw or do I need a coping saw to make the precise angled cuts required for a miter joint?
Ah, my friend, for those precise angled cuts, I’d recommend reaching for your trusty miter saw – it’s the perfect tool for the job! A coping saw is better suited for curved cuts, whereas a miter saw will give you that sharp, 45-degree angle you need for a flawless miter joint. Trust me, it’s a game-changer!