I still remember the first time I tried building my own PC – it was a thrilling experience, but also a frustrating one. I had heard that avoiding common pc building mistakes to avoid was key to a successful build, but what I didn’t realize was that it’s not just about avoiding mistakes, it’s about understanding the underlying principles of PC building. As someone who’s been in the trenches, I can tell you that it’s not just about slapping together some components and hoping for the best. There’s a lot of nuance involved, and it’s easy to get lost in the sea of information.
As you read through this guide, I promise to give you the lowdown on the most critical mistakes to avoid, and provide you with practical advice on how to build a PC that meets your needs. I’ll share my own experiences, and the lessons I’ve learned along the way, to help you navigate the process with confidence. Whether you’re a seasoned pro or a beginner, this guide will give you the insights you need to build a PC that’s both powerful and reliable. So, let’s get started on this journey, and explore the world of PC building together!
Table of Contents
- Guide Overview: What You'll Need
- Step-by-Step Instructions
- Bitten by the Byte Common Pc Building Mistakes to Avoid
- Motherboard Mastery Effective Airflow Management Strategies
- Overheating Prevention With Essential Pc Tools
- Byte-Sized Wisdom: 5 Crucial Tips to Sidestep Common PC Building Pitfalls
- Key Takeaways to Build a Dream PC
- Wisdom from the Byte
- Conclusion: Mastering the Art of PC Building
- Frequently Asked Questions
Guide Overview: What You'll Need
Total Time: 2 hours 30 minutes
Estimated Cost: $0 – $100
Difficulty Level: Intermediate
Tools Required
- Torx Screwdriver for removing CPU cooler and motherboard stand-offs
- Phillips Screwdriver for case and motherboard screws
- Pliers for gripping small components
- Cable Ties for cable management
Supplies & Materials
- Thermal Paste for CPU cooler installation
- Motherboard Stand-offs for proper motherboard installation
- SATA Cables for connecting storage devices
- Riser Cards for installing expansion cards
Step-by-Step Instructions
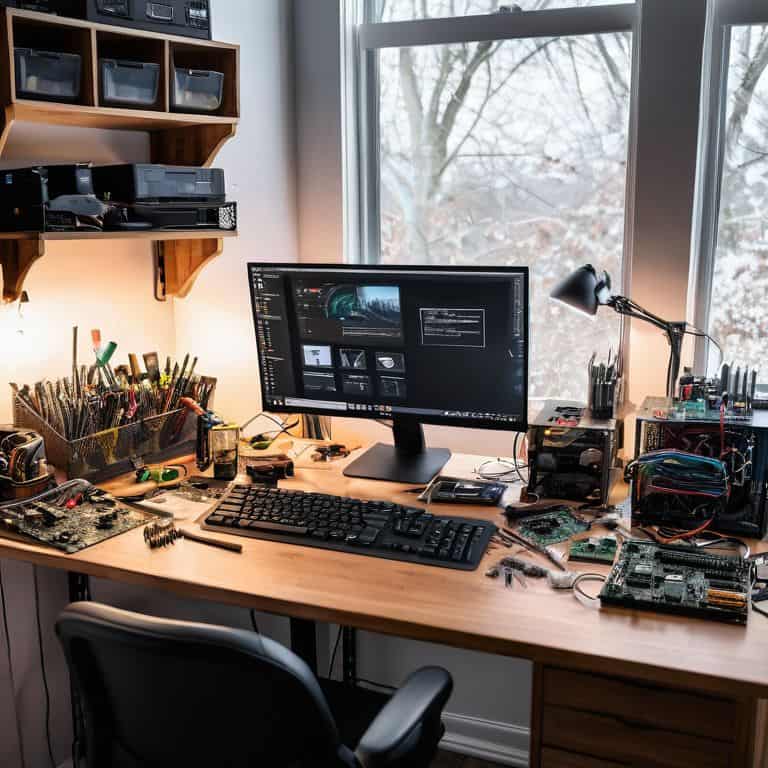
- 1. First, prepare your workspace by laying out all the components, tools, and manuals in an organized manner. This will help you avoid clutter and ensure that you have everything you need within arm’s reach. Take a moment to familiarize yourself with the components, such as the CPU, motherboard, and RAM, to understand their roles and how they fit together.
- 2. Next, ground yourself to prevent static electricity from damaging your components. You can do this by touching a grounded metal object or wearing an anti-static wrist strap. This step is often overlooked, but it’s crucial in protecting your sensitive electronics from static discharge.
- 3. Now, let’s move on to installing the CPU. Handle the CPU by the edges to avoid touching the pins, which can be easily damaged. Gently remove the CPU from its packaging and align it with the socket on the motherboard. Make sure to apply even pressure to secure the CPU in place.
- 4. The next step is to install the RAM. Identify the correct slots on the motherboard and gently push the RAM modules into place at an angle. Once they’re securely seated, apply gentle pressure to ensure they click into position. Be careful not to touch the gold contacts, as the oils from your skin can cause corrosion.
- 5. With the CPU and RAM installed, it’s time to add the storage drive. Choose the correct interface, such as SATA or PCIe, and connect the drive to the motherboard. Make sure to secure the drive to the case using screws to prevent it from coming loose during operation.
- 6. Now, let’s move on to installing the power supply. Locate the power connectors on the motherboard and connect them to the corresponding ports on the power supply. Be sure to *match the correct voltages to avoid damaging your components. Double-check that all connections are secure and snug to prevent any loose connections.
- 7. Finally, connect the front panel headers to the motherboard. This includes the power button, reset button, and LED indicators. Refer to the motherboard manual to ensure you’re connecting the correct wires to the correct pins. Take your time, as this step can be fiddly, but it’s essential for a smooth and functional system.
Bitten by the Byte Common Pc Building Mistakes to Avoid
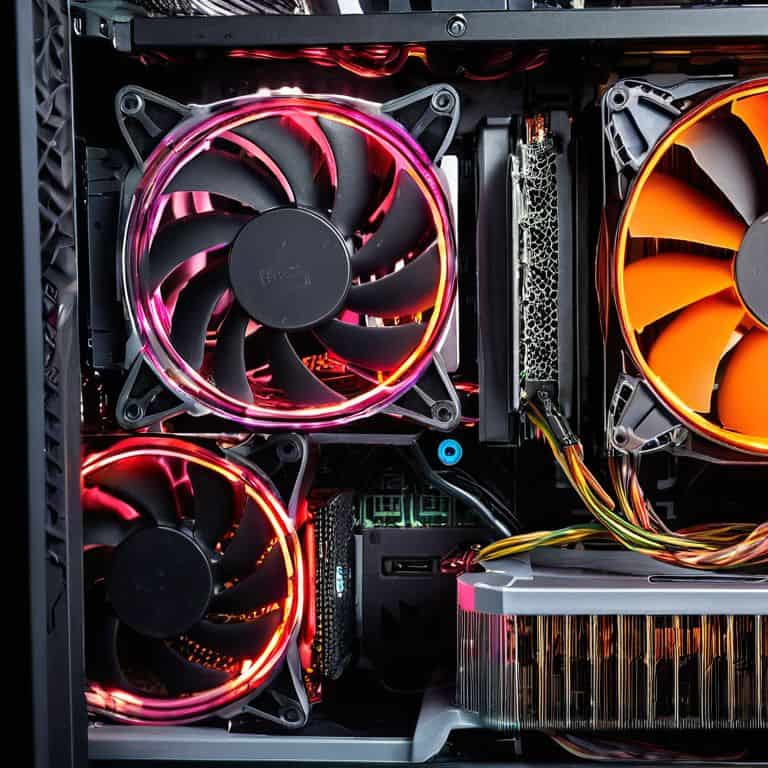
As I reflect on my own PC building journey, I’ve come to realize the importance of overheating prevention methods. A well-designed cooling system can make all the difference in maintaining optimal performance. I’ve learned to prioritize proper airflow management strategies, ensuring that my PC’s components are well-ventilated and cooled. This not only prevents overheating but also prolongs the lifespan of my hardware.
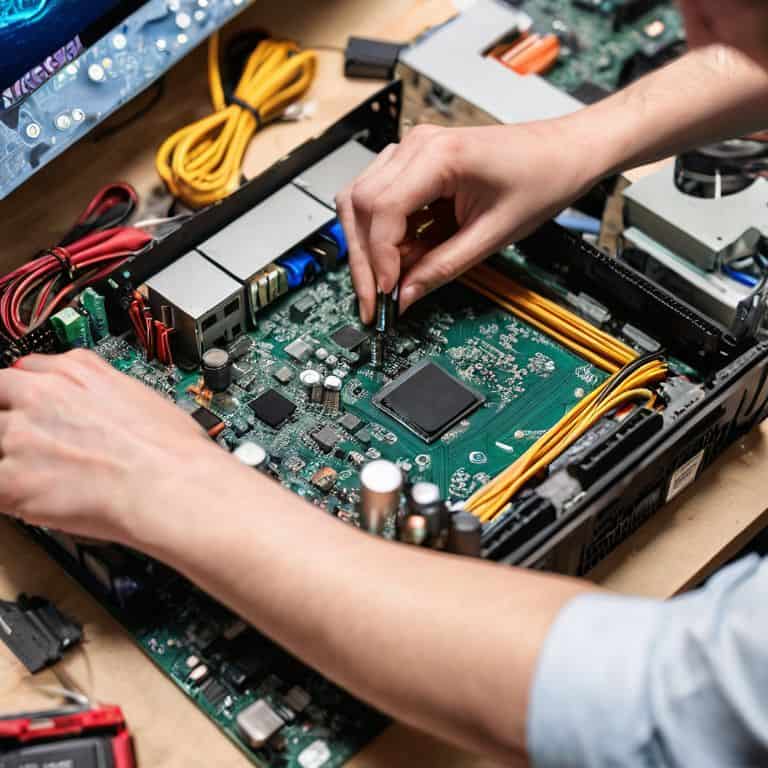
When it comes to assembling the PC, essential pc building tools are a must-have. I’ve found that having the right tools, such as a torque screwdriver and cable ties, can make the process much smoother. Additionally, proper cpu installation techniques are crucial to prevent damage to the CPU or motherboard. I’ve seen many novice builders struggle with this step, but with the right guidance, it can be a breeze.
To ensure a successful build, it’s also important to consider pc building safety precautions. This includes handling components with care, grounding oneself to prevent static electricity, and avoiding loose connections. By being mindful of these factors, builders can minimize the risk of damage to their components and create a reliable, high-performance PC.
Motherboard Mastery Effective Airflow Management Strategies
As I delve into the world of motherboard mastery, I’m reminded of my own 3D printing adventures, where precision and airflow play a crucial role. Effective airflow management is key to preventing overheating and ensuring your PC runs smoothly. It’s essential to choose a motherboard with a well-designed layout, allowing for ample airflow around components. I’ve seen firsthand how a cleverly designed motherboard can make all the difference in maintaining optimal temperatures.
By selecting the right motherboard and configuring your case for efficient airflow, you’ll be well on your way to creating a robust and reliable PC. This synergy between hardware and design is truly fascinating, and as someone who wears mismatched socks as a tribute to Turing’s eccentricity, I appreciate the beauty in unexpected solutions. With the right approach, you can avoid common pitfalls and create a PC that hums along quietly, its components working in harmony to deliver exceptional performance.
Overheating Prevention With Essential Pc Tools
As I delve into the world of PC building, I’m reminded of the importance of overheating prevention. It’s a rookie mistake that can be costly, literally. That’s why I always stress the need for essential PC tools like thermal paste, a reliable cooling system, and a trusty thermal monitor. These tools are the guardians of your PC’s health, ensuring that your components don’t get fried due to excessive heat.
I recall my early days of 3D printing, where temperature control was crucial. Similarly, in PC building, maintaining optimal temperatures is vital. By investing in these essential tools, you’ll be able to monitor and regulate your PC’s temperature, preventing overheating and prolonging its lifespan. It’s a simple yet effective way to safeguard your investment and ensure your PC runs smoothly, even during the most demanding tasks.
Byte-Sized Wisdom: 5 Crucial Tips to Sidestep Common PC Building Pitfalls
- Rushing the Research: Not verifying component compatibility before purchase
- Static Shock Horror: Failing to ground yourself with an anti-static strap or mat
- Cable Chaos: Inadequate cable management leading to airflow obstruction and dust accumulation
- Thermal Threats: Insufficient cooling systems or incorrect thermal paste application
- Power Play: Incorrectly installing or under-specifying the power supply for your build’s needs
Key Takeaways to Build a Dream PC
Always prioritize proper airflow management and overheating prevention strategies to ensure your PC’s longevity and optimal performance
Mastering the art of motherboard installation and cable management can significantly enhance your system’s overall efficiency and ease of maintenance
By avoiding common rookie mistakes and following tried-and-true best practices, you can create a custom PC that not only meets but exceeds your expectations, whether you’re a gamer, a content creator, or an AI enthusiast like myself
Wisdom from the Byte
As we embark on the thrilling journey of PC building, let’s not forget that the most powerful processor is the human brain – use it to sidestep common pitfalls and unleash a creation that’s truly greater than the sum of its parts.
Alex Byte
Conclusion: Mastering the Art of PC Building
As we’ve explored the common pitfalls to avoid in PC building, from overheating prevention to motherboard mastery, it’s clear that a successful build requires a combination of technical knowledge and attention to detail. By understanding the importance of essential PC tools and effective airflow management strategies, you’ll be well on your way to creating a high-performance machine that meets your needs and exceeds your expectations. Remember, the key to a successful build is not just about avoiding mistakes, but also about continuous learning and a willingness to adapt to new technologies and techniques.
As you embark on your own PC building journey, I encourage you to embrace the process with curiosity and optimism, just as I do when I’m 3D printing futuristic gadgets or exploring the latest advancements in AI research. By doing so, you’ll not only create a powerful computer, but also develop a deeper appreciation for the intersection of humanity and technology, and perhaps, like me, you’ll find yourself inspired to push the boundaries of what’s possible in this exciting and ever-evolving field.
Frequently Asked Questions
What are the most common causes of overheating in a PC and how can I prevent them?
Overheating woes! I’ve been there, too. Common culprits include dust buildup, poor airflow, and inadequate cooling systems. To prevent them, ensure regular cleaning, opt for a well-ventilated case, and invest in a reliable CPU cooler. Trust me, it’s worth the byte – your PC will thank you!
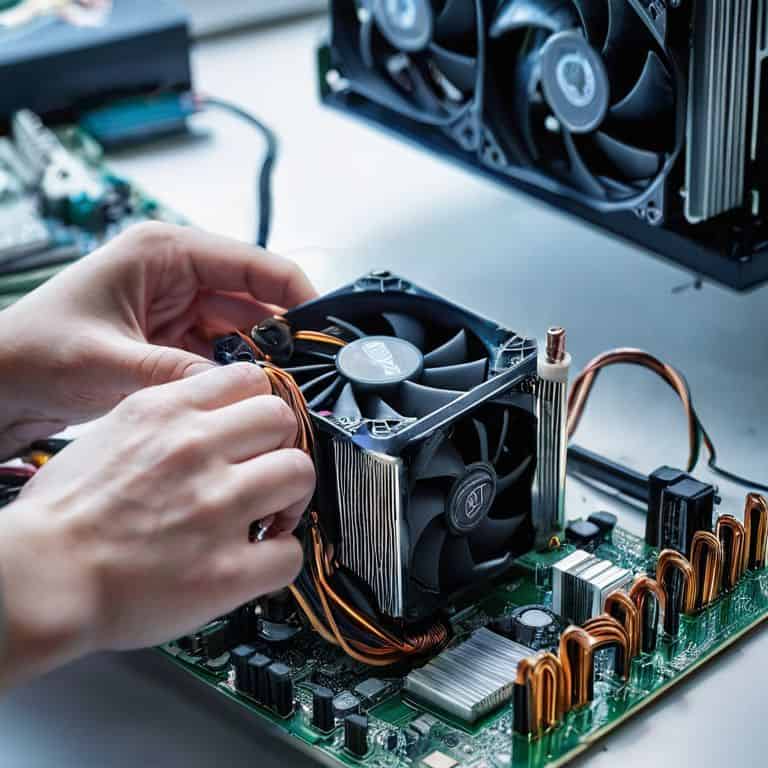
How do I know if I've properly installed the CPU cooler to avoid damage to the motherboard?
To ensure your CPU cooler is installed correctly, double-check the mounting mechanism and thermal paste application. A snug, even fit is key – not too tight, not too loose. Verify the cooler’s power cable is securely connected to the motherboard, and you’re good to go!
Are there any specific tools or software that can help me diagnose and fix common PC building mistakes before they become major issues?
I swear by tools like GPU-Z, CPU-Z, and HWiNFO for stress-testing and monitoring my PC’s vitals. For diagnosing issues, I rely on software like MemTest86+ and Prime95 – they’ve saved me from many a headache!