I still remember the first time I tried to assemble a PC – it was like trying to solve a puzzle blindfolded. The numerous components, the intricate instructions, it all seemed overwhelming. But, as I delved deeper into the world of computer science, I realized that a step-by-step pc assembly guide isn’t just about following instructions, it’s about understanding the harmony between hardware and software. The common myth that building a PC is only for tech wizards is far from the truth. With the right guidance, anyone can embark on this exciting journey.
As you read through this article, you’ll discover that assembling a PC is more than just a task – it’s an adventure. You’ll learn how to choose the perfect components, how to troubleshoot common issues, and most importantly, how to bring your creation to life. My goal is to provide you with practical advice and honest insights that will make your PC assembly experience a breeze. By the end of this step-by-step pc assembly guide, you’ll be equipped with the knowledge and confidence to build a PC that suits your needs, and maybe, just maybe, you’ll catch the PC building bug like I did.
Table of Contents
- Guide Overview: What You'll Need
- Step-by-Step Instructions
- A Step by Step Pc Assembly Guide
- Choosing the Right Cpu Cooler for Optimal Performance
- Essential Tools and Pc Building Safety Precautions
- Assembly Mastery: 5 Tips to Supercharge Your PC Building Experience
- Key Takeaways for a Seamless PC Assembly Experience
- Building Wisdom
- Conclusion: Empowering Your Digital Dreams
- Frequently Asked Questions
Guide Overview: What You'll Need
Total Time: 2 hours 30 minutes
Estimated Cost: $500 – $1000
Difficulty Level: Intermediate
Tools Required
- Screwdriver (both flathead and Phillips)
- Torx driver (for certain CPU coolers)
- Pliers (for gripping small components)
- Wire cutters (for managing cables)
- Thermal paste (for CPU cooler installation)
Supplies & Materials
- CPU Choose a compatible CPU for your motherboard
- Motherboard Select a motherboard that fits your case and meets your needs
- RAM Ensure the RAM is compatible with your motherboard
- Storage Drive Choose between a Hard Disk Drive or Solid State Drive
- Power Supply Select a power supply that meets your system’s power requirements
- Graphics Card Optional, but required for gaming or graphics-intensive tasks
- Case Choose a case that fits your motherboard and has good airflow
- Cooling System Choose between a CPU cooler and a case fan
Step-by-Step Instructions
- 1. First, let’s start with the unboxing of our PC components. This is an exciting part of the process, as we get to see all the parts we’ve carefully selected to bring our computer to life. Take your time to inspect each component for any damage and make sure everything is accounted for, from the CPU to the screws.
- 2. Next, we’ll prepare the case for assembly. This involves removing any unnecessary packaging, installing the stand-offs for the motherboard, and ensuring that all the cables are neatly managed to provide a clean and efficient build environment. It’s essential to ground yourself by touching a grounded metal object or wearing an anti-static strap to prevent static electricity damage to your components.
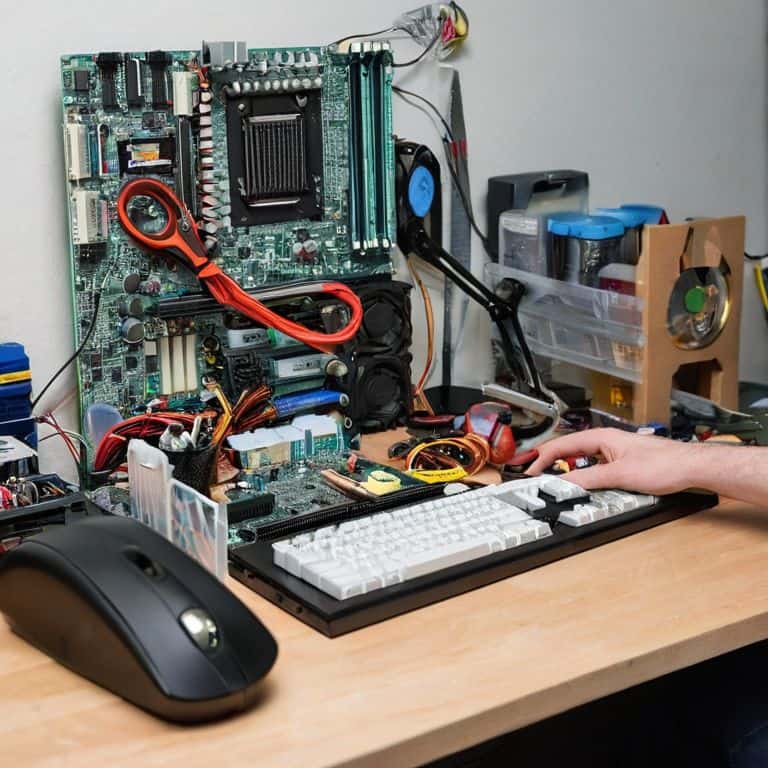
- 3. Now, let’s move on to the motherboard installation. This is perhaps the most critical part of the assembly process, as it requires careful handling and precise alignment. Start by removing the motherboard from its packaging and identifying the different components such as the CPU socket, RAM slots, and PCIe slots. Then, carefully align the motherboard with the stand-offs in the case and secure it using the provided screws.
- 4. The CPU installation is our next step. This involves applying a thin layer of thermal paste to the CPU die (the top surface), carefully removing the CPU from its packaging, and inserting it into the socket on the motherboard. Make sure to handle the CPU by the edges to prevent touching the pins or the die, which can damage the component. Once the CPU is securely in place, apply gentle pressure to ensure it’s seated correctly, and then secure it using the CPU cooler or the stock cooler provided with the CPU.
- 5. After installing the CPU, we’ll move on to the memory installation. This involves identifying the RAM slots on the motherboard, removing any protective covering from the RAM modules, and aligning the notches on the RAM with the tabs on the RAM slot. Gently push the RAM modules into the slots at a 45-degree angle, and then secure them by applying even pressure until they click into place.
- 6. Next up is the storage installation, which could be a hard drive, solid-state drive (SSD), or a combination of both. For an SSD, you’ll typically need to remove any screws holding the SSD tray in place, slide the SSD into the tray, and then secure it using the provided screws. For a hard drive, you’ll usually need to install it into a drive bay, securing it with screws, and then connect it to the motherboard using a SATA cable.
- 7. The power supply installation is another crucial step. Start by locating the power supply unit (PSU) bay in the case, removing any screws or clips that hold it in place, and then sliding the PSU into the bay. Secure the PSU using the provided screws, making sure not to overtighten them. Then, connect the PSU cables to the motherboard, CPU, and any other components that require power, such as the storage devices and fans.
- 8. Finally, let’s not forget the cooling system installation, which could range from a simple air cooler to a complex liquid cooling system. For a basic air cooler, you’ll need to apply thermal paste to the CPU (if not already done), align the cooler with the motherboard mounting holes, and secure it using the provided screws or clips. Ensure that all fans are connected to the appropriate fan headers on the motherboard or to a fan controller, and that the system is set up to provide optimal airflow within the case.
A Step by Step Pc Assembly Guide

As I delve into the world of PC assembly, I’m reminded of the importance of choosing the right cpu cooler, which can significantly impact your system’s performance. When selecting a cooler, consider the type of CPU you’re using and the overall airflow within your case. This is where optimizing pc airflow becomes crucial, as it can help prevent overheating and ensure your components run smoothly.
When it comes to the actual assembly, beginner friendly motherboard installation is key. Look for a motherboard with a clear, intuitive layout and plenty of room to work. Don’t be afraid to take your time and consult the manual if needed. Additionally, tips for proper cable routing can make a huge difference in maintaining a clean and organized build. This not only improves airflow but also makes it easier to troubleshoot any issues that may arise.
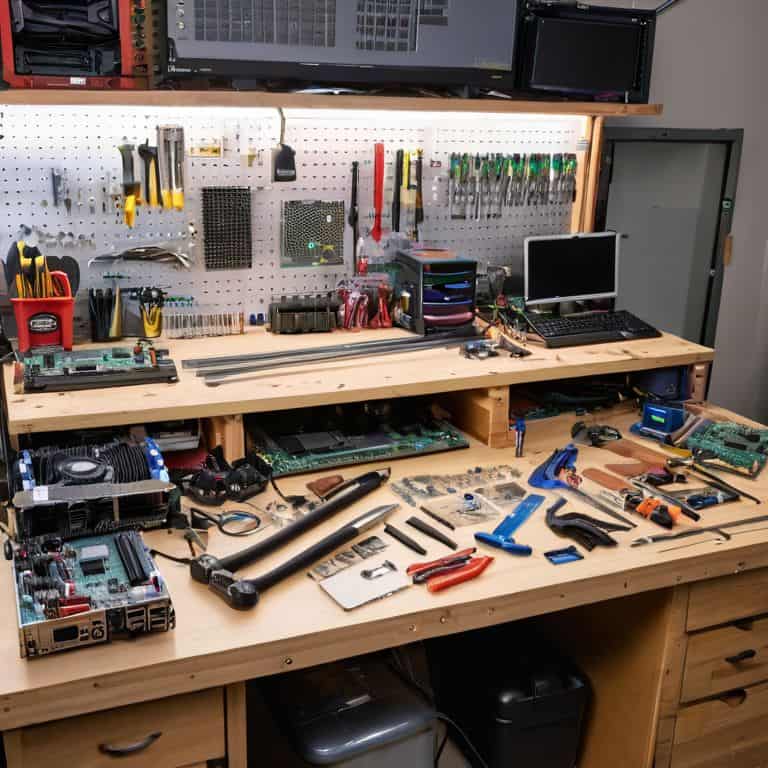
As you work on your PC, it’s essential to have the right tools at your disposal. Invest in a set of essential tools for building a pc, including a screwdriver, pliers, and cable ties. Remember to follow pc building safety precautions, such as grounding yourself to prevent static electricity damage. By being mindful of these details, you’ll be well on your way to creating a powerful and efficient PC that meets your needs.
Choosing the Right Cpu Cooler for Optimal Performance
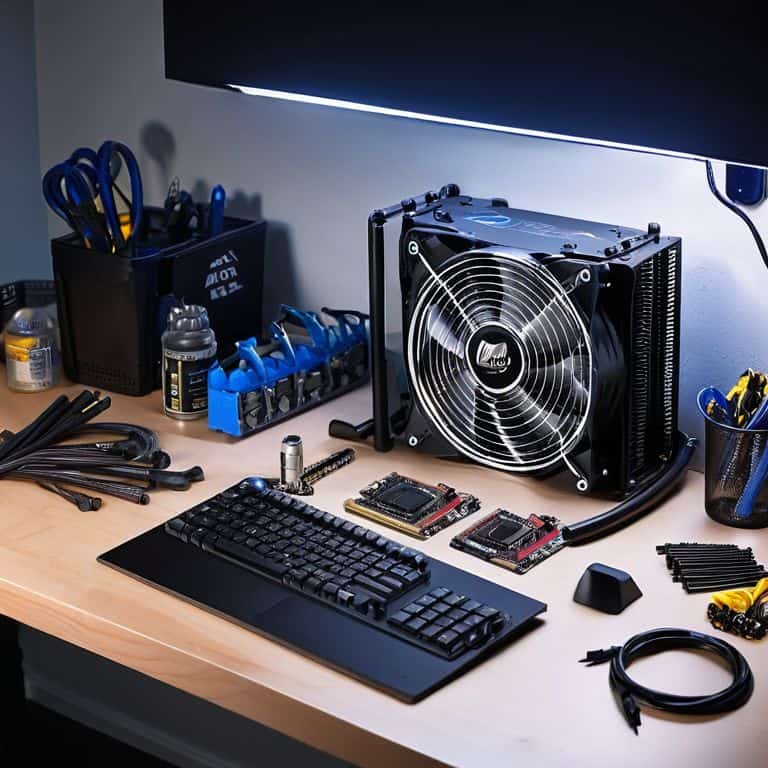
Choosing the right CPU cooler is a pivotal step in our PC assembly journey. As I delve into the world of cooling systems, I’m reminded of the intricate dance between heat dissipation and performance. A good CPU cooler can make all the difference in maintaining optimal temperatures, thereby ensuring our PC runs smoothly and efficiently. When selecting a cooler, I consider factors such as the type of CPU, the case’s airflow, and the overall system configuration. It’s a balancing act between noise levels, cooling capacity, and aesthetics – a challenge I relish, much like fine-tuning my 3D printed gadgets.
Essential Tools and Pc Building Safety Precautions
As I delve into the world of PC assembly, I always emphasize the importance of having the right tools for the job. A screwdriver set, pliers, and cable ties are my trusted companions. But, it’s not just about the tools – safety is paramount. I make sure to ground myself by touching a metal object or wearing an anti-static wrist strap to prevent damage to those sensitive components. It’s a habit I developed back in my DIY tech club days, and it’s stuck with me ever since.
When working with electrical components, I’m mindful of the potential risks. I ensure the area is clear of any liquids or flammable materials, and I never work on a PC when I’m tired or distracted. By taking these simple precautions, you can ensure a safe and enjoyable PC building experience.
Assembly Mastery: 5 Tips to Supercharge Your PC Building Experience
- Prepare for Lift-Off: Ensure your workspace is clear, well-lit, and equipped with an anti-static wrist strap to prevent damage to your components
- CPU Cooler Conquest: Select a CPU cooler that fits your case and provides adequate cooling for your processor, considering factors like noise level and power consumption
- Memory Lane: Handle RAM modules by the edges to prevent static electricity damage, and align the notches carefully before gently pushing them into their slots
- GPU Installation Guru: Remove any protective covering from the GPU’s gold contacts, handle it by the edges, and secure it firmly to the PCIe slot with screws, ensuring proper airflow
- Cable Management Mastery: Route cables behind the motherboard tray, zip-tie them to the case, and leave some slack for future upgrades, keeping your build neat, tidy, and efficient
Key Takeaways for a Seamless PC Assembly Experience
Always choose components that are compatible with each other to ensure a smooth assembly process and optimal performance
Prioritize static protection and handle components by the edges to prevent damage from static electricity, and keep your workspace clean and well-lit for ease of assembly
Remember, assembling a PC is a fun and educational DIY project – don’t be afraid to experiment, learn from your mistakes, and join online communities to share your experiences and get tips from fellow enthusiasts
Building Wisdom
Assembling a PC is not just about connecting wires and screws, it’s about crafting a gateway to endless possibilities, where each step is a brushstroke on the canvas of innovation, painted with curiosity, creativity, and a dash of technological wonder.
Alex Byte
Conclusion: Empowering Your Digital Dreams
As we conclude this step-by-step PC assembly guide, it’s essential to reflect on the key components and tools that make up your new system. From choosing the right CPU cooler for optimal performance to taking necessary PC building safety precautions, each step is crucial for a successful build. Remember, assembling a PC is not just about following instructions, but also about understanding how each part contributes to the overall performance and efficiency of your machine. By now, you should be confident in your ability to navigate the world of PC building and make informed decisions about your hardware.
As you plug in your newly assembled PC and watch it roar to life, remember that this is just the beginning of your digital journey. The world of technology is vast and ever-evolving, and embracing the process of learning and exploration is key to unlocking its full potential. So, don’t be afraid to experiment, innovate, and push the boundaries of what’s possible – and always keep in mind that the true magic happens at the intersection of humanity and artificial intelligence.
Frequently Asked Questions
What are the most common mistakes to avoid when assembling a PC for the first time?
As a seasoned DIY enthusiast, I’ve seen newcomers trip up on simple oversights. Common mistakes include handling components by the pins, not grounding themselves, and forgetting to connect the CPU power cable. Avoid these rookie errors and you’ll be well on your way to a successful build!
How do I ensure proper airflow and cooling within the PC case?
To ensure proper airflow, I always say it’s all about balance – you want to create a harmonious flow of air through your case. Look for a case with good ventilation, and don’t be afraid to add some extra fans to keep things cool. I like to think of it as orchestrating a symphony of airflow, where every component works together in perfect harmony.
Can I mix and match components from different manufacturers or should I stick to a single brand for compatibility?
When it comes to mixing and matching components, I say, go for it! While sticking to a single brand can ensure seamless compatibility, the beauty of PC building lies in customization. Just make sure to check compatibility before pairing components from different manufacturers – a little research can go a long way in creating your dream rig.