I still remember the first time I encountered a nail pop in my grandfather’s vintage drywall – it was as if a tiny piece of history had suddenly revealed itself, begging to be restored. As I delved into the world of DIY, I realized that knowing how to fix a nail pop in drywall wasn’t just about filling a hole, but about preserving the character of a space. The common myth that these imperfections are impossible to fix without hiring a professional is simply not true – with the right tools and a bit of patience, anyone can become a master restorer.
As you embark on this journey with me, I promise to share practical, no-nonsense advice on how to tackle those pesky nail pops. In this article, you’ll discover the simple, step-by-step process to identify, prepare, and seamlessly repair nail pops in your drywall, ensuring that your walls look brand new again. Whether you’re a seasoned DIY enthusiast or a curious beginner, I’m excited to guide you through the process, and by the end of it, you’ll be equipped with the confidence to tackle any drywall imperfection that comes your way.
Table of Contents
Guide Overview: What You'll Need
Total Time: 30 minutes to 1 hour
Estimated Cost: $10 – $30
Difficulty Level: Easy
Tools Required
- Utility Knife (with extra blades)
- Screwdriver (for removing screws)
- Pencil (for marking the area)
- Putty Knife (for applying spackling compound)
- Sanding Block (for smoothing the surface)
Supplies & Materials
- Drywall Patch Kit
- Spackling Compound
- Sandpaper (for smoothing the area)
- Joint Compound (for finishing the repair)
- Paint (for matching the wall color)
Step-by-Step Instructions
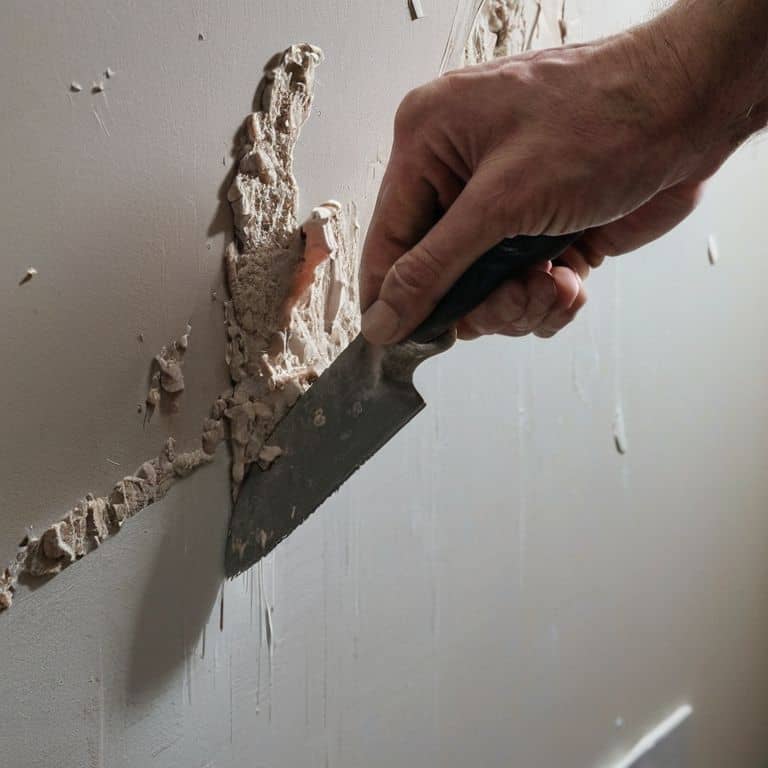
- 1. First, let’s get our hands dirty and assess the situation – take a closer look at the nail pop and determine its depth. This will help us decide how much joint compound we’ll need and if we have to deal with any underlying issues.
- 2. Next, we’ll need to gather our trusty tools and materials, including a putty knife, some joint compound, a sanding block, and a paintbrush. I like to think of this step as preparing for a creative battle, where we’re about to transform an eyesore into a work of art.
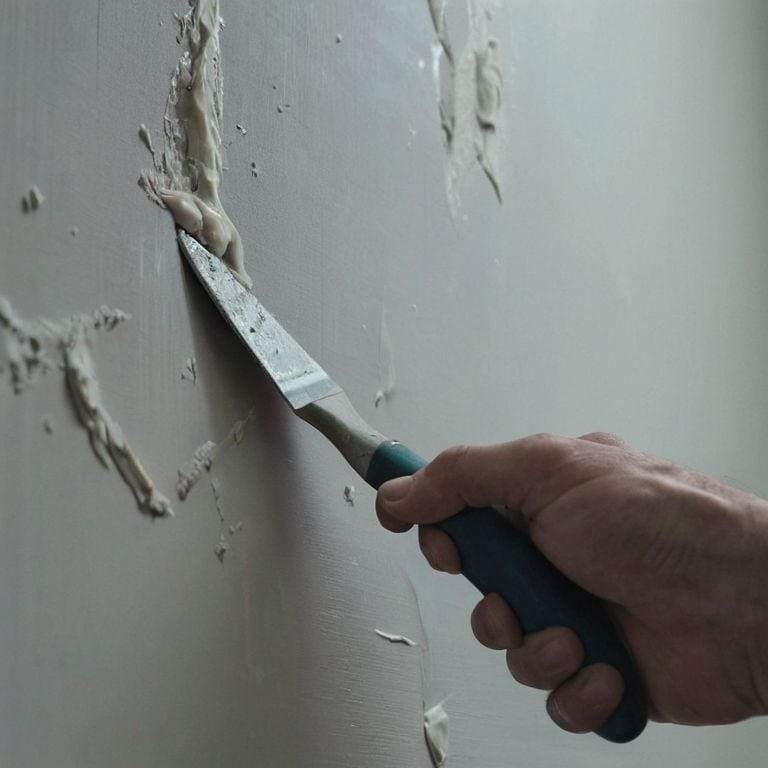
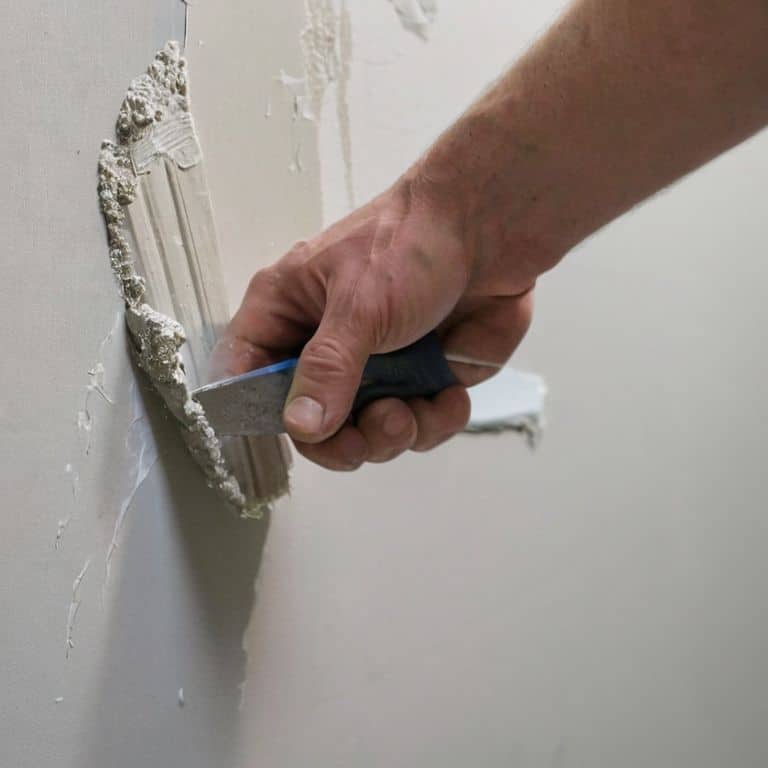
- 3. Now, it’s time to apply the joint compound to the nail pop using our putty knife. Spread a thin layer of compound over the affected area, making sure to fill the indentation completely. Don’t worry if it gets a bit messy – that’s all part of the fun.
- 4. After applying the compound, let it dry completely according to the manufacturer’s instructions. This might take anywhere from 30 minutes to an hour, depending on the type of compound you’re using. While we wait, I like to take a moment to admire my colorful sock collection, which always seems to inspire me to think outside the box.
- 5. Once the compound is dry, it’s time to sand it down to a smooth finish. Using our sanding block, gently sand the area in a circular motion, making sure to feather the edges so that the repair blends in seamlessly with the surrounding drywall.
- 6. If necessary, apply a second coat of joint compound and let it dry before sanding again. This might be the case if the nail pop was particularly deep or if we’re dealing with a larger area of damage. Remember, patience is key when it comes to achieving a flawless finish.
- 7. Finally, after our repair is sanded to perfection, we can paint over the area to match the rest of the wall. I love this step, as it’s like adding the final brushstroke to a masterpiece – our hard work is now hidden, but the sense of satisfaction remains.
Fixing Nail Pops With Flair
As I always say, the fun part of any DIY project is adding that personal touch, and fixing nail pops is no exception. When it comes to drywall nail pop causes, it’s essential to understand that they often occur due to the natural settling of a house. To add some flair to your repair, consider using best drywall repair compounds that are not only effective but also environmentally friendly. This way, you’re not only fixing the issue but also contributing to a more sustainable living space.
Now, let’s talk about the tools of the trade. I’m a firm believer in using the right tool for the job, and when it comes to drywall, the debate between screw vs nail is ongoing. However, for repairing nail pops, I recommend using screws to ensure a more secure hold. Once you’ve made the repair, it’s time to sand it down, and that’s where drywall sanding techniques come into play. Remember to use a light touch and work your way up to finer grits for a smooth finish.
To prevent those pesky nail pops from coming back, it’s crucial to understand the importance of preventing future nail pops. This can be achieved by ensuring your drywall is properly secured to the studs and using the right type of fasteners. For drywall repair for beginners, it’s all about taking your time and being patient. Don’t be discouraged if it takes a few attempts to get it just right – with practice, you’ll be a pro at fixing nail pops in no time, and you can move on to more exciting projects, like upcycling vintage furniture.
Mastering Drywall Repair for Beginners
As a beginner, mastering drywall repair is all about embracing the process with a dash of creativity. I always say, it’s not just about fixing a nail pop, but about uncovering the story behind it. Maybe it’s a sign that the house is settling, or perhaps it’s a hint that the previous owners had a keen eye for DIY projects. Whatever the reason, I encourage you to view each repair as an opportunity to leave your mark. For me, it’s all about donning the right pair of socks – in this case, my favorite Picasso pair – and getting to work with a putty knife and some joint compound.
With a little practice, you’ll be fixing nail pops like a pro, and who knows, you might just discover a new hobby. Remember, it’s all about having fun and being playful with the process. Don’t be afraid to experiment and try new things – after all, that’s what upcycling vintage furniture is all about. And when you’re done, step back and admire your handiwork, knowing that you’ve not only fixed a nail pop, but also added a piece of yourself to the story of your home.
Uncovering Drywall Nail Pop Causes
Uncovering the reasons behind those pesky nail pops is like being a detective on a mission to solve a quirky mystery. As I always say, understanding the “why” is just as important as mastering the “how.” In my experience, nail pops often occur due to the natural settling of a house, where the foundation shifts and the drywall contracts, causing the nails to become dislodged. Other culprits can include poor installation, high humidity, or even the occasional over-enthusiastic hammer swing. By getting to the root of the issue, we can prevent future pops from, well, popping up. It’s all about embracing the imperfections and turning them into unique characteristics, much like I do when upcycling vintage furniture – and, of course, wearing my trusty Van Gogh socks for inspiration.
Nailing It: 5 Whimsical Tips to Fix Those Pesky Nail Pops

- Let the compound set like a masterpiece: give your joint compound ample time to dry, just like waiting for the perfect glaze to set on a vintage upcycling project
- Sand with a gentle touch: use a fine-grit sandpaper to smooth out the area, much like refinishing a beautifully worn wooden chair
- Pick the right putty knife for the job: a flexible putty knife is your best friend when applying compound, just as a trusty paintbrush is for adding a pop of color to a quirky art piece
- Lighten up with the right lighting: proper lighting can make all the difference when inspecting your handiwork, much like admiring the intricate details on a vintage brooch
- Add a dash of patience: fixing nail pops is an art that requires time and finesse, so don’t rush the process – just like meticulously restoring a vintage armchair to its former glory
Nailing It: 3 Key Takeaways for a Pop-Free Drywall
To fix a nail pop, you’ll want to grab a putty knife and some joint compound – it’s like giving your drywall a brand new lease on life, just like I do with my vintage furniture upcycling projects!
Uncovering the causes of those pesky nail pops is key, whether it’s from a settling foundation or a wonky nail, and mastering the basics of drywall repair will have you patching like a pro in no time
With a dash of flair and a pinch of patience, you can turn those annoying nail pops into a thing of the past, and I should know – I’ve got a pair of Picasso socks to prove it, and they’re cheering you on to DIY victory!
Popping Wisdom
The art of fixing a nail pop in drywall is not just about filling a hole, it’s about breathing new life into the walls that tell our stories, and with every scrape of the putty knife, we’re not just repairing, we’re rewriting the history of our homes, one whimsical stroke at a time.
James O'Neill
Wrapping Up with a Flourish
As we’ve explored the whimsical world of drywall repair, we’ve uncovered the causes of those pesky nail pops and learned how to master the art of fixing them. From the initial step-by-step guide to the flair of uncovering and repairing, we’ve seen that with a little creativity and the right tools, anyone can turn a damaged wall into a work of art. My trusty putty knife and I have been on quite the journey, and I hope you’ve been inspired to join in on the fun, donning your own pair of colorful socks to match the unique spirit of your project.
So, the next time you’re faced with a nail pop, remember that it’s not just a flaw – it’s an opportunity to add some character to your space and make it truly one-of-a-kind. As you embark on your own DIY adventures, keep in mind that the beauty of upcycling and repurposing isn’t just about saving old materials, but about infusing them with new life and personality. Happy crafting, and don’t forget to show off your quirky creations!
Frequently Asked Questions
What are some common mistakes to avoid when fixing a nail pop in drywall?
Now, let’s get real – when fixing nail pops, I’ve seen folks forget to sand those patched areas smooth, or apply too much joint compound, causing a mess. Others neglect to prime before painting, leading to uneven finishes. Trust me, I’ve been there too, but with a little patience and practice, you’ll be a pro at fixing those pesky nail pops in no time!
Can I use a different type of compound or filler for a more textured or smooth finish?
Absolutely, my friend! Depending on the look you’re going for, you can experiment with different compounds or fillers. For a more textured finish, try a skip-trowel joint compound, while a smooth finish might call for a lightweight spackling compound. Just remember, the key is to match the surrounding area for a seamless blend – and don’t forget to wear your favorite socks for good luck, like my Van Gogh pair!
How do I prevent nail pops from forming in the first place, especially in newly installed drywall?
To prevent nail pops, I always say, ‘start with a solid foundation!’ Ensure your drywall is properly secured to the studs, and consider using screws instead of nails for a tighter hold. It’s like building a sturdy base for my vintage furniture upcycling projects – a strong foundation makes all the difference!