I still remember the first time I attempted to fix a hole in my drywall – it was a disaster. I had heard that finding the best drywall repair kits for beginners was the key to a successful fix, but I soon realized that it’s not just about the kit, it’s about understanding the process. As someone who’s passionate about upcycling and giving old things new life, I was determined to master the art of drywall repair. I’ve learned that it’s essential to separate fact from fiction, and that’s exactly what I aim to do in this guide.
In this article, I’ll share my honest, no-hype advice on how to choose and use the best drywall repair kits for beginners. I’ll walk you through the process, from preparation to finishing touches, and provide you with practical tips and tricks to ensure a successful repair. Whether you’re a DIY enthusiast or a complete newbie, my goal is to empower you with the knowledge and confidence to tackle any drywall repair project that comes your way. So, let’s get started and turn those damaged walls into a thing of the past, shall we?
Table of Contents
- Guide Overview: What You'll Need
- Step-by-Step Instructions
- Unlocking Best Drywall Repair Kits
- Hammering Home Success: 5 Essential Tips for Beginners Using the Best Drywall Repair Kits
- Key Takeaways for a Flawless Drywall Repair
- A Word of Wisdom
- Conclusion: Bringing Your Vision to Life
- Frequently Asked Questions
Guide Overview: What You'll Need
Total Time: 1 hour 30 minutes
Estimated Cost: $20 – $40
Difficulty Level: Easy
Tools Required
- Utility Knife (with extra blades)
- Sanding Sponge (medium-grit)
- Putty Knife (6 inches)
- Drill (for mixing)
- Mud Pan (for holding compound)
Supplies & Materials
- Drywall Patch Kit (including patch, tape, and joint compound)
- Joint Compound (also known as spackling compound)
- Sandpaper (light-grit for finishing)
- Paint (for matching the wall color)
- Primer (optional, for a smooth finish)
Step-by-Step Instructions
- 1. First, let’s get started with the basics – gathering our tools and materials. As a beginner, it’s essential to have the right drywall repair kit, which usually includes a putty knife, sandpaper, joint compound, and a few other handy items. I always like to wear my favorite Picasso-inspired socks when I’m about to get creative with some DIY magic.
- 2. Next, we need to assess the damage and prepare the area around the hole or crack. This means clearing any furniture or debris away from the wall and laying down a drop cloth to protect your floor from any potential mess. I like to think of this step as the calm before the storm, where we set the stage for a successful repair.
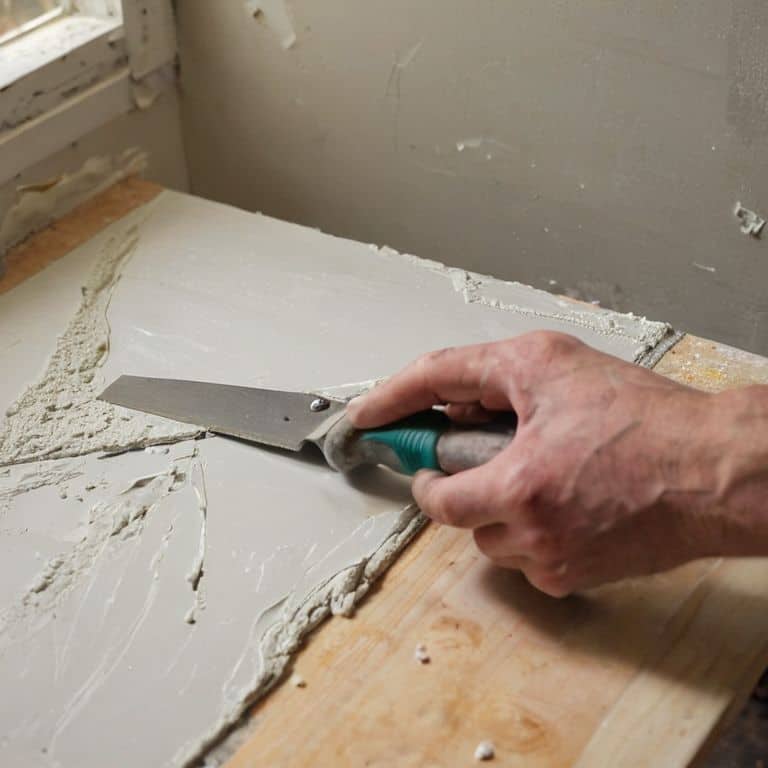
- 3. Now it’s time to apply the joint compound to the damaged area using our trusty putty knife. Be sure to spread it evenly, covering the entire hole or crack, but don’t overdo it – we don’t want a thick layer that will take forever to dry. As I always say, less is more, especially when it comes to the first coat.
- 4. After applying the compound, allow it to dry completely, according to the instructions provided with your drywall repair kit. This is usually the most time-consuming part of the process, but be patient – it’s worth the wait. Use this time to grab a snack, browse some interior design inspiration, or simply take a short break to recharge.
- 5. Once the compound is dry, it’s time to sand it down to a smooth finish. Start with a coarse-grit sandpaper and work your way up to a finer grit for a seamless blend with the surrounding wall. Remember to work in small circular motions to avoid scratching the surface.
- 6. If necessary, apply a second or even third coat of joint compound, following the same process as before. This will depend on the size and depth of the hole or crack, as well as the desired finish. Just keep in mind that multiple thin coats are always better than one thick, uneven layer.
- 7. Finally, after our final coat of compound has dried and been sanded, it’s time to paint and finish. Choose a paint color that matches the surrounding area, and apply it according to the manufacturer’s instructions. I love this part, as it’s where the magic happens, and our repaired wall starts to look like new again.
Unlocking Best Drywall Repair Kits
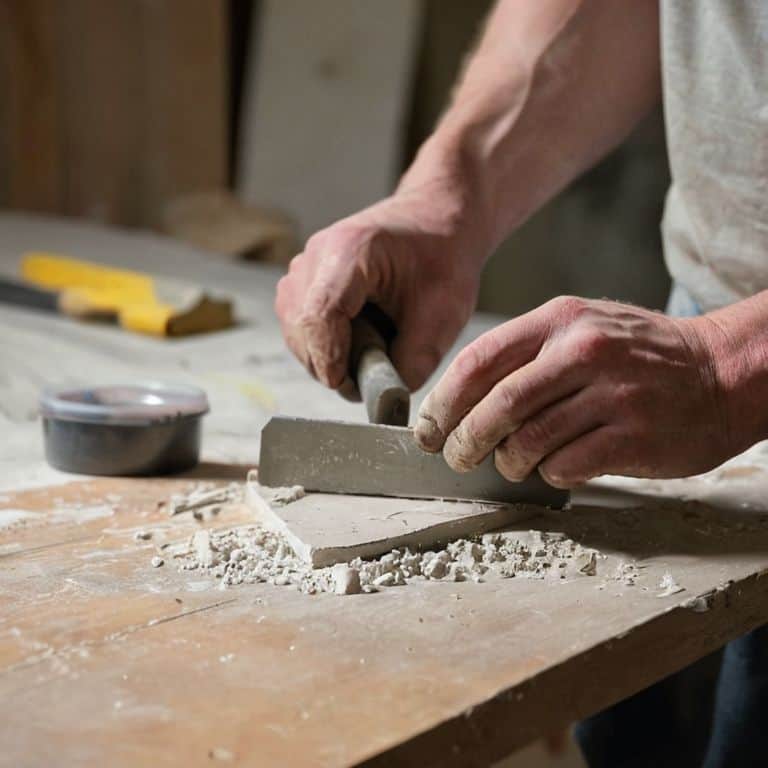
As I delve into the world of drywall repair, I’ve come to realize that mastering drywall patching techniques is an art that requires patience, practice, and the right tools. One of the most crucial elements in achieving a seamless finish is selecting the best spackle for beginners. I’ve experimented with various types, and I can confidently say that a good spackle can make all the difference in hiding those unsightly holes and cracks.
When it comes to fixing drywall holes, it’s essential to have the right drywall repair tool sets at your disposal. These sets usually include a putty knife, sanding block, and a drill, among other tools. By investing in a comprehensive tool set, you’ll be well-equipped to tackle even the most daunting drywall challenges. Additionally, I’ve found that drywall sanding tips and tricks can be a game-changer in achieving a smooth finish. It’s all about using the right grit and technique to sand down those rough edges.
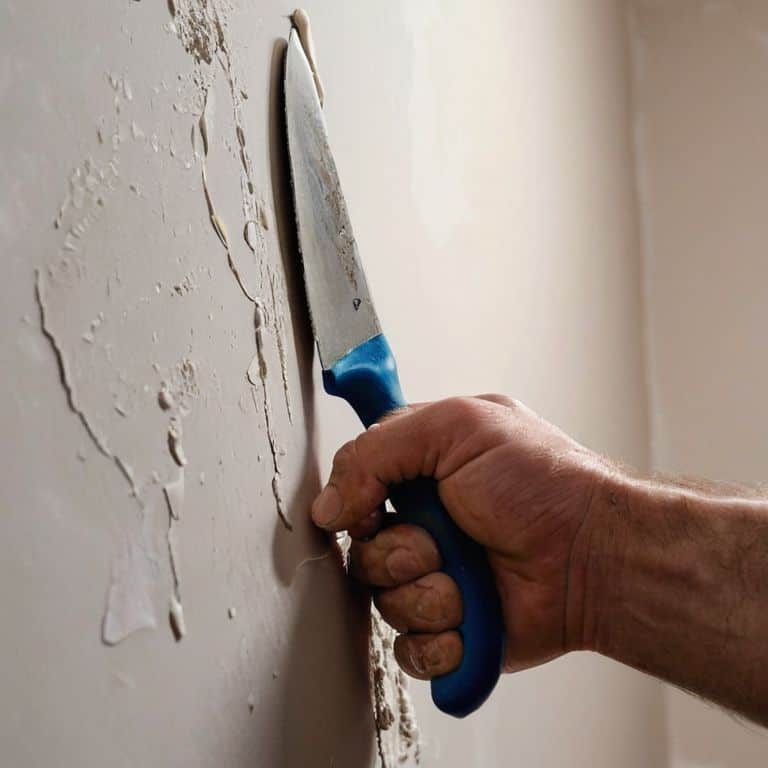
To avoid common mistakes, it’s crucial to understand the basics of drywall repair. I’ve learned that how to fix drywall holes is not just about slapping on some spackle and calling it a day. It’s about taking the time to properly clean and prepare the area, applying the right amount of pressure, and allowing the spackle to dry completely before sanding. By following these simple tips and investing in the right tools, you’ll be well on your way to becoming a drywall repair pro, and I’m excited to see the creative projects you’ll bring to life.
Avoiding Common Mistakes With Drywall Tool Sets
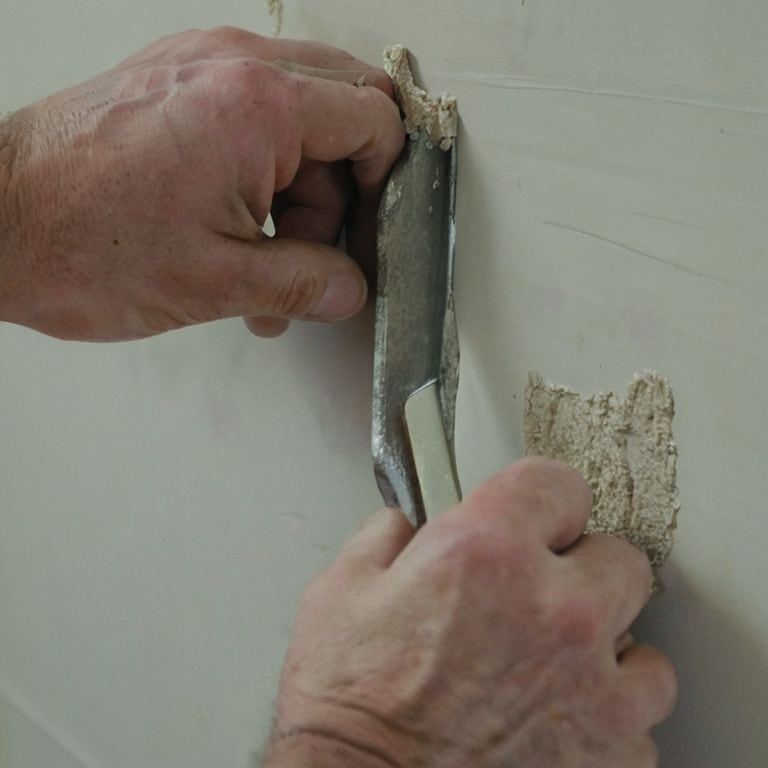
As I always say, a good drywall repair kit is only as good as the hands that wield it. I’ve seen many a beginner (myself included, back in the day) get frustrated with less-than-stellar results. The key to avoiding those pesky mistakes? Understanding the tools of the trade. Make sure you’re using the right type of sandpaper, and don’t be afraid to get a little aggressive with that joint compound – it’s all about finding the perfect balance.
When working with drywall tool sets, it’s essential to keep your workspace clean and organized. A cluttered area can lead to misplaced tools, and before you know it, you’re struggling to find that one vital piece. Trust me, I’ve been there – sporting my favorite Van Gogh socks, only to realize I’ve misplaced my trusty putty knife. Take a deep breath, stay focused, and remember, practice makes perfect.
Patching the Past With Spackle Magic
As I delve into the world of drywall repair, I find myself enchanted by the humble spackle. This unassuming hero can transform a worn-out wall into a smooth canvas, ready for its next chapter. I recall a particularly quirky upcycling project where I used a vintage spackle to fill in the gaps of a distressed wooden bench, turning it into a one-of-a-kind masterpiece. My trusty pair of Van Gogh-inspired socks seemed to spark an extra dose of creativity that day.
With the right spackle, even the most daunting drywall damage can be tamed. I’ve experimented with various types, from lightweight to heavy-duty, and each has its own unique charm. By combining the best drywall repair kits with a dash of spackle magic, beginners can unlock a world of possibilities, breathing new life into tired spaces and turning them into vibrant, eclectic havens.
Hammering Home Success: 5 Essential Tips for Beginners Using the Best Drywall Repair Kits
- Always prep your workspace with a drop cloth or old sheets to protect your floors from dust and debris – trust me, your significant other will thank you!
- Choose a drywall repair kit that includes a putty knife with a comfortable grip, as you’ll be using it extensively to spread and smooth out the spackle
- Apply a thin layer of spackle to the damaged area, allowing it to dry completely before sanding – patience is a virtue, my friends, especially when it comes to achieving a seamless finish
- Experiment with different types of sandpaper grits to find the one that works best for your project, and don’t be afraid to get creative with your sanding techniques
- When selecting a drywall repair kit, consider the size of the damaged area and the type of drywall you’re working with – some kits are specifically designed for smaller repairs, while others can handle larger, more extensive projects
Key Takeaways for a Flawless Drywall Repair
Always remember to choose the right drywall repair kit for your needs, considering factors like the size of the damage and the type of finish you want to achieve – it’s like picking the perfect brush for a masterpiece!
Mastering the art of spackling is crucial; it’s not just about slapping on some filler, but about creating a seamless blend between old and new, much like upcycling a vintage chair to fit into a modern decor
Don’t be afraid to experiment and add your personal touch to the repair process – after all, it’s the unique imperfections that give character to a room, and with the right tools and mindset, you can turn any repair into a quirky work of art
A Word of Wisdom
The best drywall repair kits for beginners are not just about fixing holes, they’re about uncovering the story behind every wall, and with every patch, we’re not just repairing, we’re rewriting the narrative of our homes, one spackle at a time.
James O'Neill
Conclusion: Bringing Your Vision to Life
As we wrap up our journey through the best drywall repair kits for beginners, it’s essential to remember that the key to a successful renovation lies in the details. From choosing the right spackle to avoiding common mistakes with drywall tool sets, every step counts. By following the steps outlined in this guide and unlocking the potential of these enchanted kits, you’ll be well on your way to transforming your space into a unique reflection of your personality. Whether you’re a seasoned DIY enthusiast or just starting out, the sense of accomplishment that comes with breathing new life into your walls is unparalleled.
As you embark on your own DIY adventures, remember that it’s not just about fixing holes and cracks – it’s about unleashing your creativity and turning your house into a home. So, don’t be afraid to get a little messy, to experiment, and to try new things. With the right tools and a dash of imagination, you can turn even the most mundane repair jobs into works of art. Happy building, and I’ll see you in the next post, where we’ll dive into the wonderful world of upcycling vintage furniture – with my trusty pair of Van Gogh-inspired socks leading the way!
Frequently Asked Questions
What are the most essential tools to have in a drywall repair kit for a beginner?
For a beginner, I swear by a trusty putty knife, sanding block, and a mud pan – these are the ultimate trio to get you patching like a pro! Don’t forget a utility knife and some joint compound, and you’re all set for a seamless repair, my friend!
How do I choose the right type of drywall repair kit for the specific damage I'm trying to fix?
Choosing the right drywall repair kit is all about matching the damage – for small holes, I swear by kits with spackling compound, while larger gaps call for joint compound and mesh patches. Let the size and type of damage be your guide, and don’t be afraid to mix and match for the perfect fix!
Are there any eco-friendly or sustainable drywall repair kit options available for those looking to reduce their environmental impact?
Ah, you’re thinking green, my friend! Yes, there are fantastic eco-friendly drywall repair kits out there, made with natural materials and minimal waste. Look for kits using plant-based spackles or those with recyclable contents. I’ve got a soft spot for the ‘EcoPatch’ kit, which uses a brilliant combination of natural fibers and low-VOC compounds – it’s a game-changer for sustainable DIY enthusiasts like us!