I still remember the day I inherited a vintage armchair with a gaping hole in the wall behind it – a harsh reminder that even the most beautiful pieces can have their flaws. As I embarked on my mission to upcycle this charming find, I realized that learning how to patch a large hole in drywall was not just a necessary evil, but an opportunity to breathe new life into a space. The myth that fixing holes in drywall is a daunting, professional-only task is just that – a myth. With the right mindset and a few simple tools, anyone can turn a damaged wall into a blank canvas waiting for its next story.
As you dive into this guide, you can expect honest, no-nonsense advice on transforming those pesky holes into seamless surfaces. I’ll walk you through the process of how to patch a large hole in drywall, from preparation to the final touch-ups, ensuring that your walls are not only functional but also a reflection of your unique style. By the end of this journey, you’ll be equipped with the confidence to tackle even the most intimidating holes, and maybe, just maybe, you’ll find yourself uncovering the hidden potential in every forgotten piece, just like I do with my quirky upcycling projects – all while wearing my trusty Picasso-inspired socks, of course.
Table of Contents
Guide Overview: What You'll Need
Total Time: 2 hours 30 minutes
Estimated Cost: $20 – $50
Difficulty Level: Intermediate
Tools Required
- Utility Knife (with extra blades)
- Drill (with screwdriver and drywall bits)
- Sanding Block (for smoothing out the patch)
- Mud Pan (for mixing joint compound)
- Putty Knife (6 inches and 12 inches for applying compound)
- Saw or Drywall Cutter (for cutting drywall to size)
Supplies & Materials
- Drywall Patch Kit
- Joint Compound (also known as spackling compound)
- Drywall Tape (for reinforcing the patch)
- Screws (1 inch or 1.5 inches drywall screws)
- Sandpaper (for light sanding)
- Paint (for matching the wall color after the patch is complete)
Step-by-Step Instructions
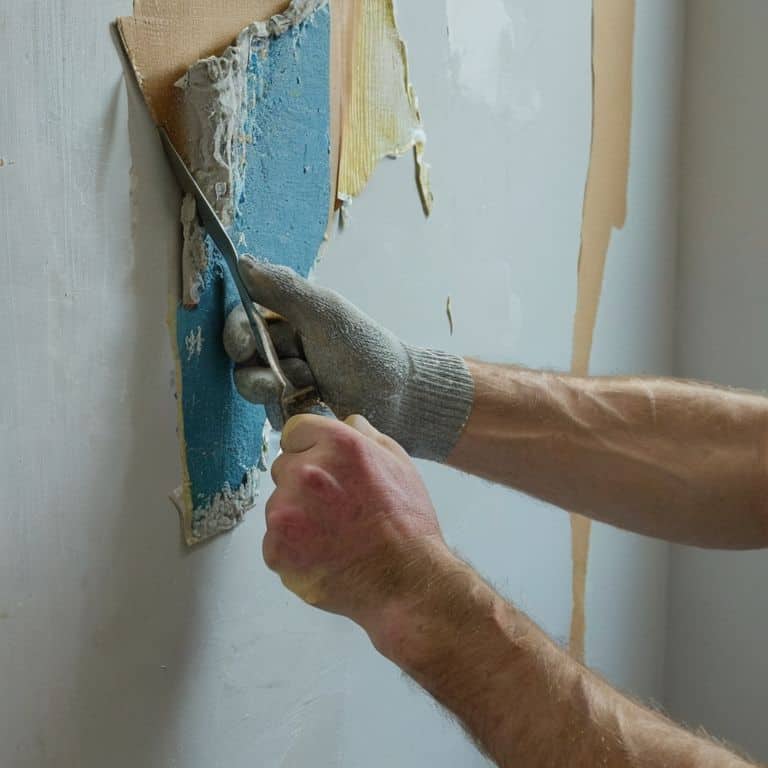
- 1. First, let’s get started by gathering our tools and materials, because, as any DIY enthusiast knows, having everything you need within arm’s reach is key to a smooth and enjoyable process. For this project, you’ll need a drywall repair kit, a putty knife, some sandpaper, a paintbrush, and a bit of joint compound. I like to wear my Van Gogh socks for inspiration when I’m working with compound – there’s something about the swirling patterns that gets my creative juices flowing.
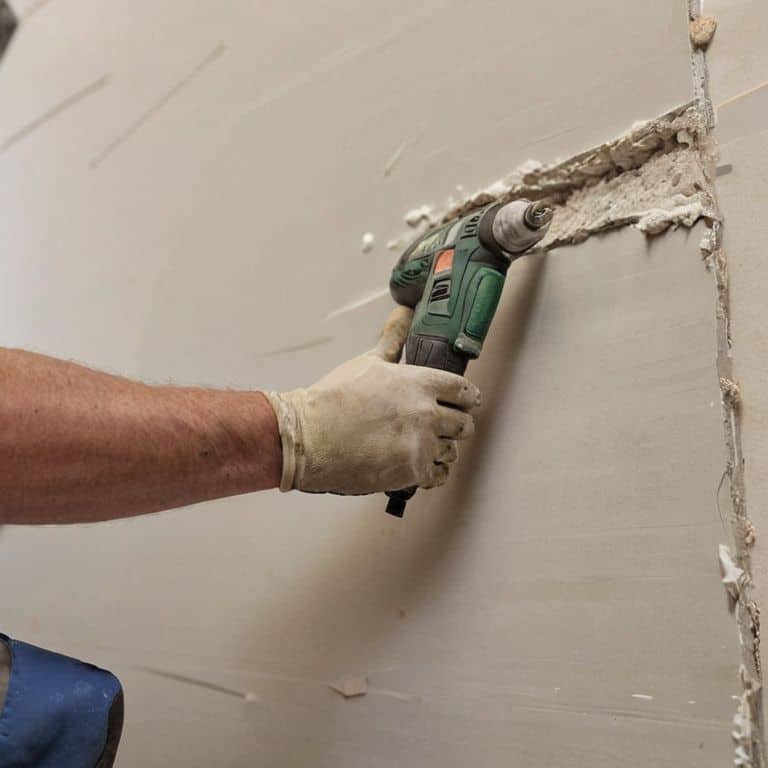
- 2. Next, we need to clean the area around the hole. This step is crucial because any debris or dust can interfere with the repair process. Use a vacuum cleaner or a damp cloth to wipe down the surface, making sure it’s free from any particles. As I work, I often think about the history of the piece I’m repairing – the stories it could tell if it could speak – and that thought always brings a smile to my face, especially when I’m wearing my favorite Monet socks.
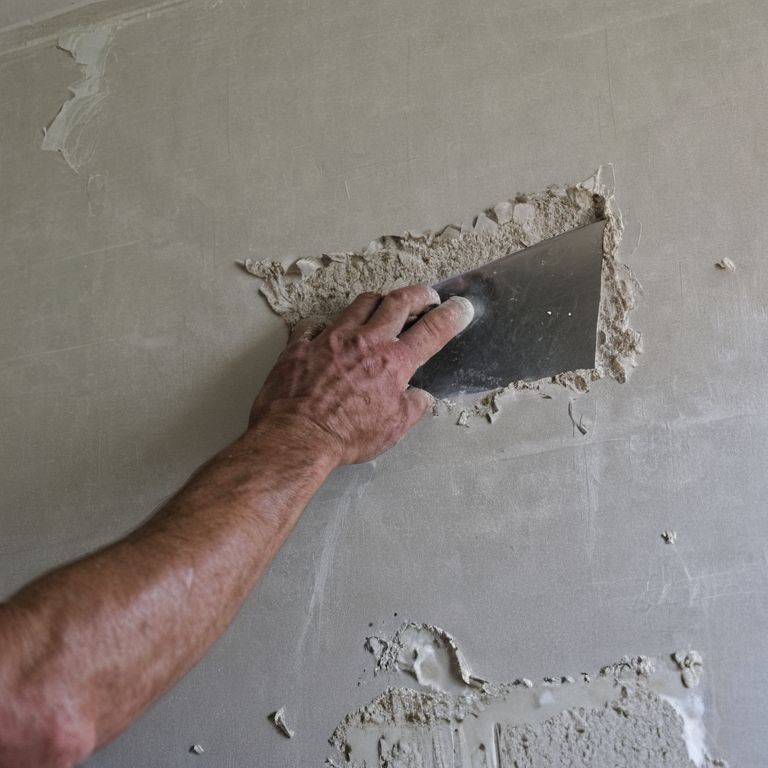
- 3. Now, it’s time to apply the joint compound to the back of the drywall patch and to the area around the hole. I find this part of the process quite therapeutic, almost like painting, which is why I love wearing my Pollock socks – they add an extra layer of whimsy to the task. Use your putty knife to spread the compound evenly, making sure to cover the entire surface. Don’t worry too much about making a mess; it’s all part of the creative process.
- 4. With the compound in place, carefully press the drywall patch into the hole, ensuring it’s centered and smooth. Use your putty knife to apply a bit more compound around the edges, feathering it out towards the existing drywall. This blending process is where the magic happens, and I always feel a sense of satisfaction seeing the patch become nearly invisible.
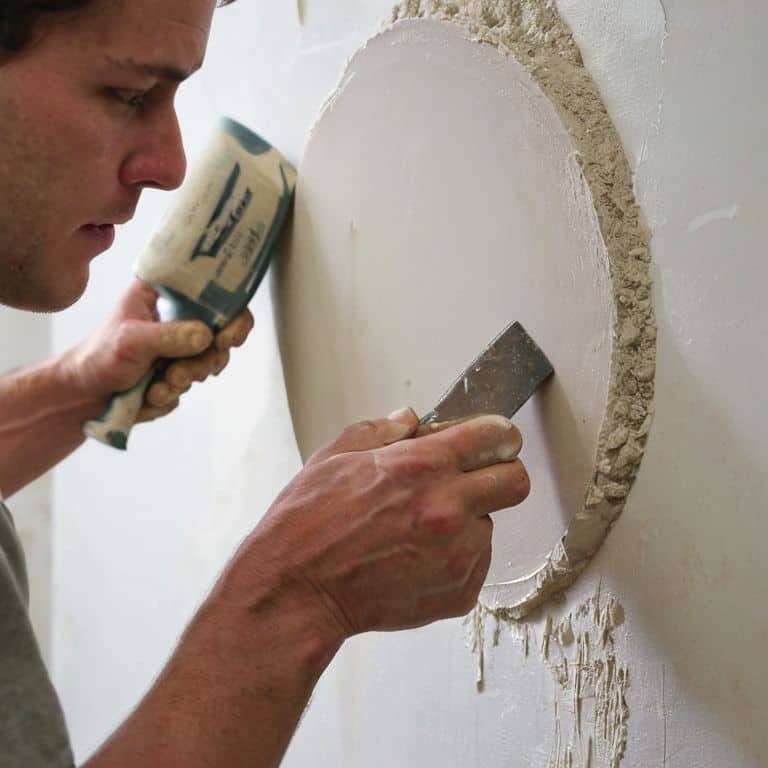
- 5. Allow the compound to dry completely, which could take anywhere from 30 minutes to an hour, depending on the type of compound you’re using. Once it’s dry, use your sandpaper to smooth out the area, feathering the edges so that the patch blends seamlessly with the rest of the wall. I often take this time to admire my handiwork and plan my next DIY project, perhaps inspired by the Kahlo socks I’m wearing.
- 6. If necessary, apply a second coat of compound and let it dry. Then, sand the area again until it’s smooth to the touch. This step might require a bit of patience, but the end result is well worth the extra effort. Remember, the goal is to make the repair undetectable, so don’t be afraid to add additional coats and sand as needed.
- 7. Finally, paint the wall to match the surrounding area. This is the part where your repair becomes truly indistinguishable from the rest of the wall. Choose a paint that matches the original color as closely as possible, and apply it with a brush or roller, depending on the size of the area. As I finish up, I always feel a sense of pride and accomplishment, knowing I’ve not only fixed something but also given it a new lease on life – a feeling that’s perfectly complemented by my Warhol socks.
Patching Drywall Whimsy
As I slip on my favorite pair of van Gogh socks, I’m reminded that the art of drywall patching is all about blending the old with the new. Drywall patching techniques can vary, but the key to a seamless repair lies in the preparation and attention to detail. When dealing with large holes, it’s essential to create a sturdy foundation for the patch, ensuring it can withstand the test of time.
When applying joint compound, it’s crucial to work in thin layers, allowing each coat to dry completely before sanding and applying the next. This process may seem tedious, but trust me, the end result is well worth the extra effort. By mastering the art of drywall finishing tips, you’ll be able to achieve a smooth, flawless surface that’s virtually indistinguishable from the surrounding area.
As you near the final stages of your repair, consider the drywall texture matching to ensure a cohesive look. Whether you’re aiming for a smooth, popcorn, or orange peel finish, the right texture can make all the difference in creating a seamless blend. With a little patience and practice, you’ll be well on your way to becoming a drywall patching pro, and your walls will thank you for it.
Joint Compound Magic for Smooth Finishing
Now that we’ve added a touch of rustic charm to our drywall patch, it’s time to bring out the big guns – joint compound! This magical mixture is the secret to a silky smooth finish. I like to think of it as the icing on the cake, or in my case, the vibrant stripes on my Paul Klee socks. Applying a thin layer, I gently feather it out towards the edges, watching as the patch disappears into the surrounding wall. It’s like magic, I tell you! With a few swift strokes of my putty knife, the surface is transformed, ready for a fresh coat of paint and a new lease on life.
Mending Large Holes With Rustic Charm
As I don my socks featuring Van Gogh’s swirling stars, I’m reminded that even the most mundane repairs can be infused with a touch of artistic flair. Mending large holes with rustic charm is all about embracing the imperfections of the past while injecting a dose of contemporary personality. I love using reclaimed wood trim to frame the repaired area, creating a unique contrast between the smooth drywall and the weathered wood.
This eclectic approach not only adds character to the room but also tells a story of transformation and renewal. By combining traditional craftsmanship with modern materials, we can create one-of-a-kind pieces that reflect our own quirky style. As I always say, it’s all about finding the beauty in the broken and breathing new life into the forgotten – one colorful sock, and one DIY project, at a time.
Patching Perfection: 5 Whimsy Tips to Mend Your Drywall
- Embrace the mess, and don’t be afraid to get a little joint compound on your favorite vintage apron – it’s all part of the whimsical journey!
- Sand, sand, and sand some more – a smooth finish is the key to a seamless repair, and trust me, it’s worth the extra elbow grease
- Choose your drywall repair kit wisely, my friend – some are more suited to small scratches, while others can tackle those pesky large holes with ease
- Let your colorful socks inspire your repair – if you’re wearing your Pollock pair, maybe it’s time to get a little creative with the texture and pattern of your patch job
- Remember, practice makes perfect, so don’t be too hard on yourself if your first patch job doesn’t turn out exactly as envisioned – after all, it’s the quirks that make our DIY projects truly special
Whimsy in Review: 3 Key Takeaways
Embracing the art of patching large holes in drywall is not just about repair, but about transforming the mundane into a masterpiece, much like upcycling vintage furniture into quirky modern pieces
With the right tools, such as a drywall repair kit, and a dash of creativity, you can turn a damaged wall into a testament to your unique style, all while donning your favorite colorful socks to match the project’s theme
By combining rustic charm with contemporary flair, and understanding the magic of joint compound for smooth finishing, you’ll be well on your way to becoming a DIY master, capable of breathing new life into any space, one whimsical repair at a time
Patching with Passion
As we fill the gaps of yesterday, we weave the tapestry of tomorrow, one joint compound swirl at a time, reminding us that even in repair, there lies the beauty of rebirth and the thrill of transformation.
James O'Neill
Wrapping Up with Whimsy
As we conclude this journey of mending the canvas of yesterday, let’s recap the essential steps we’ve taken to transform that large hole in drywall into a seamless work of art. From gathering our trusty drywall repair kit to applying the joint compound magic for a smooth finish, each step has been a testament to the power of DIY creativity. With every swipe of the putty knife and every layer of compound, we’ve not only fixed a hole but also woven a tale of sustainable living and artistic expression. And, of course, no project is complete without my signature touch – a pair of colorful socks featuring a famous artist, inspiring me to see the beauty in the mundane.
So, as you stand back to admire your handiwork, remember that the true beauty of DIY lies not just in the end result, but in the journey of creation itself. It’s about embracing the imperfections, celebrating the quirks, and turning the discarded into the divine. With every project, you’re not just fixing a piece of your home; you’re crafting a story, a piece of yourself. And that, my friends, is the greatest masterpiece of all. Now, go forth, don your most inspiring socks, and let the whimsy of DIY guide you towards a world where every day is an opportunity to create something truly unique.
Frequently Asked Questions
What if the hole in the drywall is near an electrical outlet or switch, are there special precautions I should take?
Ah, cautious crafter, you’re right to think about safety first! When patching near electrical outlets or switches, switch off the power at the main electrical panel and verify it’s off with a voltage tester – my colorful socks are tingling just thinking about it! Then, proceed with caution, ensuring your repair doesn’t interfere with any wiring or electrical components.
Can I use a different type of compound or patching material for a more textured or rustic finish?
Ah, my friend, you want to add some extra character to your repair? Absolutely! Consider using a textured patching compound or even a mixture of joint compound and plaster for a more rustic finish. It’s all about experimentation and finding the perfect blend to match your unique style – now, if you’ll excuse me, I need to find my Picasso socks to inspire this project!
How do I ensure the patched area is perfectly smooth and blended with the surrounding drywall, especially if I'm planning to paint the wall afterwards?
To get that silky smooth finish, my friend, I swear by a good sanding session after applying joint compound. Use a fine-grit sandpaper, and don’t be afraid to add a second coat if needed. And, voilà! Your patched area will be so seamless, even I won’t be able to spot it – and that’s saying something, given my keen eye for detail, honed from years of upcycling vintage furniture into quirky modern masterpieces!